
(This post assumes you're familiar with my more detailed instructions of how to make Horizontal Fold Pop-up cards.)
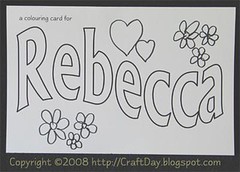
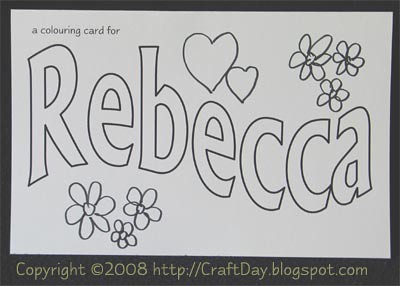
Recently, Ask Moxie had a post titled "Q&A: Does 'no gifts' really mean no gifts?" Should you feel uncomfortable going completely empty-handed, making a personalized colouring card like this (optionally including a selection of appropriately themed stickers) is a nice compromise.
Materials:
- 2 sheets of 8.5" x 11" cardstock or construction paper
- X-Acto type knife
- glue (stick-glue or white glue or rubber-cement)
- template with measurements (PDF file*) or template without measurements (PDF file*) (use this legend to decipher the folding symbols)
- optional: a selection of stickers to include in the card for the child to use
Instructions:
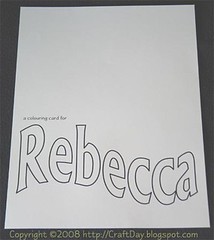
- create the front cover of the card (text on the lower half of the letter sized cardstock)
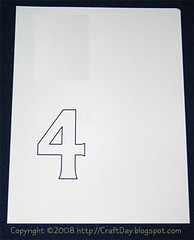
- create the inside of the card (text on the upper half of the letter sized cardstock, offset to allow for the pop-up mechanism)

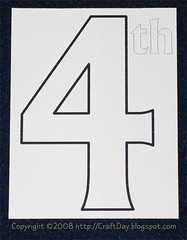
- create the decoration for the pop-up portion of the card (in this case, the recipient is turning four)
- print off a copy of the inner template
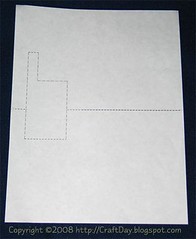
- I transferred the template onto the inside of the card using the pinpoint method
- trim the pop-up decoration to size
- create the pop-up portion following steps three and four from making Horizontal Fold Pop-up cards

- glue the decoration onto the pop-up portion of the inside of the card
 b
b - if desired, add additional designs to be coloured on the front of the card
- glue the inside of the card into the outside of the card
- optional: include a selection of stickers for the child to use to decorate the card
--
(*) When printing out PDF documents, be sure to set "Page Scaling" to "none" (you'll want the document to print at 100%). You may need to adjust the template on your paper depending on your printer's "offset" settings.
 Subscribe to my feed
