

Materials:
- Pattern (download the PDF pattern*)
- use this legend to decipher the folding symbols
- coloured paper (contrasting colours)
- scissors
- paper-clips
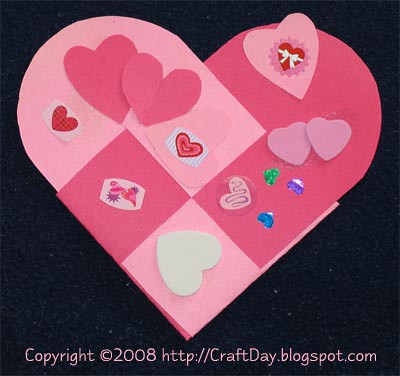
- should you wish, materials for decorating your heart (eg. stickers, glitter and glue)
Instructions:
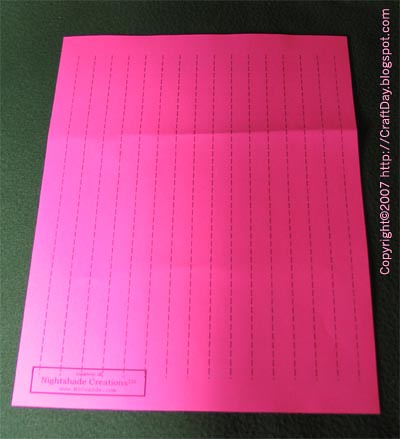
- print out the pattern (PDF file*) and transfer the pattern to your desired material or print it out as a practice run (be sure to check the specifications of your printer before printing on unusual media -- using "out of spec" materials can cause permanent damage to your printing hardware)
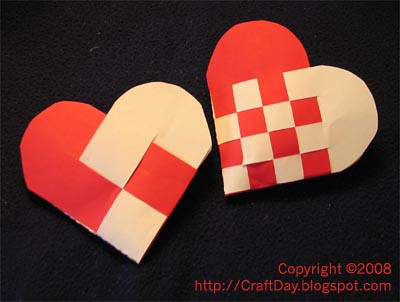
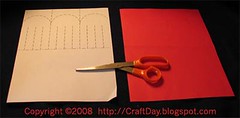 I've chosen to use one white sheet and one red sheet. Shown is the pattern printed on the white sheet.
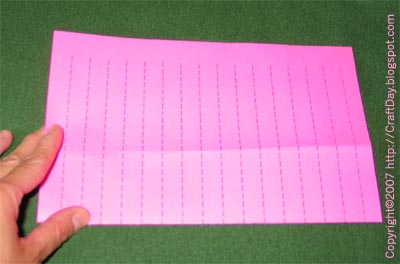
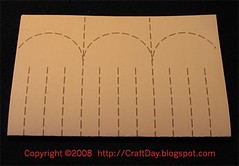 Fold the sheet with the pattern on it in half, length-wise. Orient the paper with the pattern facing up.
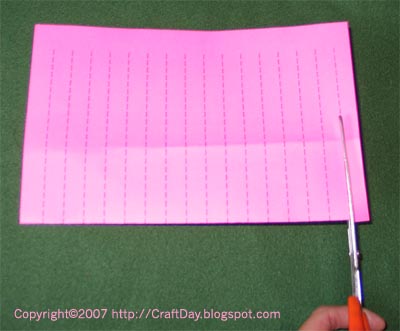
- Cut along the longest vertical lines.
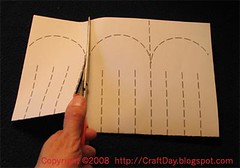
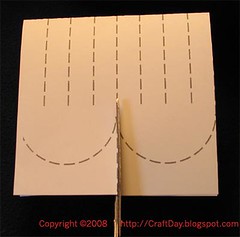 Should you find that the paper spreads when you cut it as described in step 4, either use the paper clips to keep the paper in place or begin cutting from the "open end" of the fold.
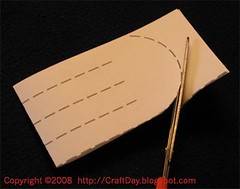 Trim the rounded edges of the paper. Again, if the paper doesn't stay in place, use paper clips to keep the paper steady.
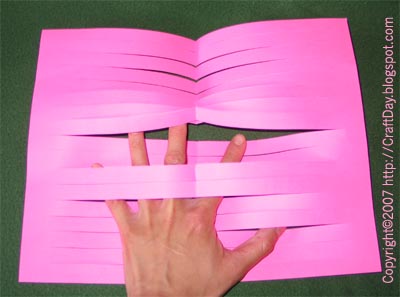
 Decide how many strips you want to weave. For the purposes of these instructions, we'll be making a simple two strip pocket. (Cut along the middle dotted line and ignore the first and third dotted lines.)
If you're using a thick material, cut a little longer than the dotted line shown to give you room to work.
To make a four strip pocket, cut along all three dotted lines.- Repeat the above steps with the a sheet of contrasting colour.
- Orient the pieces at approximately 90 degrees, with the rounded edges pointing up and to the right respectively.

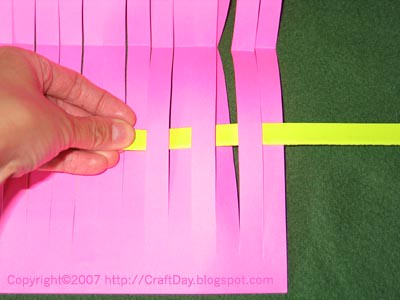
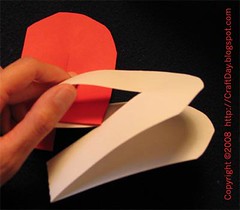 Take the right most strip of the red piece and push it in between the topmost strip of the white piece.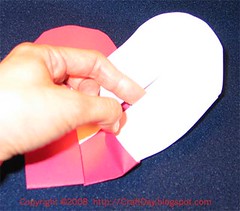
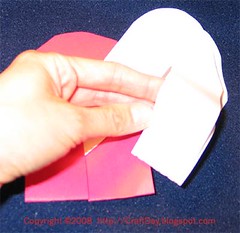 Take the bottommost white strip and insert it in between the rightmost red strip.
(I'm not sure what happened with the photography here. Apologies for the glare.)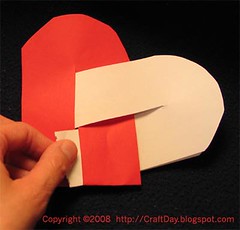 Pull the bottommost white strip all the way through.
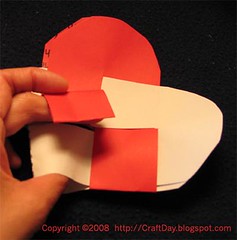 Insert the left-most red strip through the bottommost white strip that was pulled through in the previous step.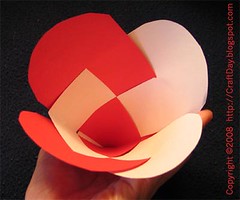
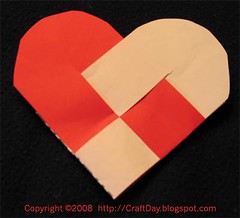 Straighten the pieces and voila!
--
(*) When printing out PDF documents, be sure to set "Page Scaling" to "none" (you'll want the document to print at 100%). You may need to adjust the template on your paper depending on your printer's "offset" settings.


 Subscribe to my feed
 Posts
Posts


