from http://www.quietfish.com/notebook/?p=586
Materials:
- clear packing tape
- magazine or photo with image
- spoon
- scissors
Instructions:
from http://www.quietfish.com/notebook/?p=586
Materials:
 This was created at our local Ontario Early Years Centre.
Materials:


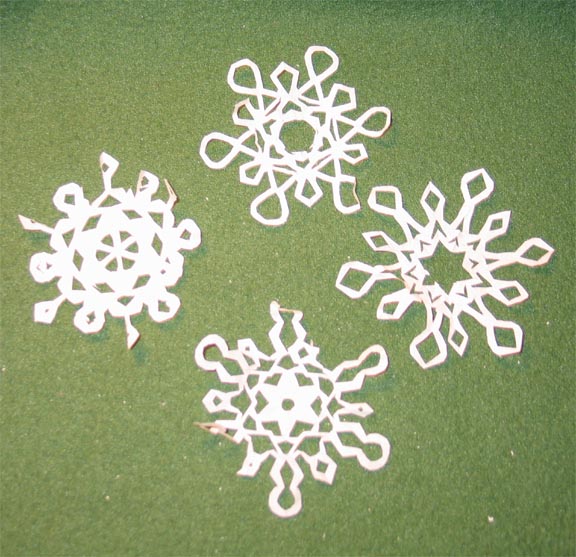
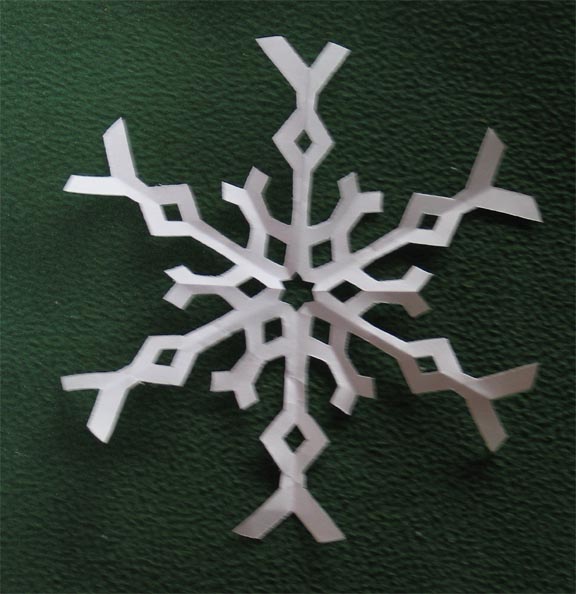
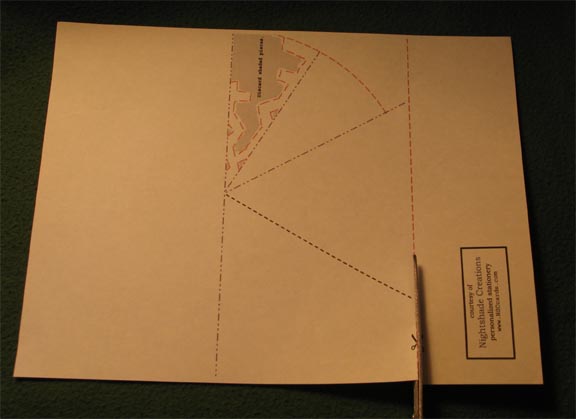

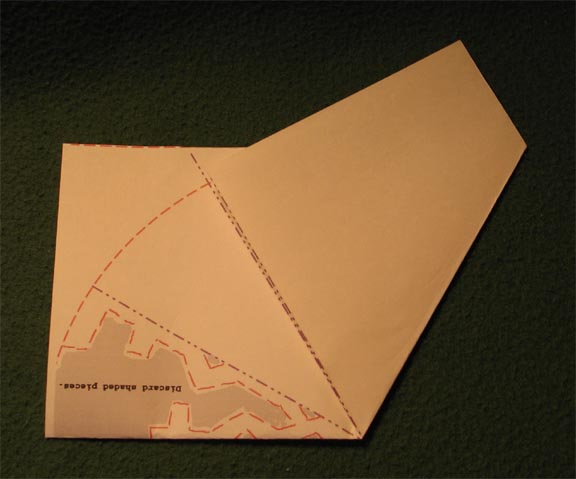
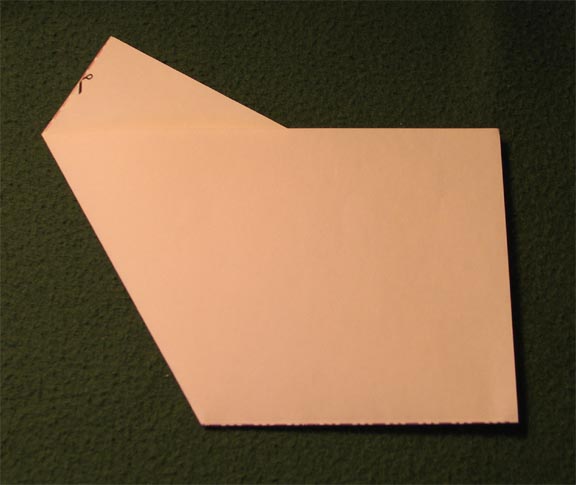
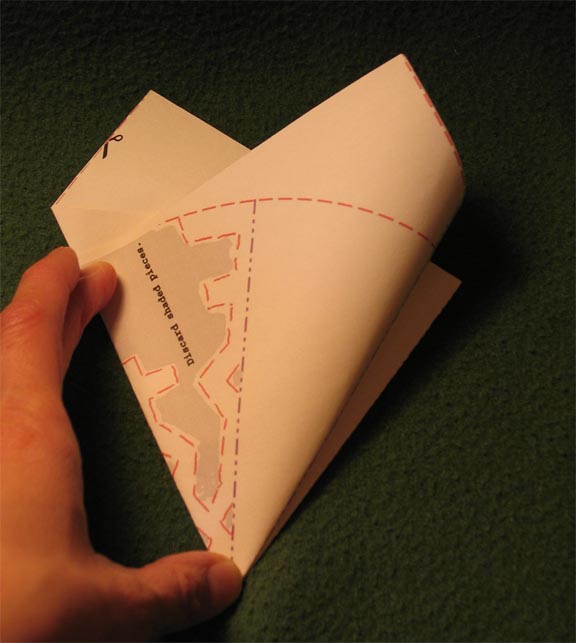
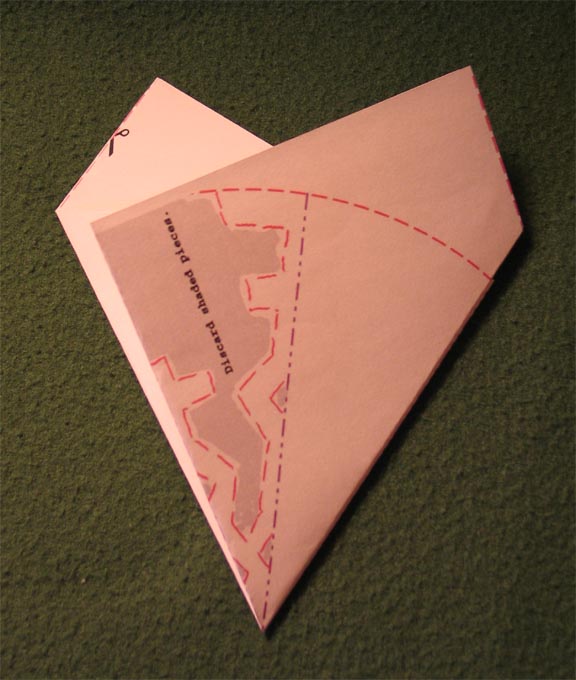
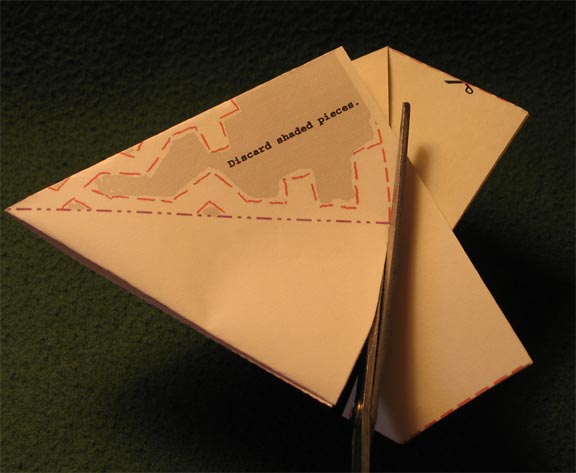
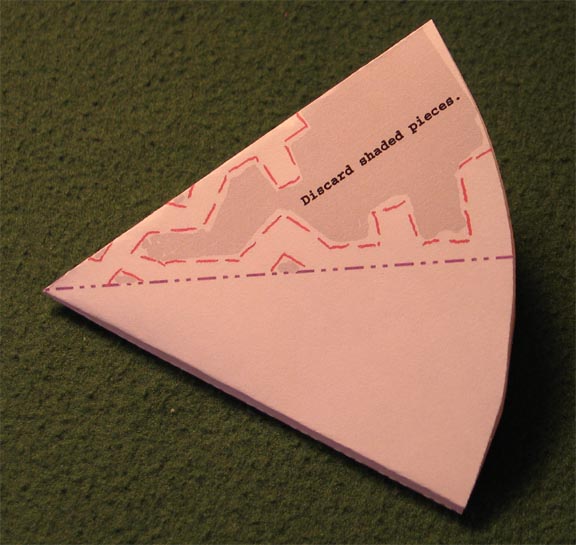
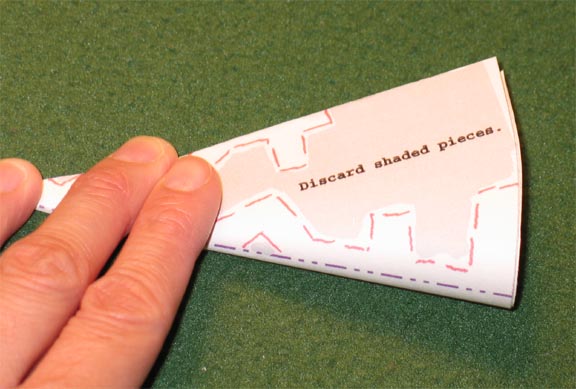
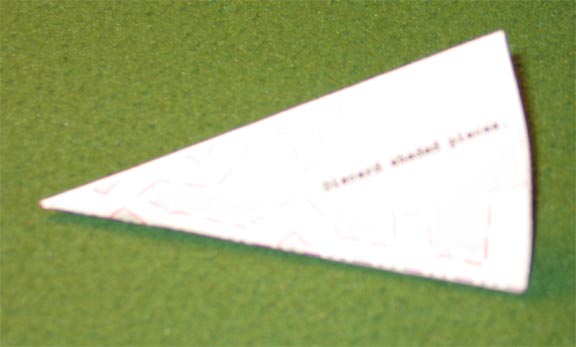
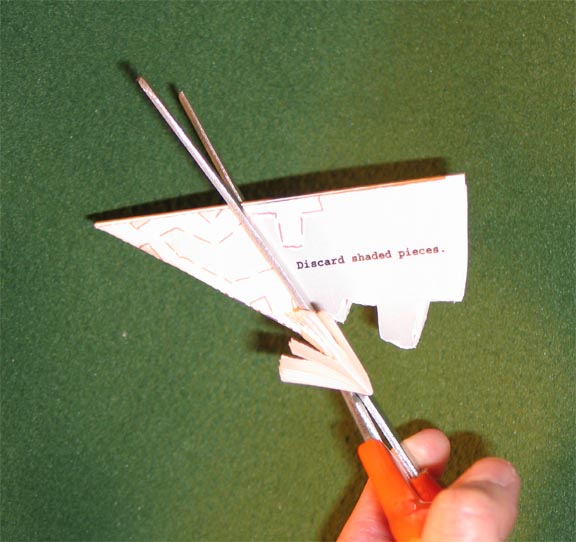
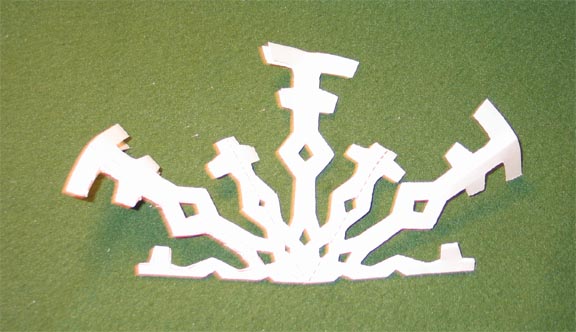
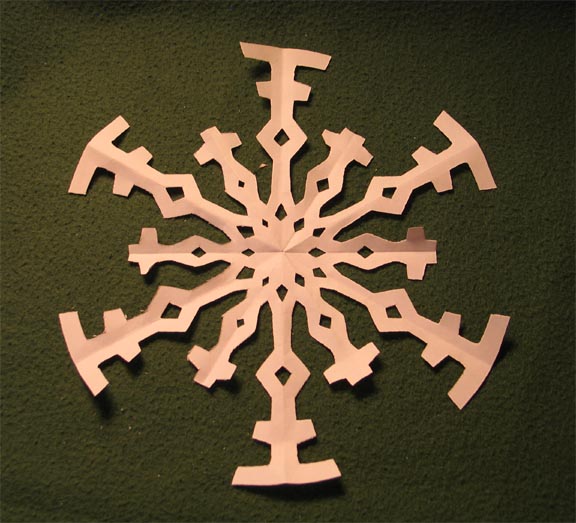
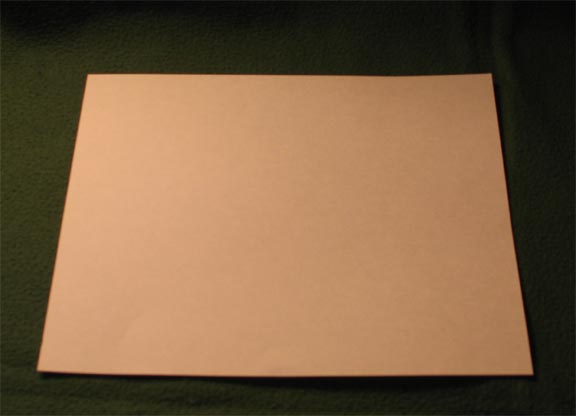
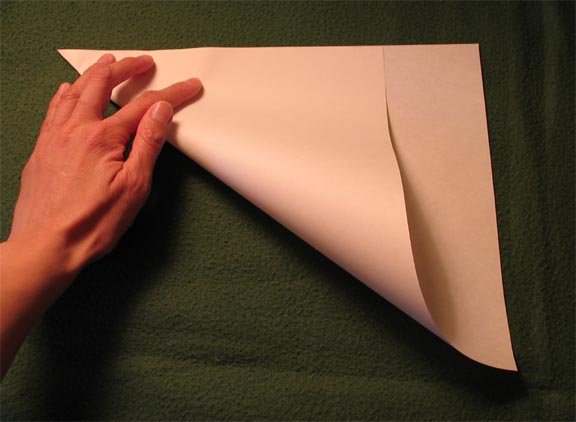
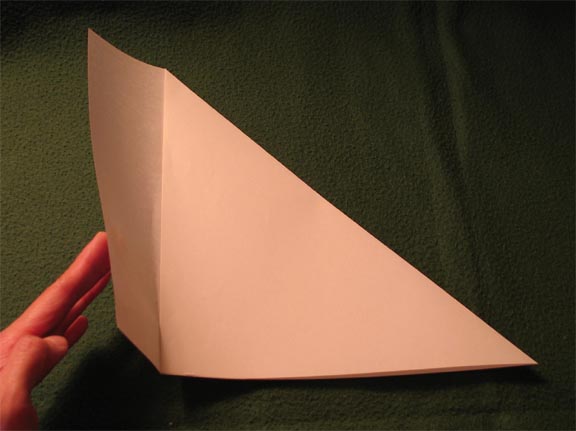
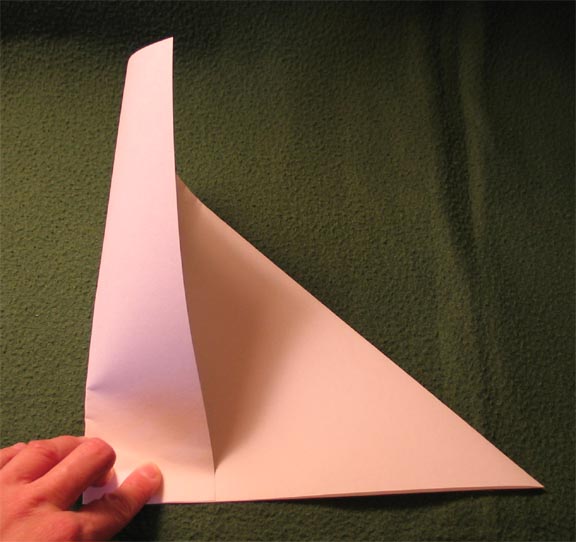
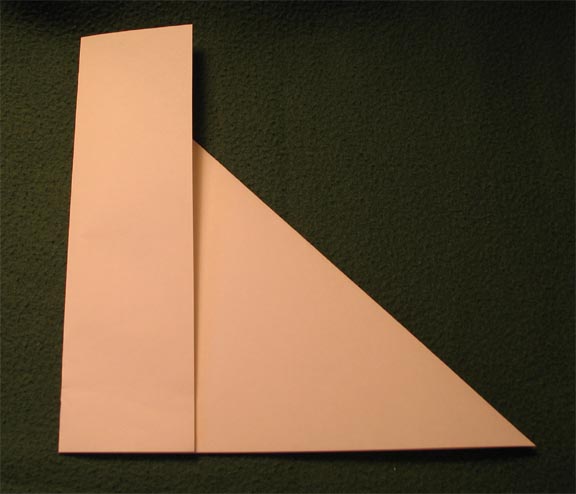
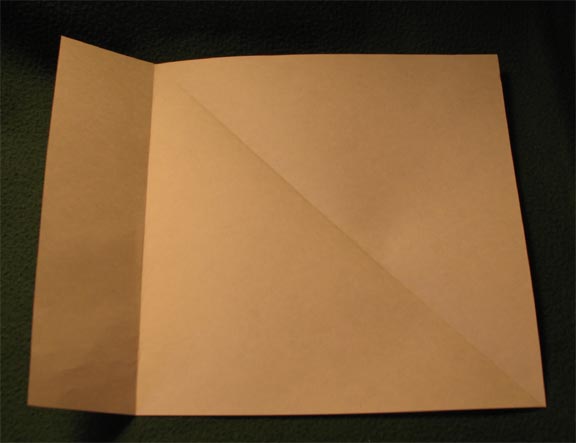
As you get proficient with the folding, you no longer need a pattern or a template, just an approximate square. The smaller the square, the thinner the paper you should use or it gets too difficult to fold accurately.
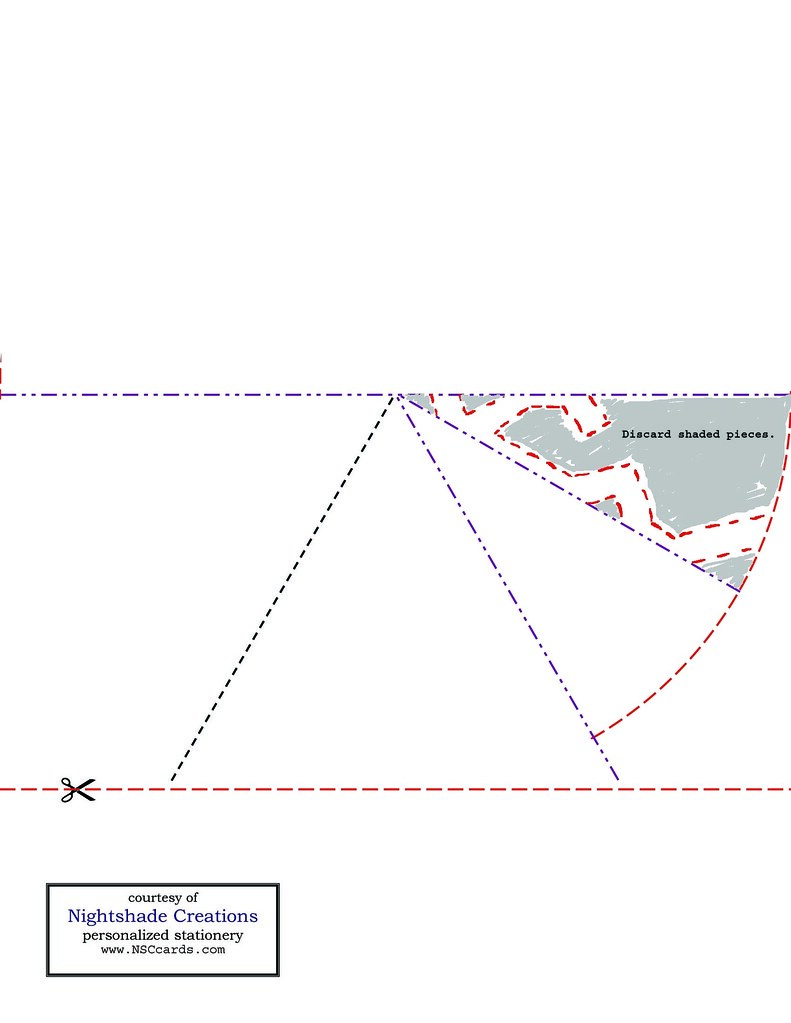
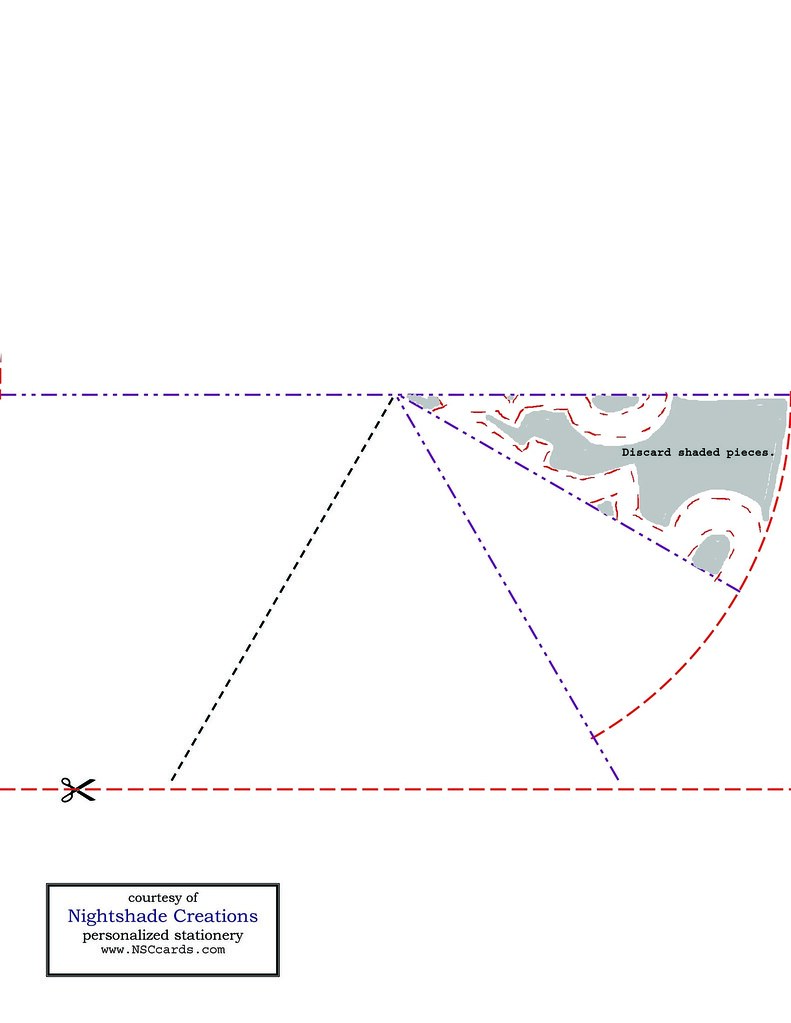
I've posted three patterns here.
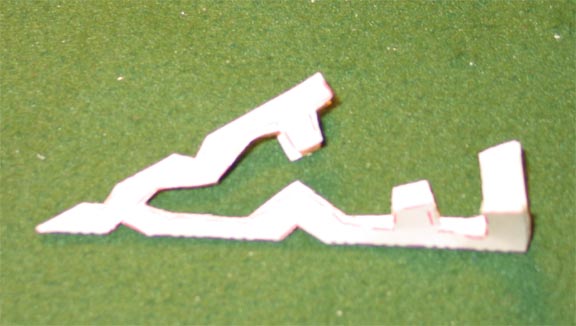
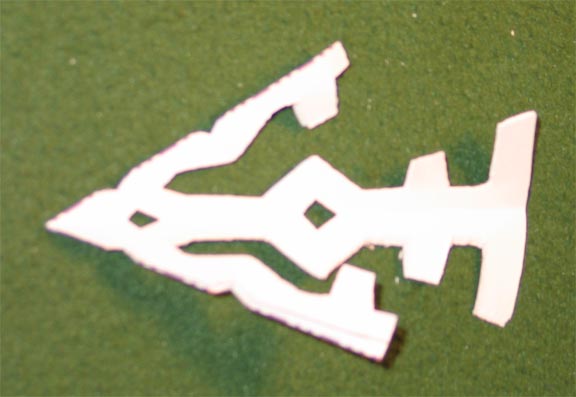
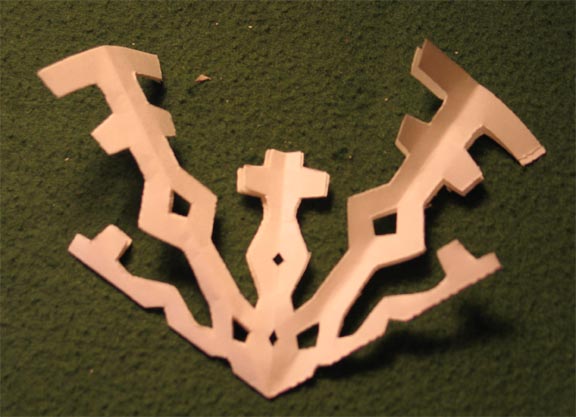
These can be taped to windows, used as tree decorations, present decorations, etc, etc!
--
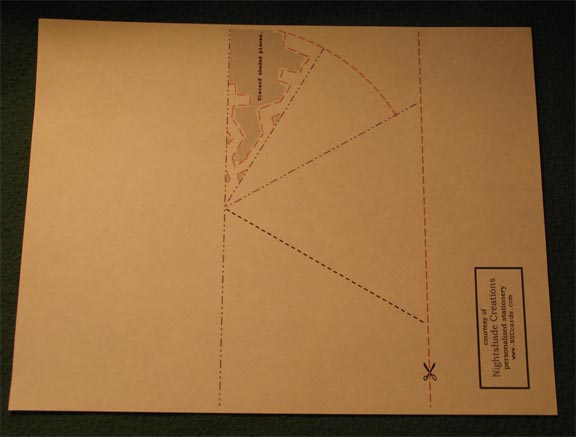
(*) When printing out PDF documents, be sure to set "Page Scaling" to "none" (you'll want the document to print at 100%). You may need to adjust the template on your paper depending on your printer's "offset" settings.
Patterns:

--
(*) When printing out PDF documents, be sure to set "Page Scaling" to "none" (you'll want the document to print at 100%). You may need to adjust the template on your paper depending on your printer's "offset" settings.
--
Other sources of snowflake patterns:
http://www3.ns.sympatico.ca/dstredulinsky/patterns.html
Materials:

from http://www.quietfish.com/notebook/?p=578
Materials:
from http://www.kid-at-art.com/htdoc/lesson16.html via http://www.quietfish.com/notebook/?p=573
Materials:
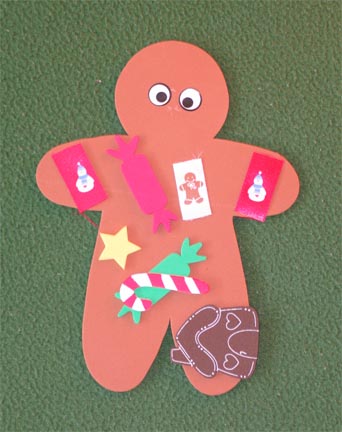
This was created at our local Ontario Early Years Centre exclusively uses Christmas themed foam stickers.

Use the plate to hang as a tree or door decoration!
Have a look at this great post:
http://kiddley.com/2006/12/01/make-your-own-snowglobe/
With notes about What Not To Do:
http://littleelephants.typepad.com/little_elephants/2006/10/arts_crafts_how.html
and about what worked:
http://littleelephants.typepad.com/little_elephants/2006/10/snow_globe_succ.html
| @ | MEMBER OF PROJECT HONEY POT Spam Harvester Protection Network provided by Unspam |
terms and conditions of use |
privacy policy
copyright ©2006-2014 Craft Day. All rights reserved.
 Subscribe to my feed
