Materials:
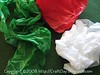
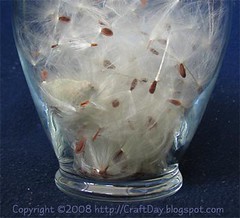
- scrap tissue paper
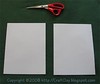
- 2 sheets of construction paper (letter size printer paper shown)
- scissors
- tape
- white glue
Instructions:
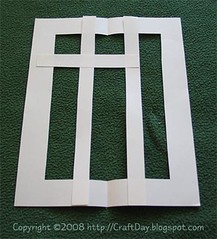
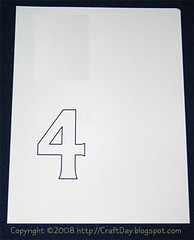
- take one sheet of construction paper and fold it in half lengthwise
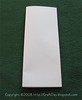
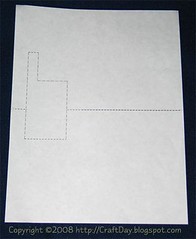
- cut out the centre piece (which includes most of the folded edge), leaving a 3cm (1.25") frame
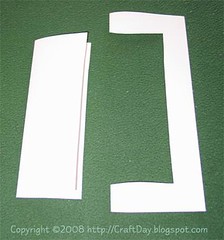
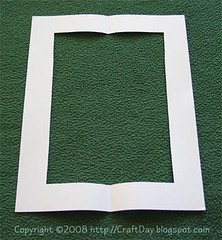
- open out the frame
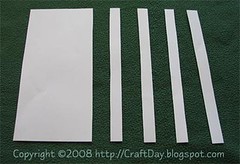
- take the second sheet of construction paper and cut several 2cm (0.75") strips lengthwise
- begin arranging the 2cm strips over the frame, cutting as required to fit your design
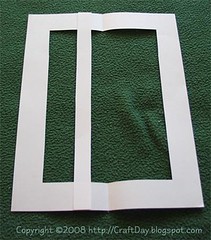

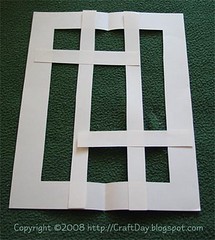
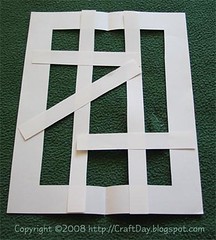
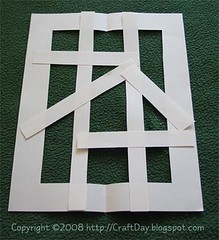
- tape the strips down to secure them to the frame and to each other (this is the back side of the frame)
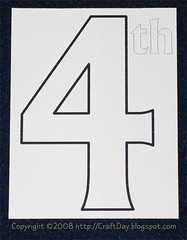
- cut tissue paper big enough to fit over each of the holes in your frame, dry fit them (overlay them on the back side of the frame to make sure they're the right size, but don't glue them until you're sure they are!)
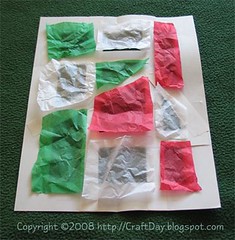
- glue the tissue paper to the back side of the frame
- let dry overnight
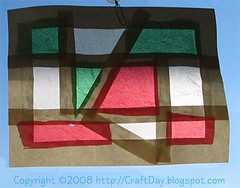
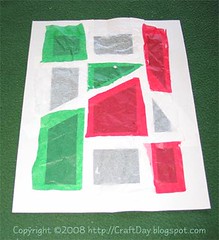
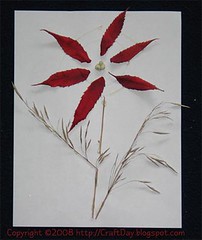
- hang on a window and enjoy!
An advanced method (for adults) of doing this, would be to use a single sheet of paper for the frame and an X-Acto knife to cut out the "window" parts of the decoration.


 Subscribe to my feed
