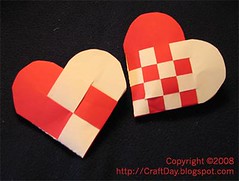
I've been wanting to try this artsy Valentine's craft from Parent Hacks for a while now. (I'm not ambitious enough to melt them down as per the instructions from the post Recycle Old Crayons Into New Shapes.)
Then one day I looked around the house and saw this:
Later in the week at the store I saw this:
So we put the crayons in a bucket with warm water, and peeled the labels off:
And chopped them up. (Turns out I cut the pieces too small. Next time I'll make them 1.5 - 2 cm, or about 1/2 inch, in length.)
The bits go in a silicone baking pan:
Pop it in the oven at 230 F for about 15 min (you can see some aren't quite melted yet). Tip: put the kitchen exhaust fan on and / or open a window to get fresh air into the room.
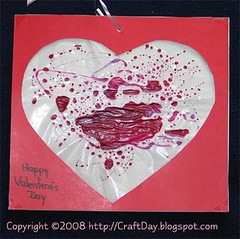
Let the whole thing cool and then pop them out!
Any rough edges can be smoothed down by rubbing across a piece of paper.
Just make sure that kids don't eat them!
 Subscribe to my feed
