Materials:
- 2 sheets of 8.5" x 11" cardstock or construction paper
- X-Acto type knife
- glue (stick-glue or white glue or rubber-cement)
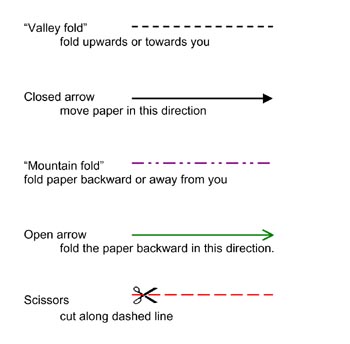
- template with measurements (PDF file*) or template without measurements (PDF file*) (use this legend to decipher the folding symbols)
- things to decorate the card (such as markers, pencil crayons, stickers, stamps, cut-outs etc)
Instructions:
- review the template with measurements (PDF file*)

- print out the template without measurements (PDF file*) to transfer the pattern to your desired material or print it out directly on the card stock as a practise run (be sure to check the specifications of your printer before printing on unusual media -- using "out of spec" materials can cause permanent damage to your printing hardware)
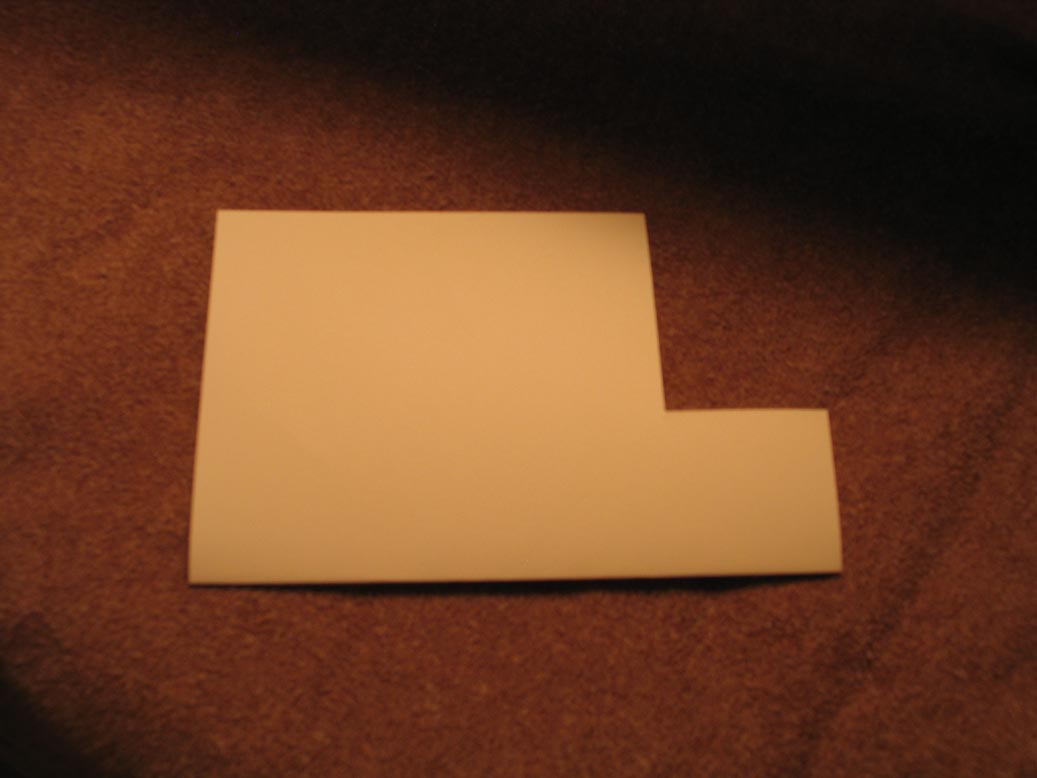
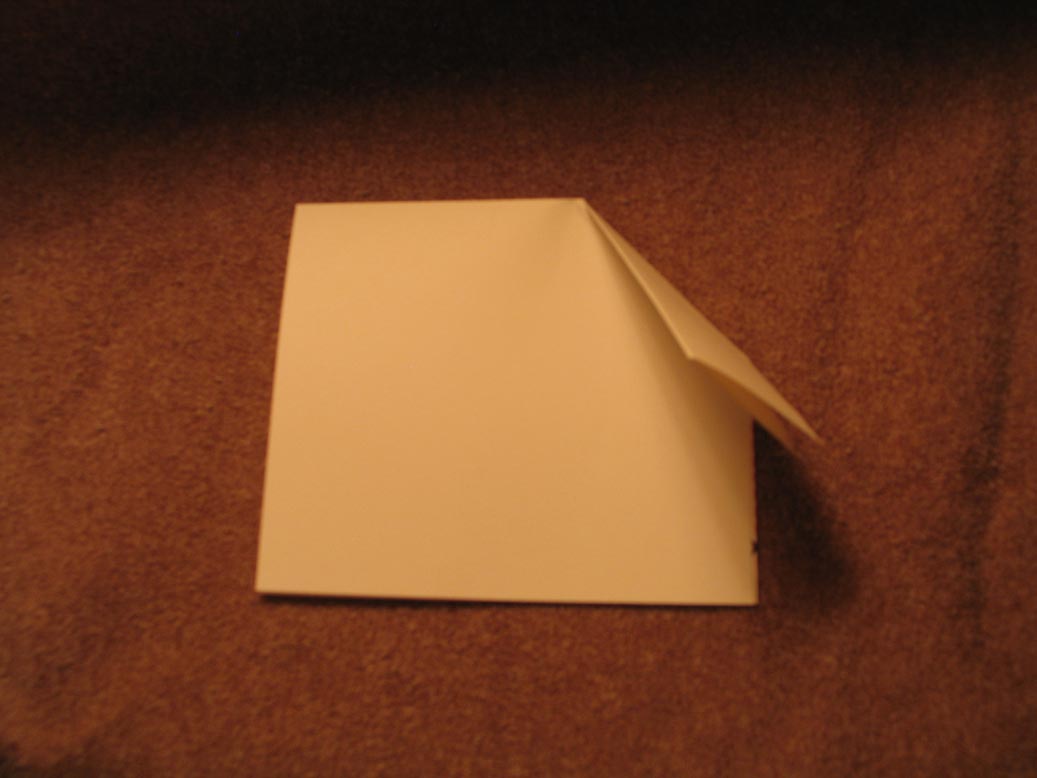
- Cut along the indicated lines with an X-Acto knife.
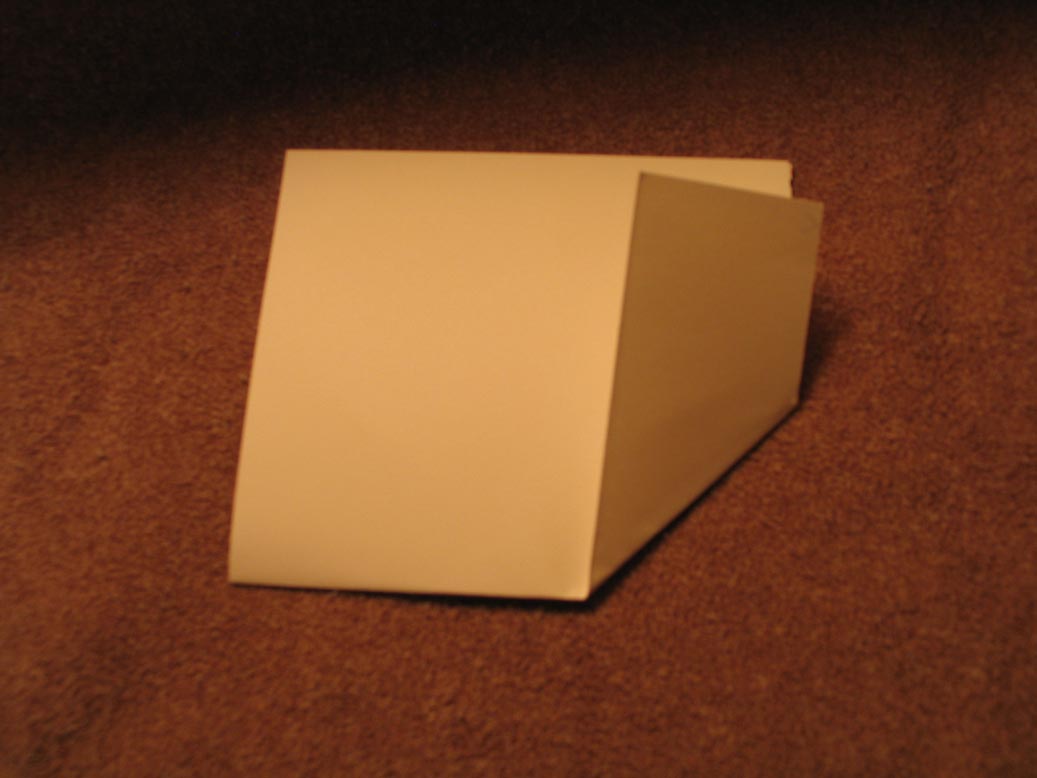
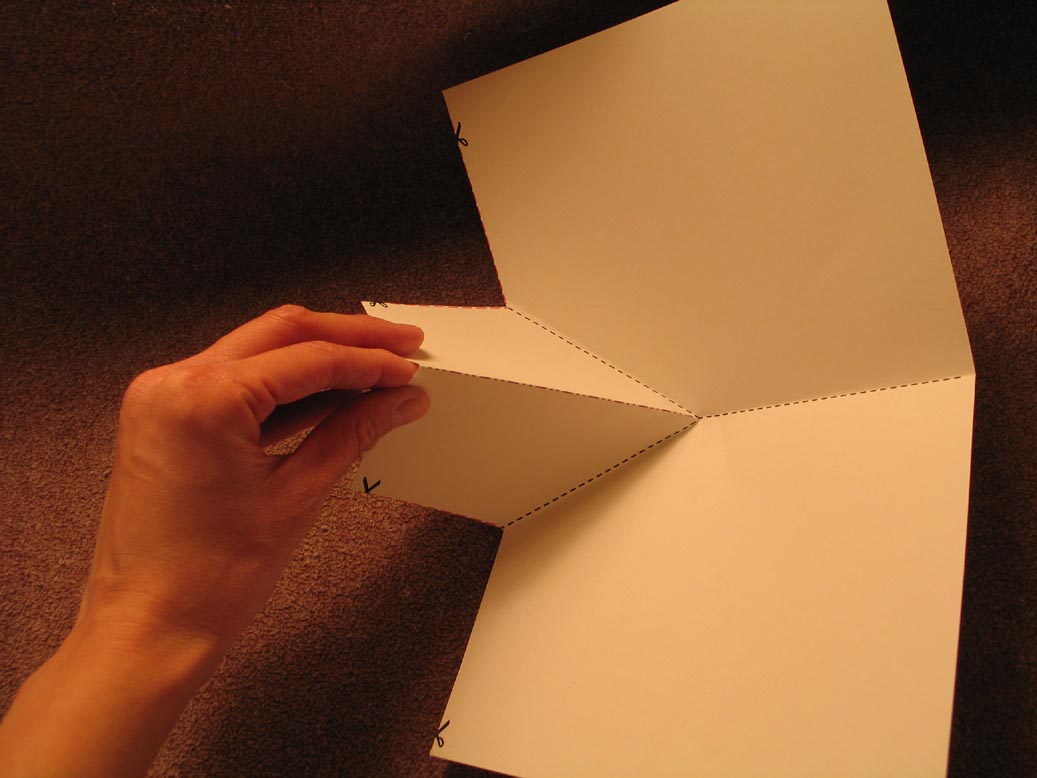
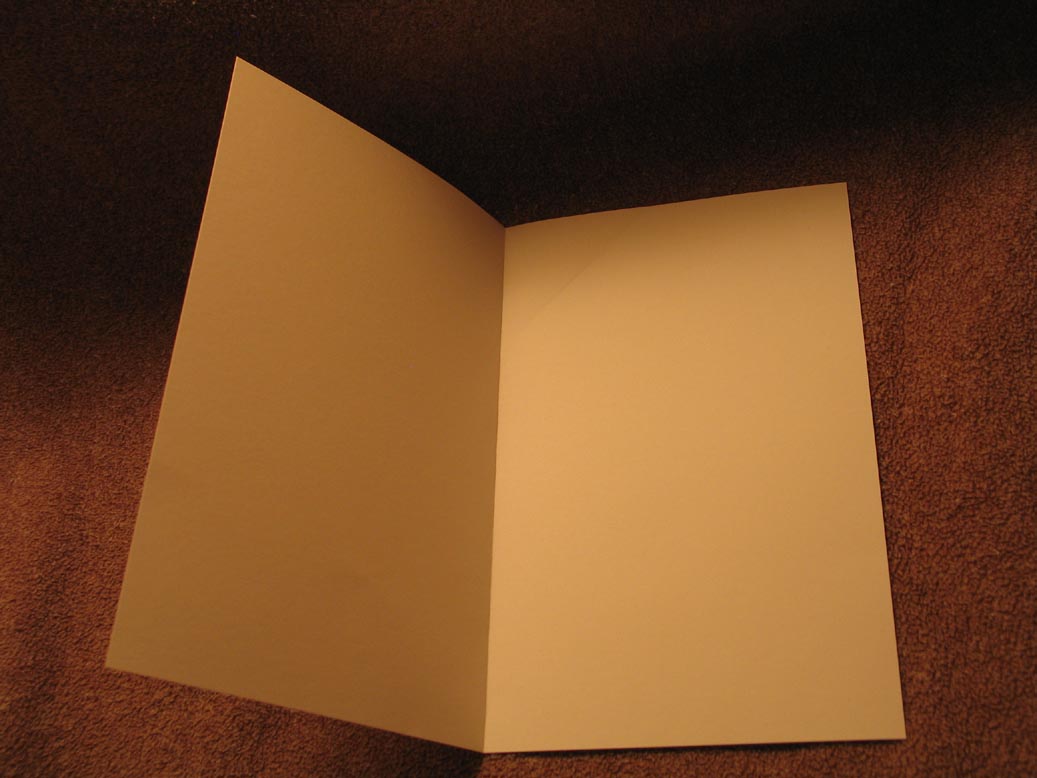
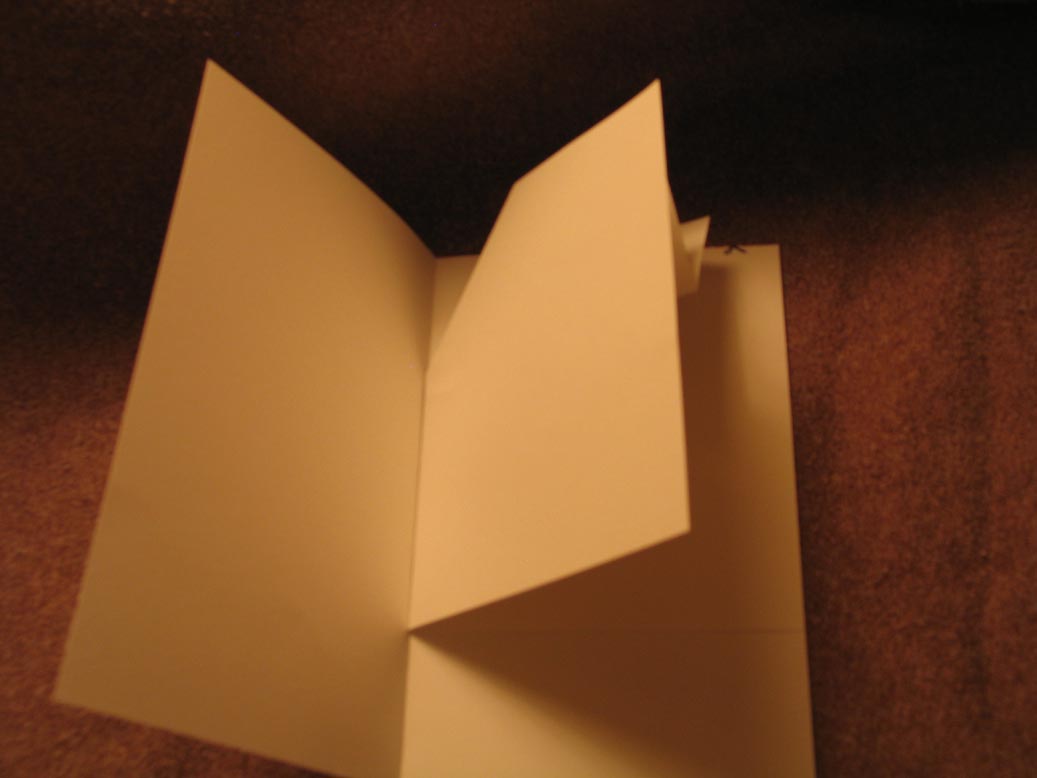
- Make "mountain" and "valley" folds as indicated on the template.
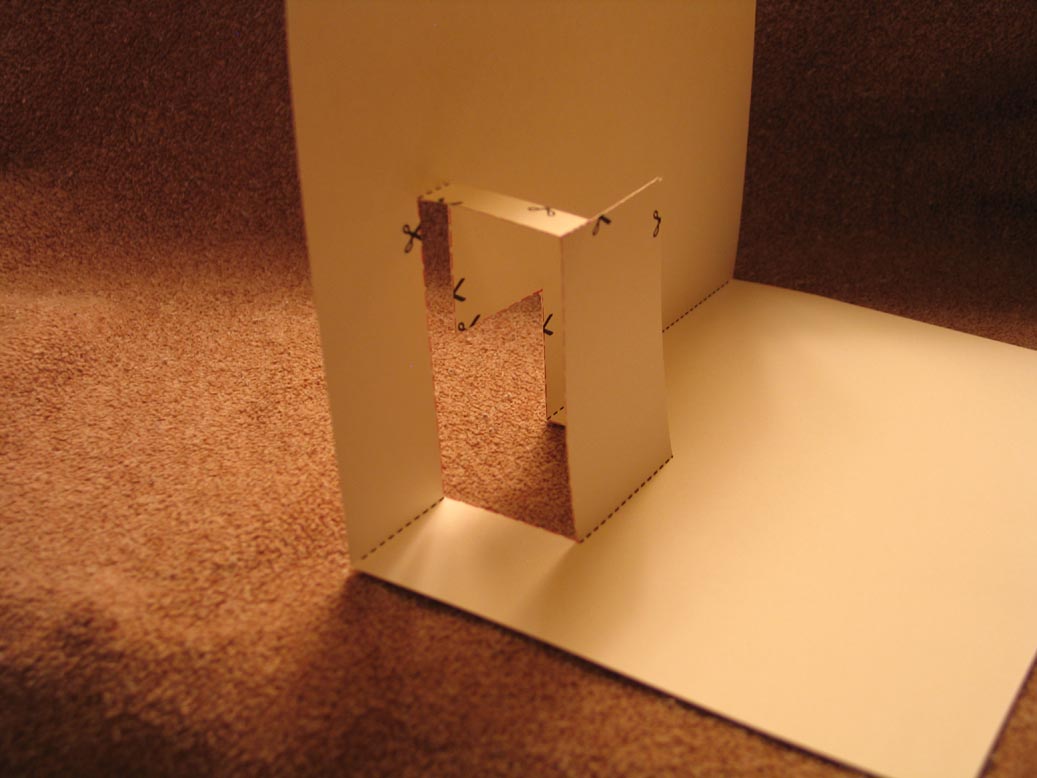 (viewed from the left)
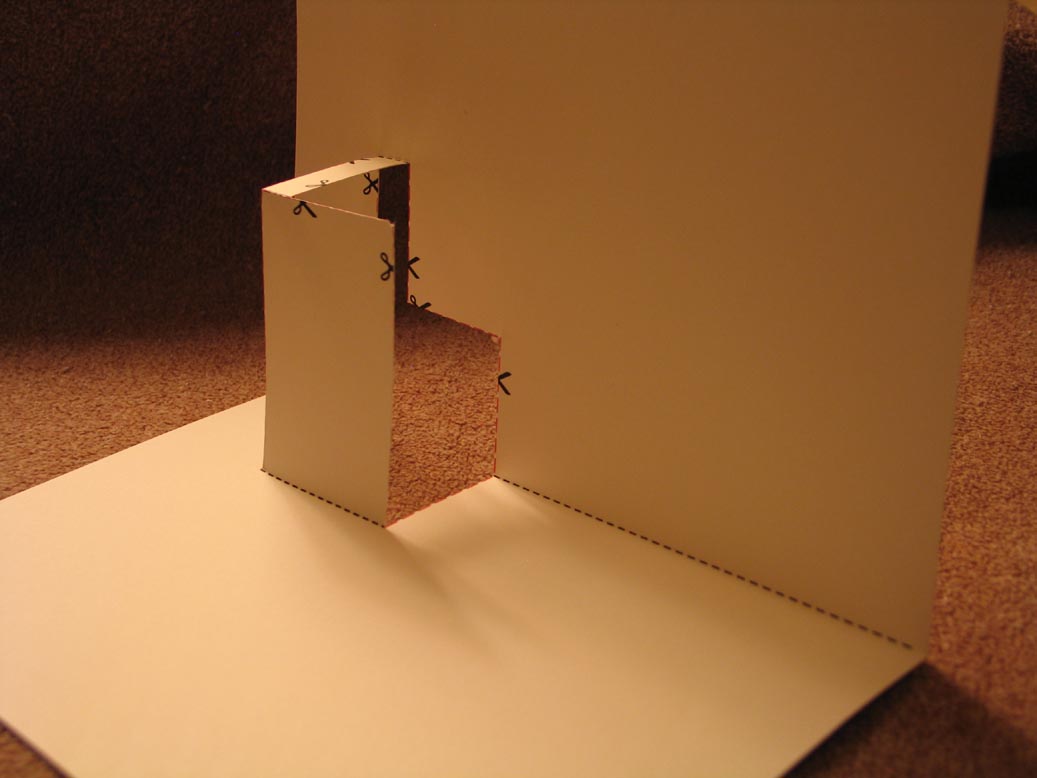 (viewed from the right)
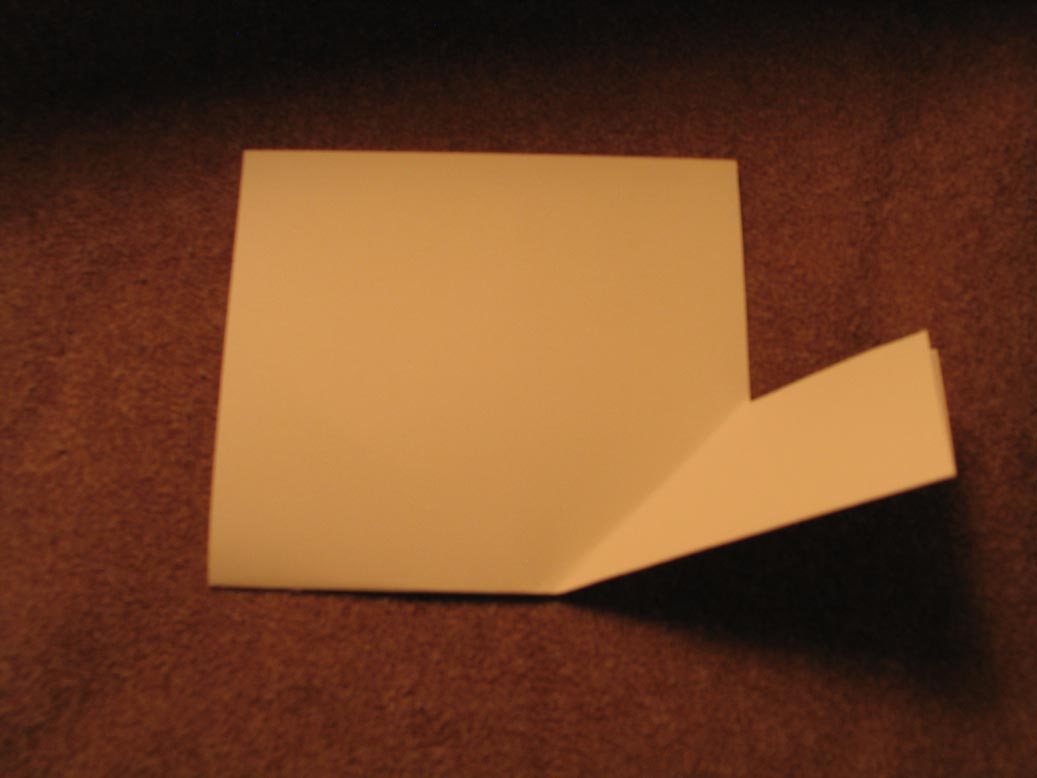
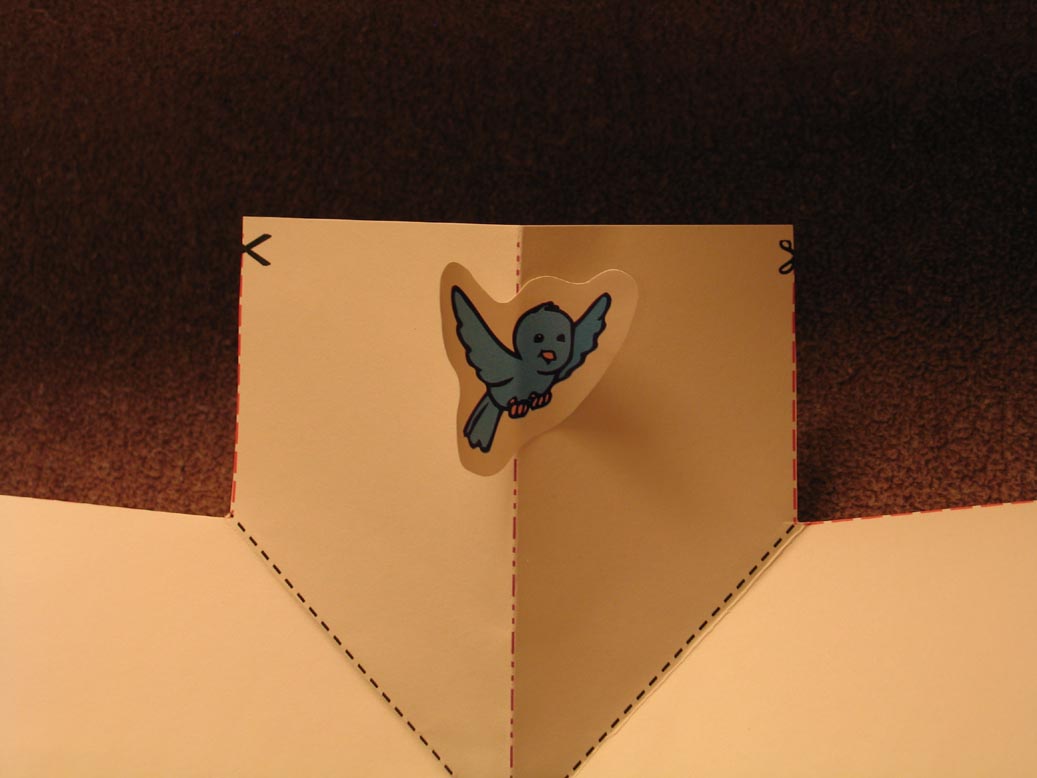
 - If you're using a sticker or a cut-out to decorate, get it ready.
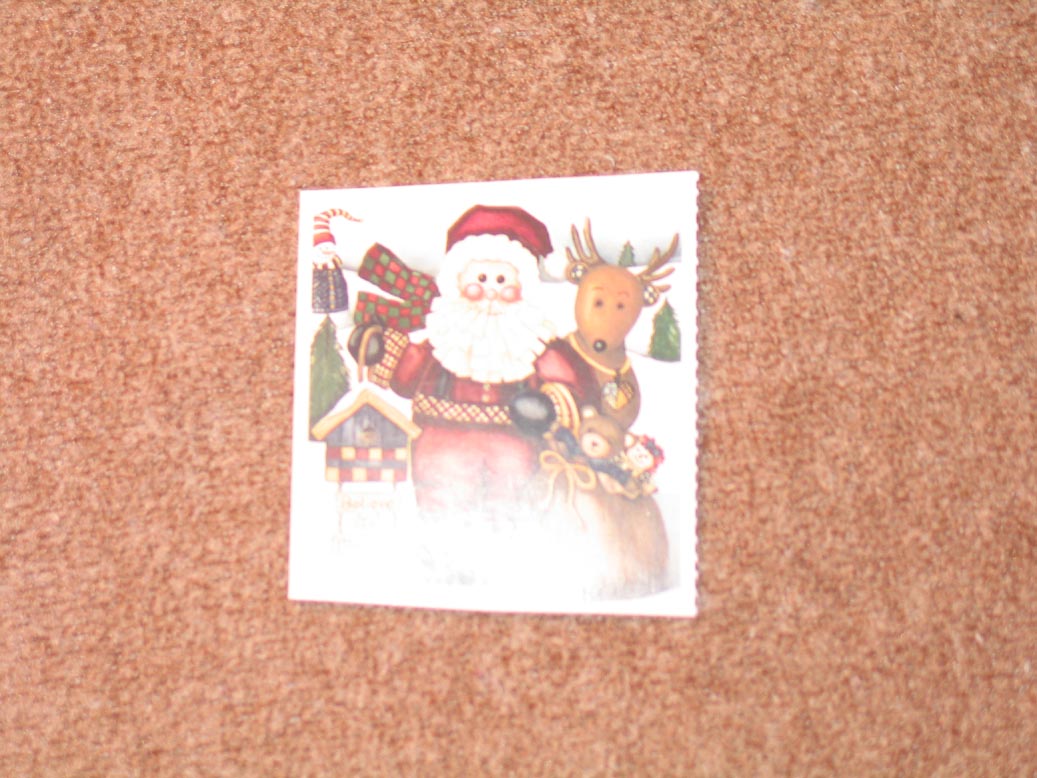
- Affix the decoration to the 2"x3" rectangular "pop-up" portion of the card.
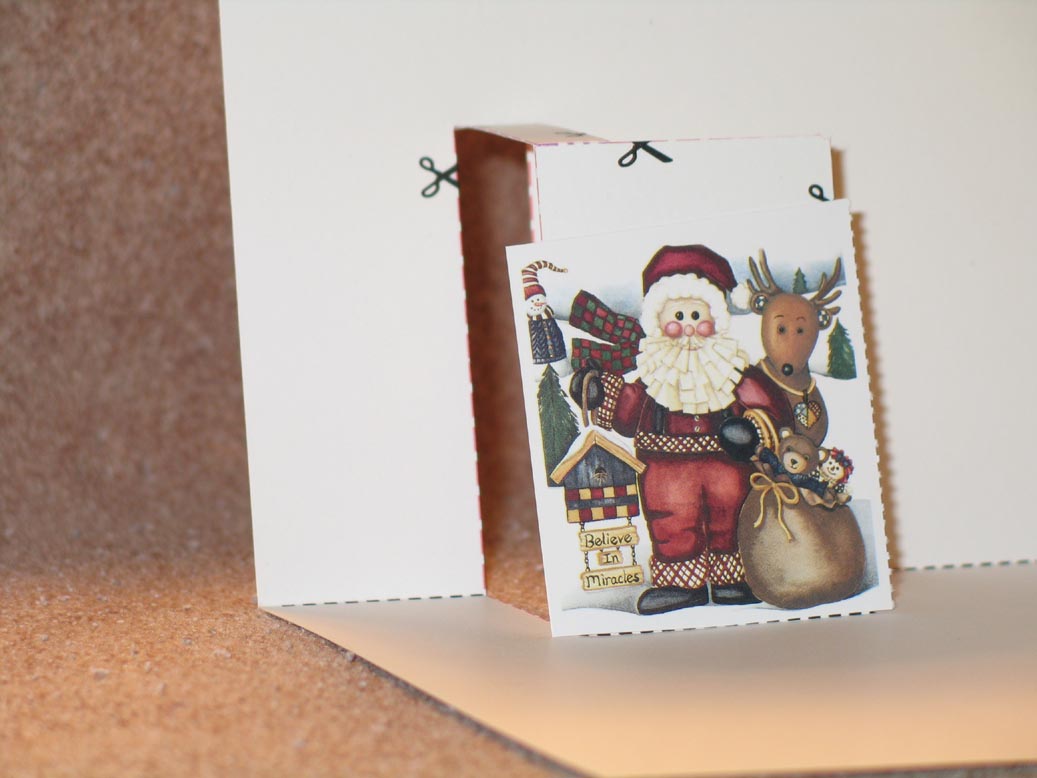
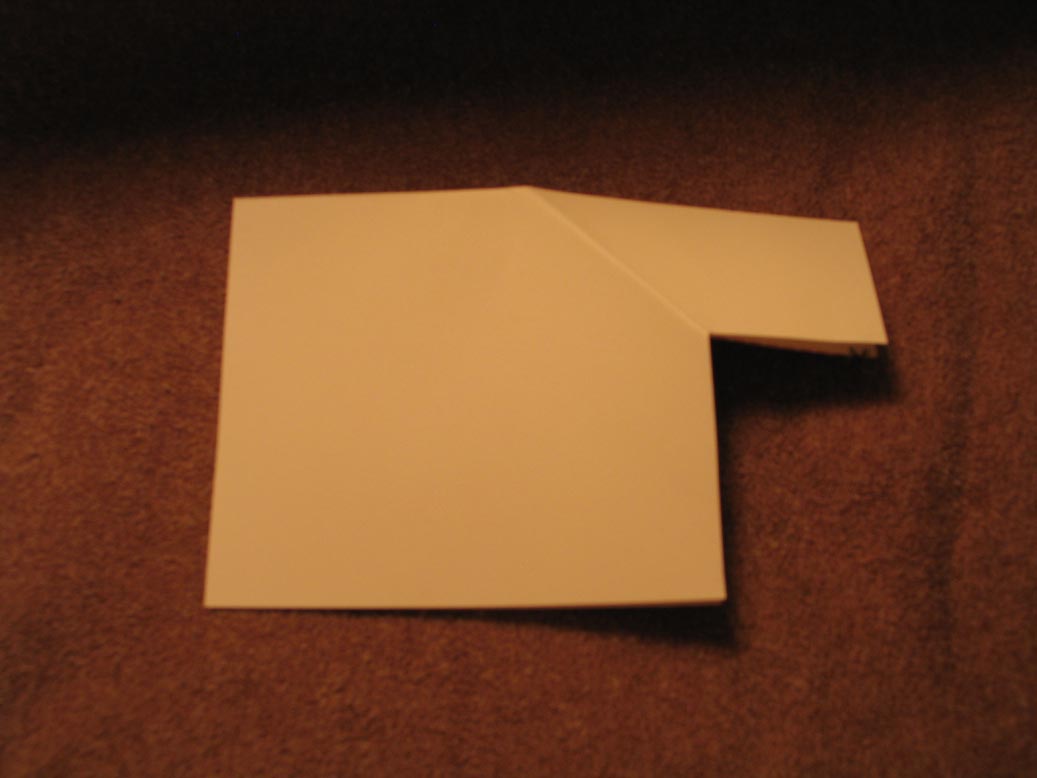
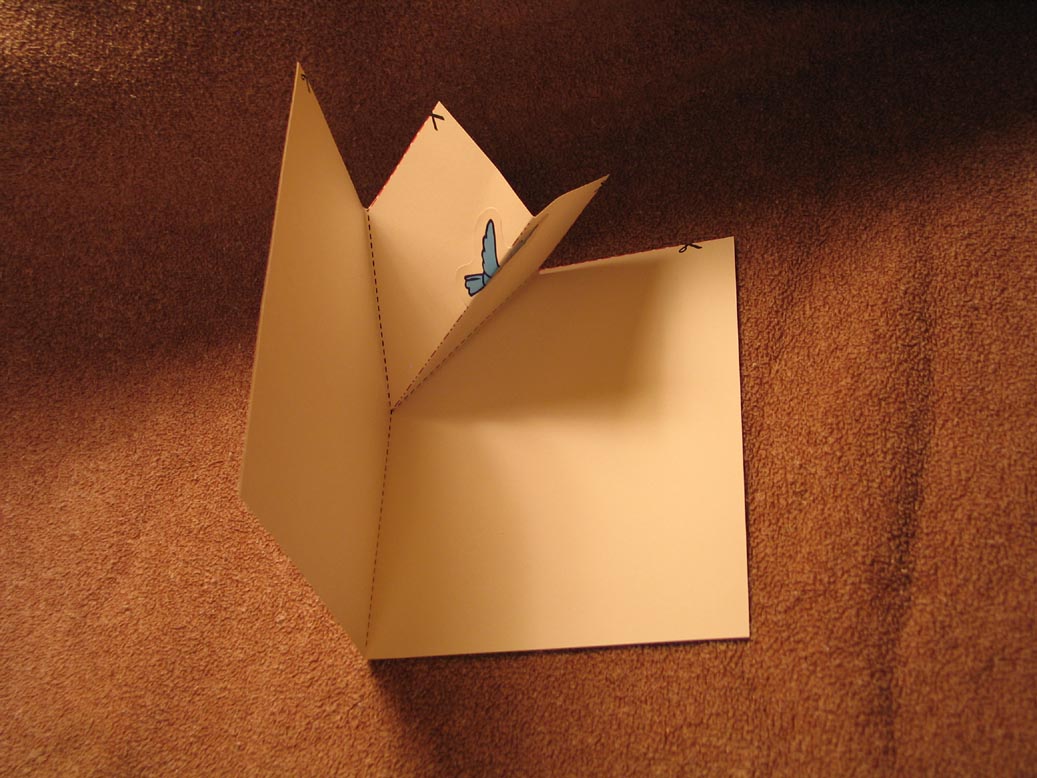
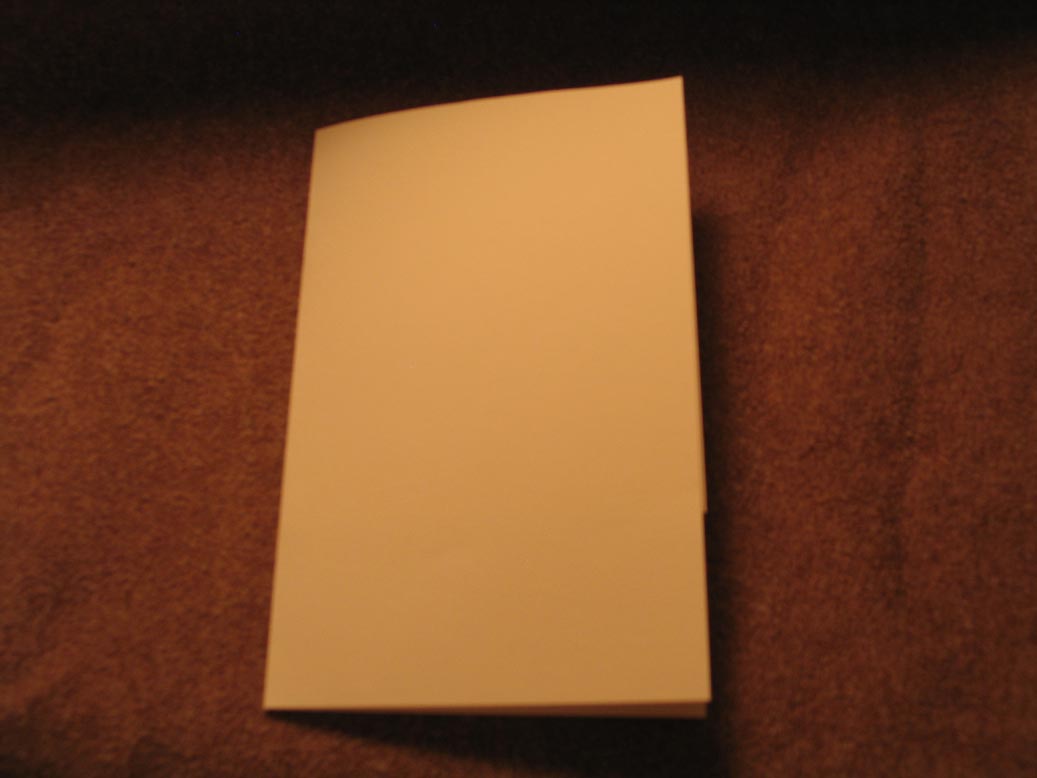
- Fold the card in half.

- Take the second sheet of cardstock and fold it in half lengthwise. This will form the outside of your card.
- Place the "inside" of the card (the pop-up part) over the outside of the card and glue them together.
- Voila! You now have a pop-up card!
With practise and experience you can scale the template to make different sized cards, cards with multiple pop-ups and different sized and shaped pop-ups!
--
(*) When printing out PDF documents, be sure to set "Page Scaling" to "none" (you'll want the document to print at 100%). You may need to adjust the template on your paper depending on your printer's "offset" settings.


 Subscribe to my feed
