- 2 sheets of 8.5" x 11" cardstock or construction paper
- scissors
- glue (stick-glue or white glue or rubber-cement)
- template with measurements (PDF file*) or template without measurements (PDF file*) (use this legend to decipher the folding symbols)
- things to decorate the card (such as markers, pencil crayons, stickers, stamps, cut-outs etc)
Instructions:
- review the template with measurements (PDF file*)
- print out the template without measurements (PDF file*) to transfer the pattern to your desired material or print it out directly on the card stock as a practise run (be sure to check the specifications of your printer before printing on unusual media -- using "out of spec" materials can cause permanent damage to your printing hardware)
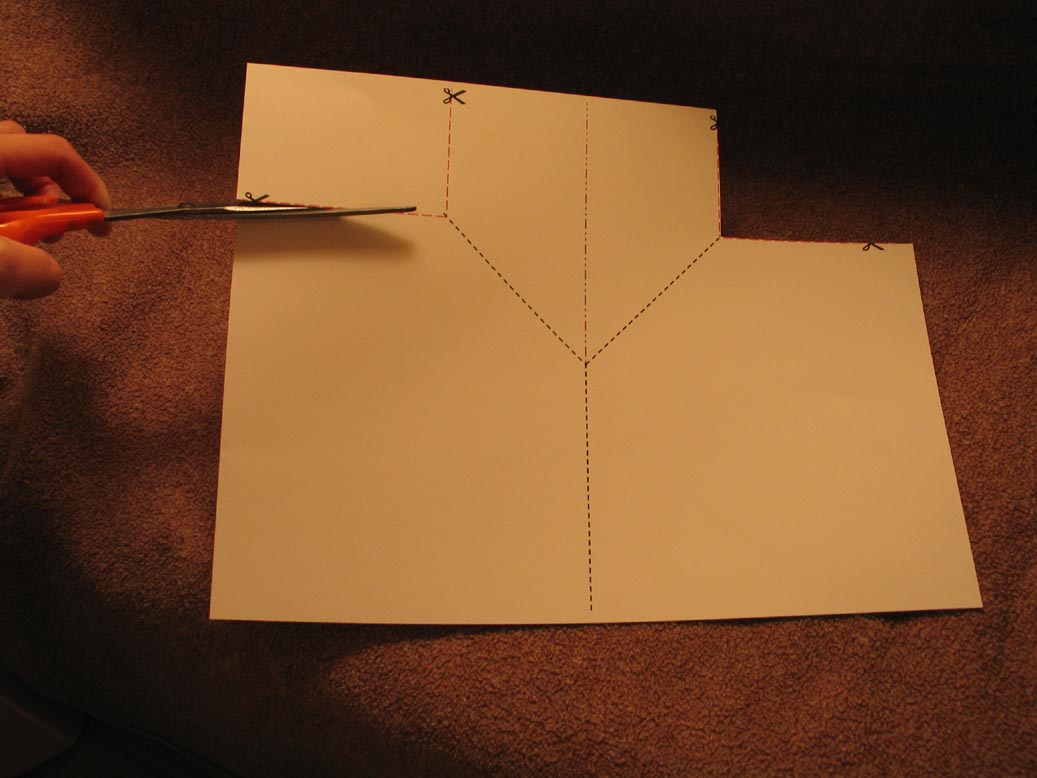
- Cut along the indicated lines. The pieces you remove may be discarded.
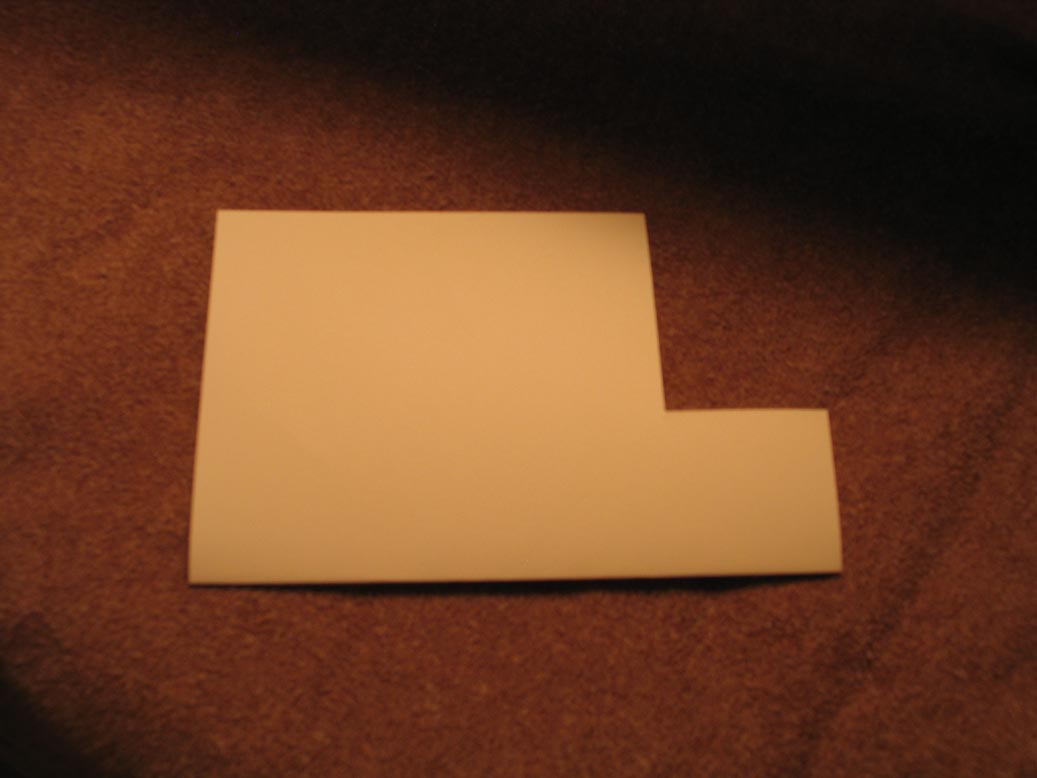
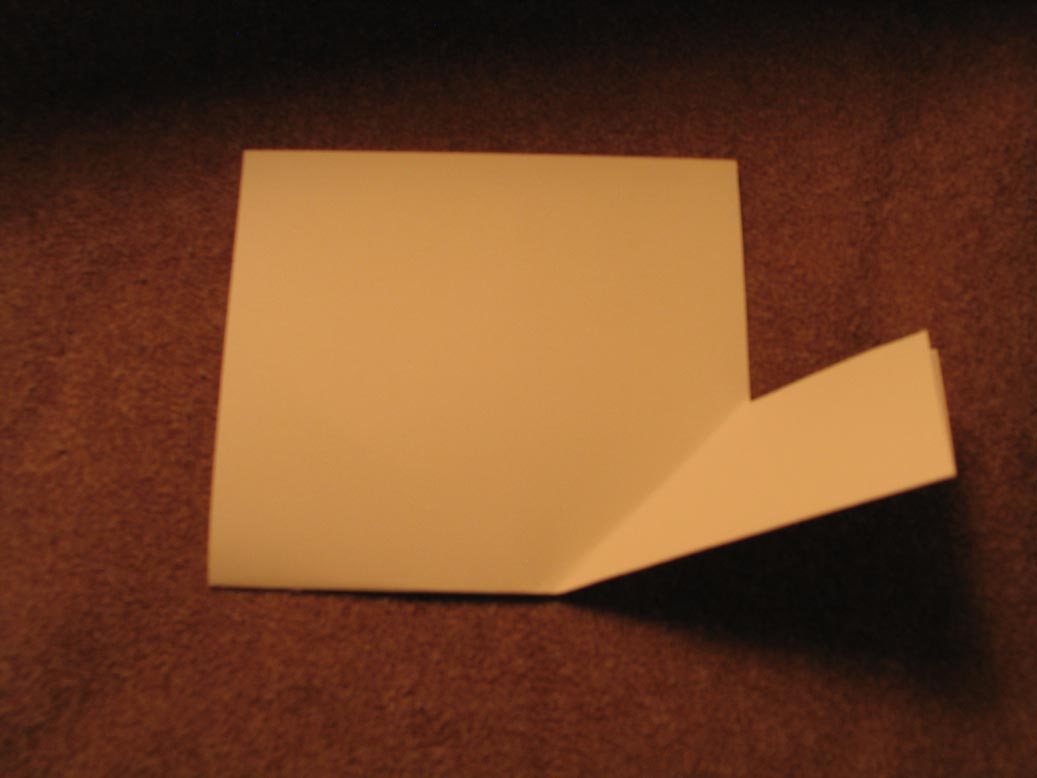
- Fold the paper in half, lengthwise.
- Orient the paper so that the "flap" is positioned in the lower right corner.
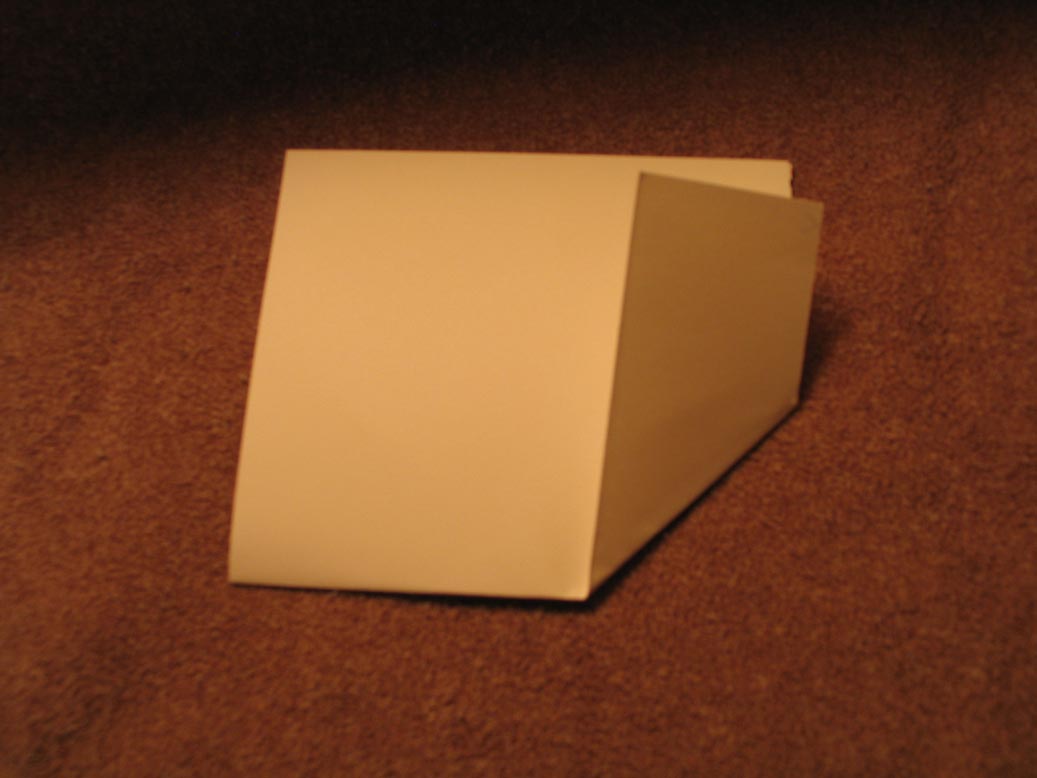
- With the paper oriented as above, fold the lower right hand "flap" up at a 45 degree angle.
- Undo the fold made in the previous step.
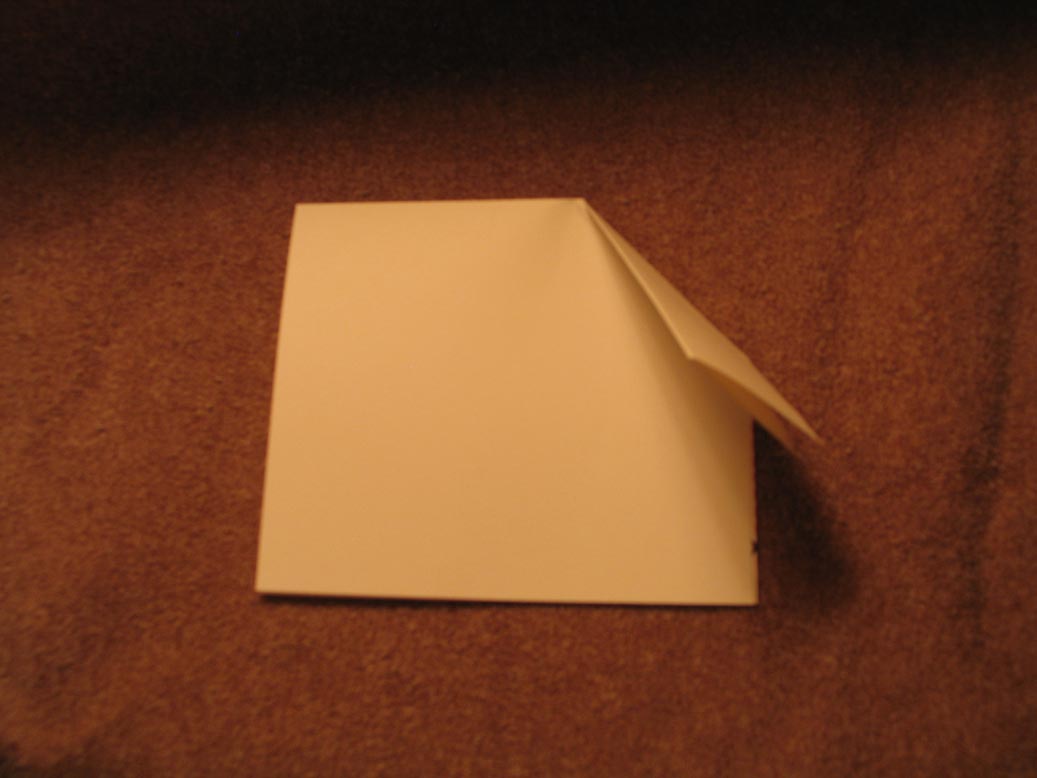
- Turn the project upside down, with the "flap" resting on the upper right hand corner as shown below.
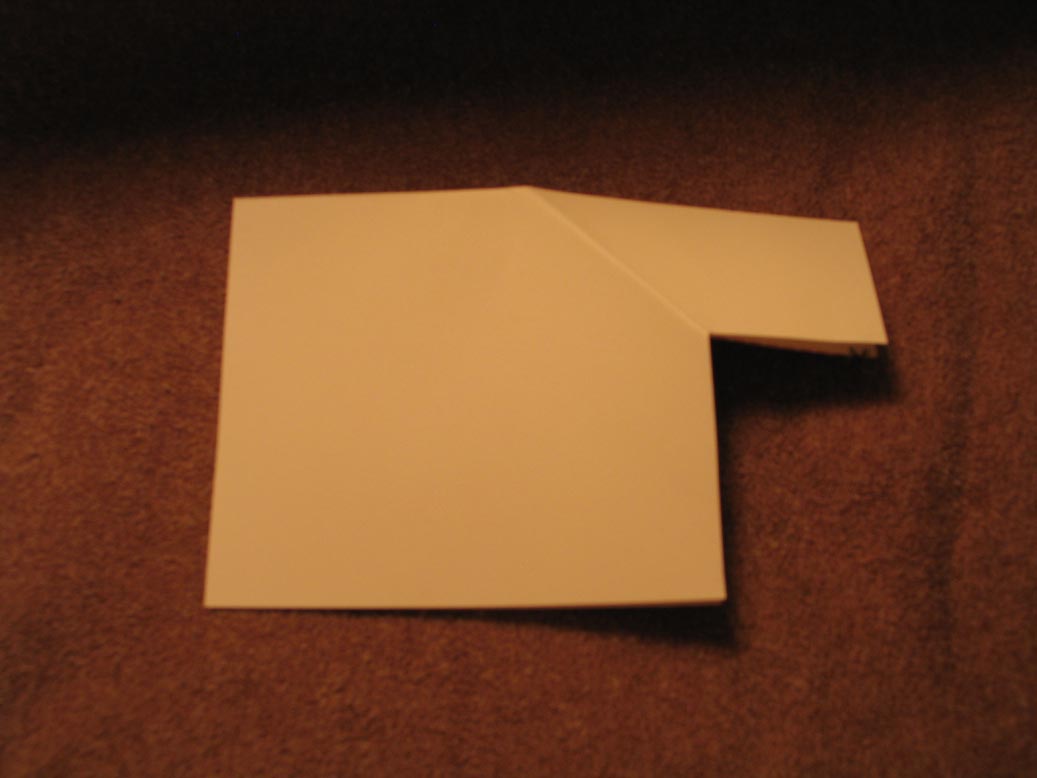
- Fold the "flap" along the same 45 degree angle fold that was made previously. (This time we're folding in the opposite direction).
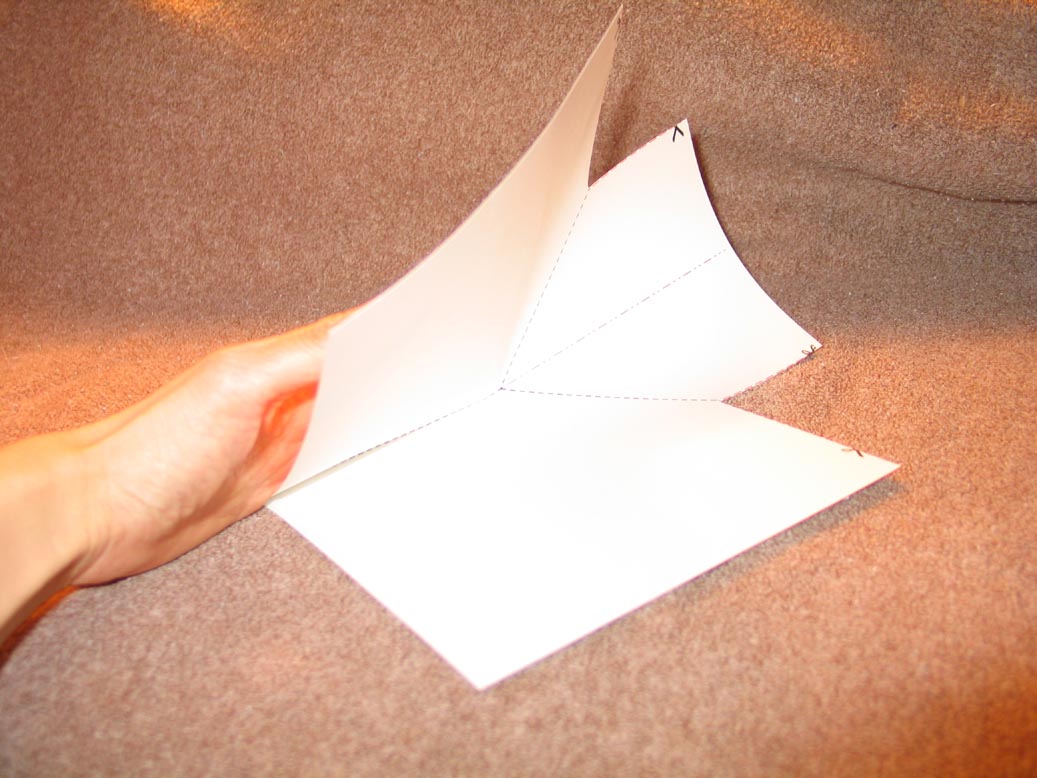
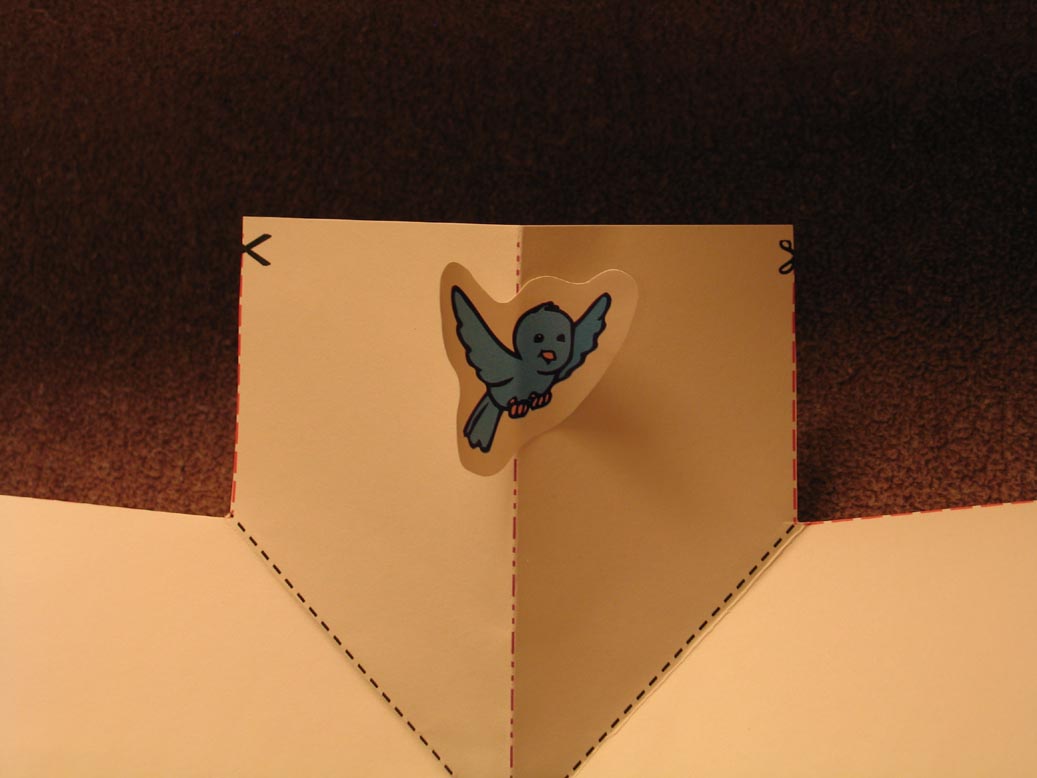
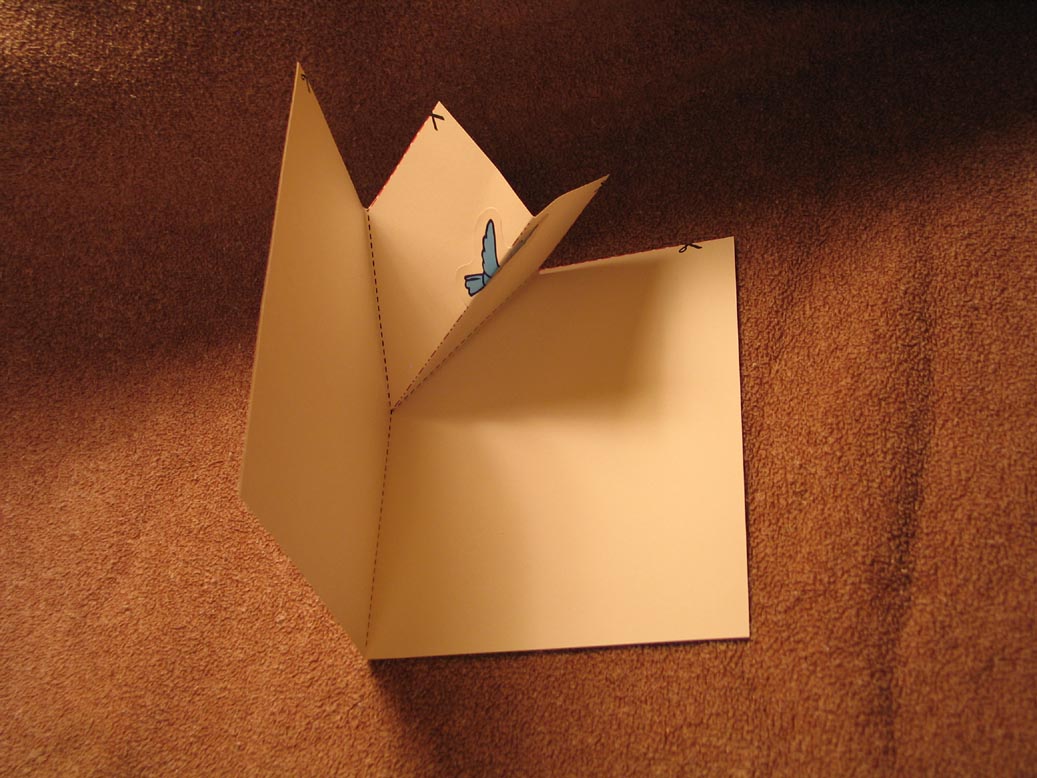
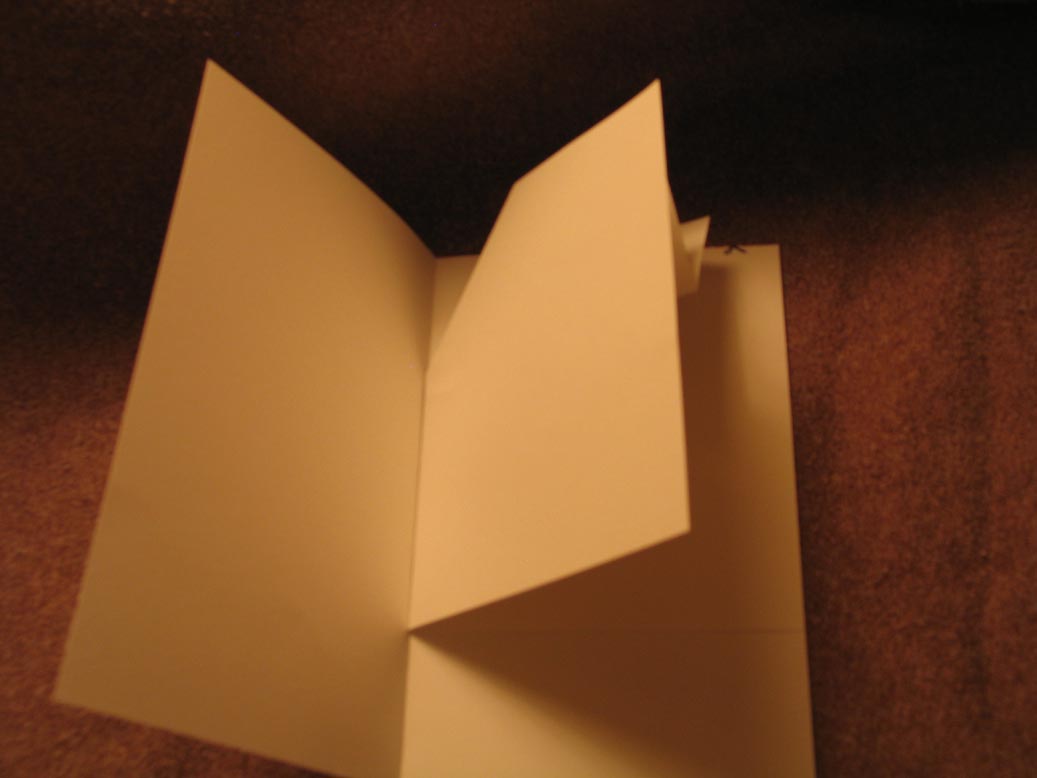
- Open the project up and crease the protruding rectangular bit along the "mountain fold" line right up until it meets the "valley fold" crease in the middle of the page.
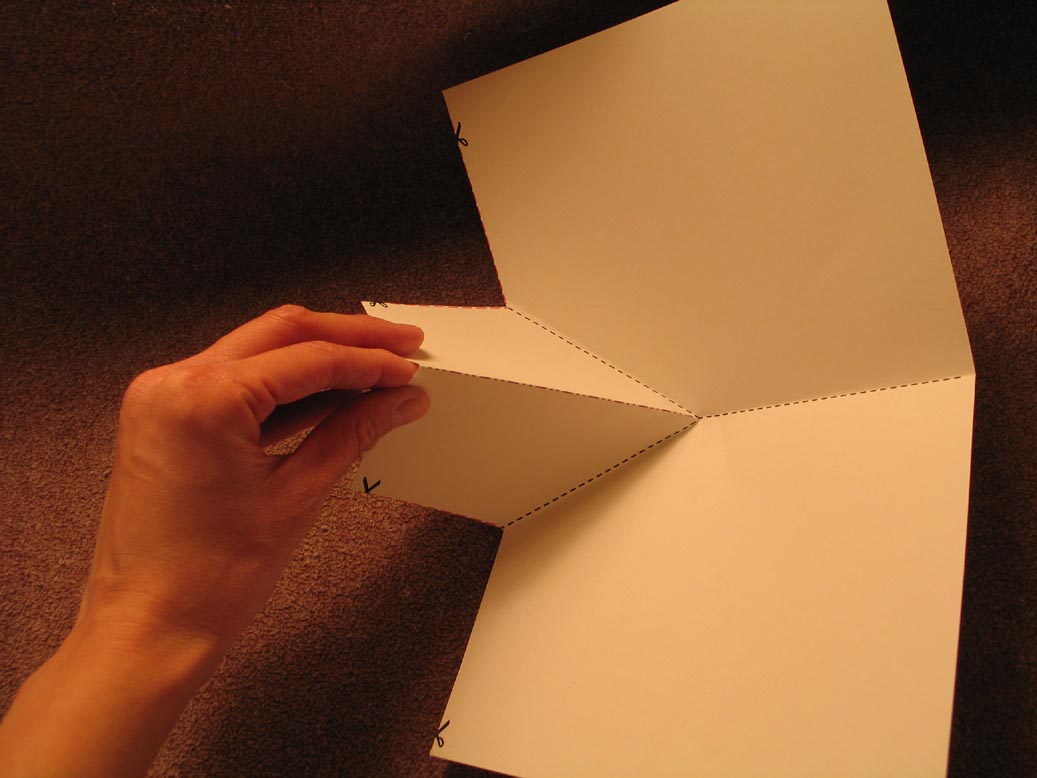
- Decorate the protruding rectangular bit. Be creative, use stickers, markers, cut-outs etc. This is the "pop-up" part of the card.
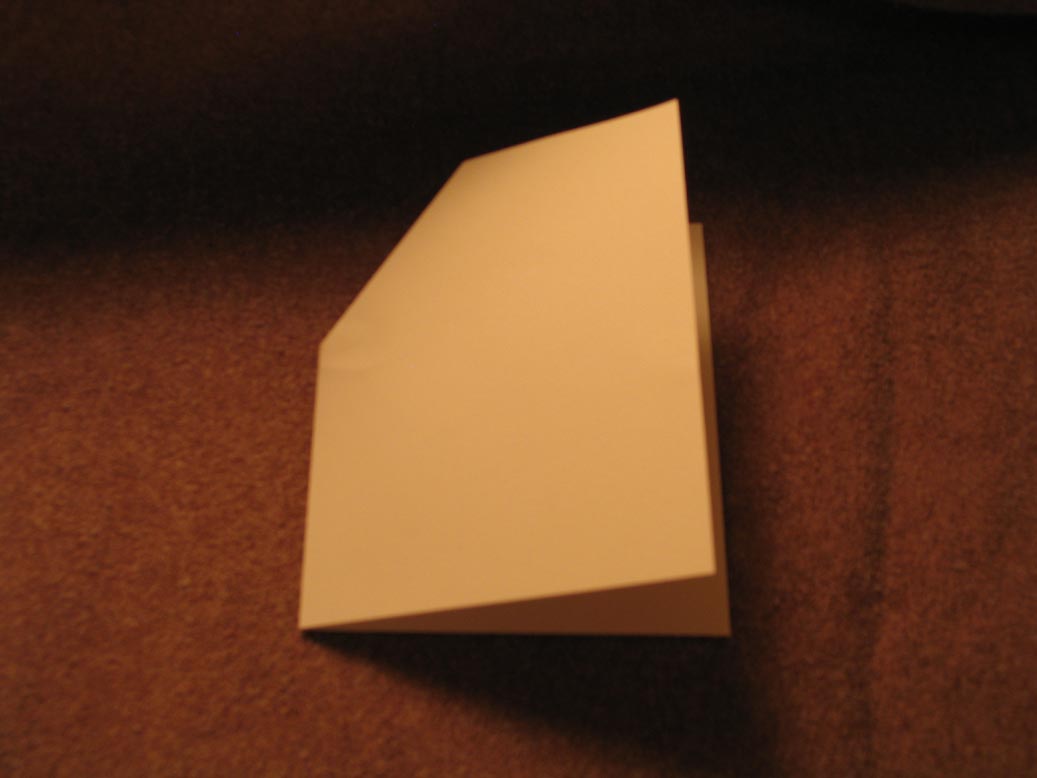
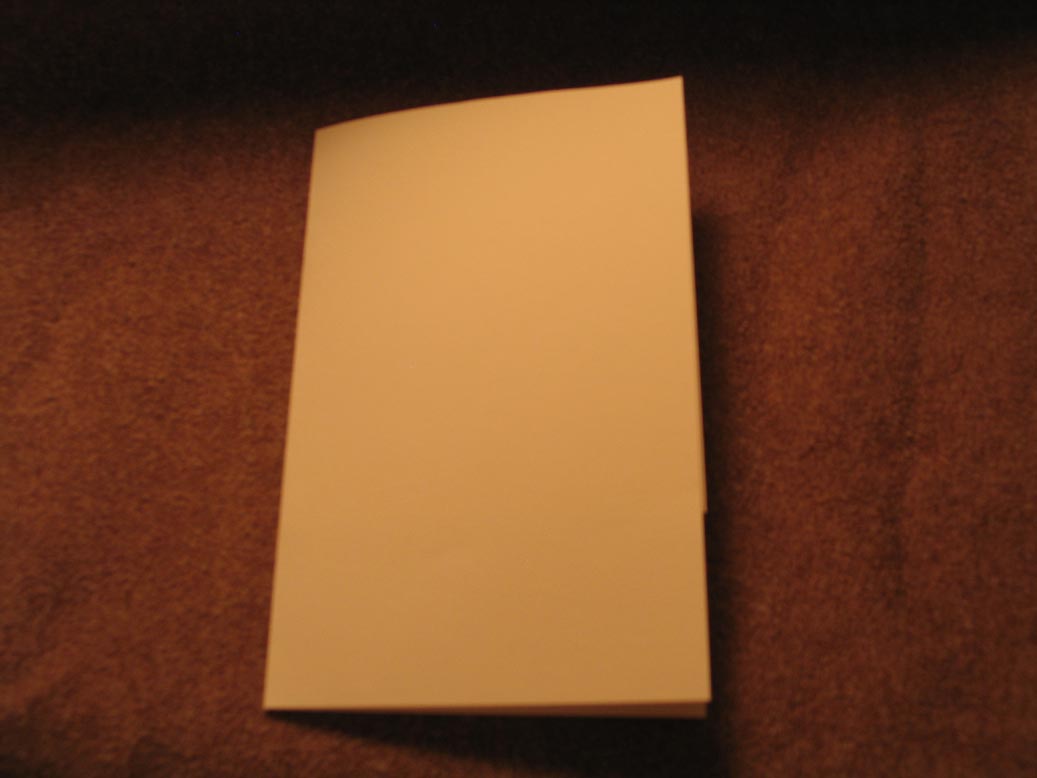
- Fold the card up.
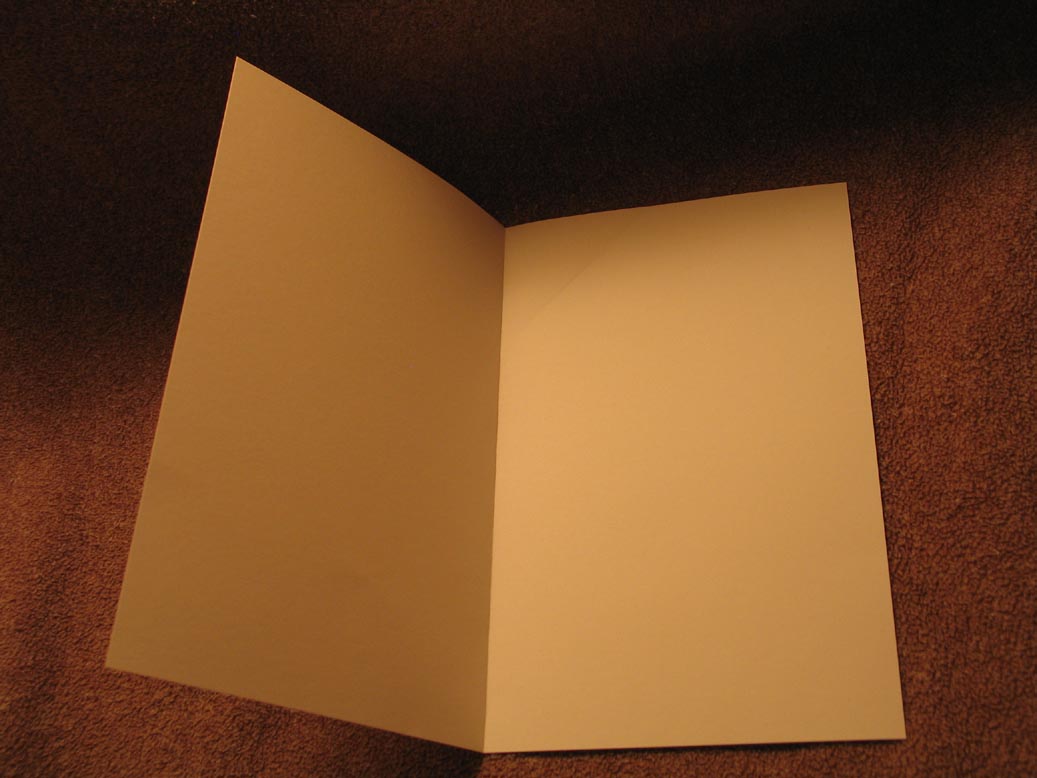
- Take your second piece of cardstock and fold it in half lengthwise.
- Take the "pop-up" insert and glue it into the full sized sheet of cardstock. Be sure to glue it so that the top of both pieces of paper line up. (When the card is opened, the "pop-up" piece should be above the top of the card.)
- Voila! Your very own pop-up card!
With practise and experience you can scale the template to make different sized cards and different sized and shaped pop-ups!
--
(*) When printing out PDF documents, be sure to set "Page Scaling" to "none" (you'll want the document to print at 100%). You may need to adjust the template on your paper depending on your printer's "offset" settings.
 Subscribe to my feed

No comments:
Post a Comment