Showing posts with label valentine. Show all posts

Friday, February 07, 2014

Heart crayons


I've been wanting to try this artsy Valentine's craft from Parent Hacks for a while now.  (I'm not ambitious enough to melt them down as per the instructions from the post Recycle Old Crayons Into New Shapes.)

Then one day I looked around the house and saw this:


Later in the week at the store I saw this:


So we put the crayons in a bucket with warm water, and peeled the labels off:


And chopped them up.  (Turns out I cut the pieces too small.  Next time I'll make them 1.5 - 2 cm, or about 1/2 inch,  in length.)


The bits go in a silicone baking pan:


Pop it in the oven at 230 F for about 15 min (you can see some aren't quite melted yet).  Tip:  put the kitchen exhaust fan on and / or open a window to get fresh air into the room.


Let the whole thing cool and then pop them out!


Any rough edges can be smoothed down by rubbing across a piece of paper.

Just make sure that kids don't eat them!


Sunday, February 06, 2011

Be still my heart and get crafting!
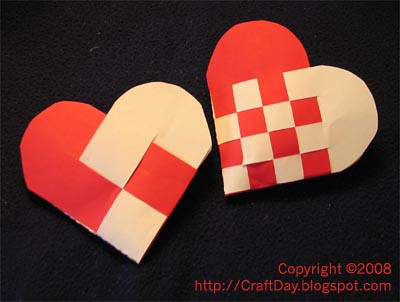
A heart craft round-up:

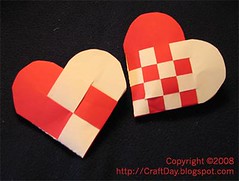
Woven heart pockets

heart_pockets


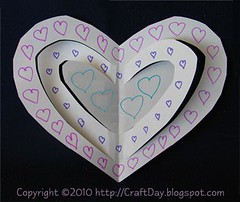
3-D heart
2010_01_3d_heart_10


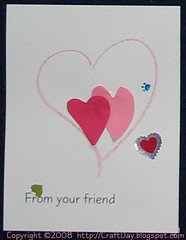
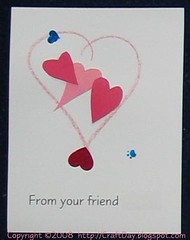
Quick and easy Homemade Valentine's Day cards


valentine_1 valentine_2


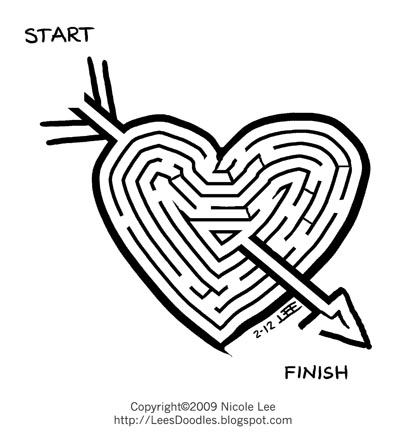
Print your own maze Valentines:
2009_02_12_heart_maze

The code for this doodle and other doodles you can use on your blog can be found at Doodles.
[Download the PDF for the Heart Maze.]
[Download the PDF for Heart Maze Valentine's Day cards.]


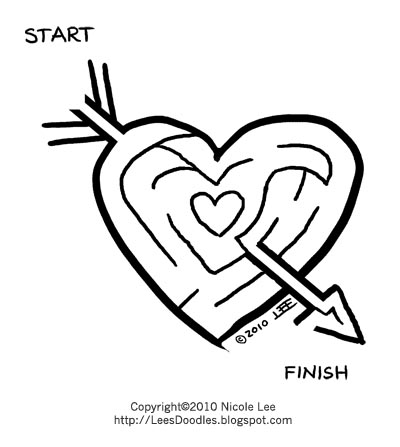
One a little more little kid friendly.
[Download the PDF for Heart Maze Valentine's Day cards.]


2010_02_12_heart_maze

The code for this doodle and other doodles you can use on your blog can be found at Doodles.


Heart sun catcher
heart_sun_catcher


Heart necklace
heart_necklace

Saturday, February 13, 2010

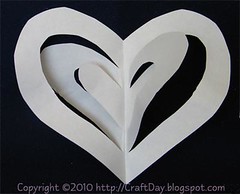
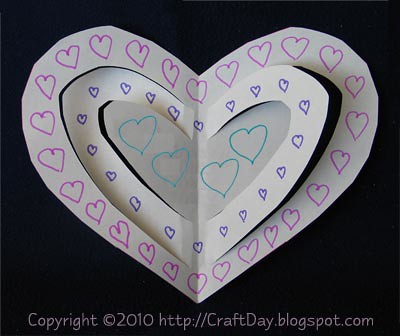
3-D heart

2010_01_3d_heart_10

Materials:
  • paper
  • scissors
  • X-Acto type knife and cutting mat
  • optional: materials for decorating your heart (eg. markers, crayonsstickers, glitter and glue)
  • optional: ribbon or yarn for hanging your heart

Instructions:
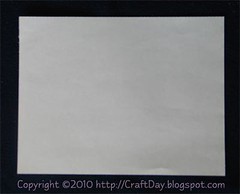
  1. 2010_01_3d_heart_01Place your paper flat.


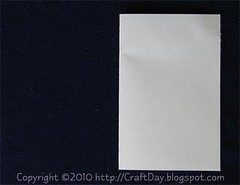
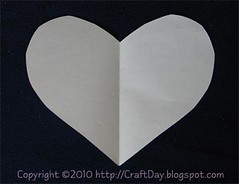
  2. 2010_01_3d_heart_02Fold your paper in half (the fold is on the left hand side in the photo.)


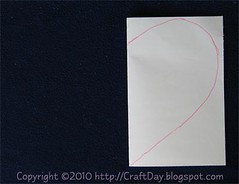
  3. 2010_01_3d_heart_03Draw half a heart on the paper. (Middle of the heart is the same place as the folded edge of the paper.)


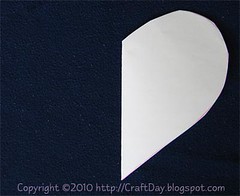
  4. 2010_01_3d_heart_04Cut out the heart and discard (recycle) the extra paper.


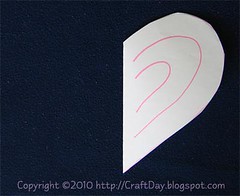
    2010_01_3d_heart_05If you were to open up the paper at this point, it would look something like this:


  5. 2010_01_3d_heart_06Draw some concentric half-heart lines (two lines shown) making sure to LEAVE A GAP BEFORE THE FOLDED EDGE.


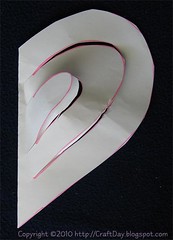
  6. 2010_01_3d_heart_07Using an X-Acto knife and cutting mat, cut along the lines. Be sure leave a gap between the cut at the folded edge.


  7. 2010_01_3d_heart_08Open the heart out.


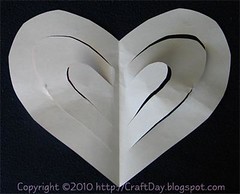
  8. 2010_01_3d_heart_09Gently fold the "middle" heart so the left side is behind the outer heart and the right side is above the outer heart. Gently fold the "inner" heart so the left side is above the middle heart and the right side is behind the middle heart.


  9. Decorate!

  10. Optional: punch hole in top, middle and hang with yarn or ribbon.

2010_01_3d_heart_10

Friday, February 12, 2010

Valentine, you amaze me! (redux)

It was brought to my attention that last year's Valentine's maze was a little challenging for the younger set. With that in mind, I this year I made one a little more, little kid friendly.

[Download the PDF for Heart Maze Valentine's Day cards.]

2010_02_12_heart_maze

The code for this doodle and other doodles you can use on your blog can be found at Doodles.

Thursday, February 12, 2009

Valentine, you amaze me!

[Download the PDF for this Heart Maze.]
[Download the PDF for Heart Maze Valentine's Day cards.]
2009_02_12_heart_maze

The code for this doodle and other doodles you can use on your blog can be found at Doodles.

Tuesday, February 12, 2008

Homemade Valentine's Day cards

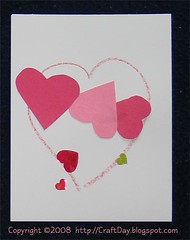
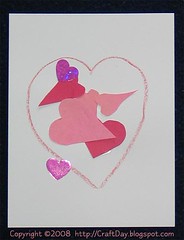
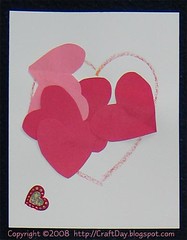
Quick and easy homemade Valentine's Day cards.

valentine_1 valentine_2

Materials:
  • letter sized card stock or sheets of perforated "postcards"
  • scissors
  • optional: paper-cutter if using card stock
  • red crayon, pencil crayon or marker
  • red and pink construction paper cut into hearts of varying sizes
  • white glue
  • heart shaped stickers
  • optional: stamps, markers, glitter etc for additional decorating

Instructions:
  • optional: if you want to have identical text on each of the cards (such as "Happy Valentine's Day" or "From your friend" then you may want to run the sheets through the printer before you cut them down to size)
  • cut card stock into quarters or perforate postcards
  • draw a large, red, free-hand heart on each card
  • have child glue construction paper hearts as desired
  • let glue dry
  • have child apply stickers, stamps or other decorations as desired
  • voila!

valentine_3 valentine_4 valentine_5

Sunday, February 10, 2008

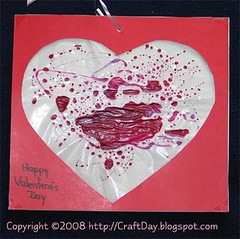
Heart sun catcher

heart_sun_catcher

(This idea came home from school.)

Materials:
  • white paper, letter sized (approx 22cm x 28cm or 8.5" x 11")
  • waxed paper (approx 22cm x 28cm or 8.5" x 11")
  • red paper (approx 22cm x 28cm or 8.5" x 11")
  • red acrylic paint
  • hole punch
  • scissors
  • white glue
  • ribbon (white, pink or red)

Instructions:
  • cut a large heart out of the red paper (leaving a red heart-shaped frame)
  • splatter red acrylic paint on waxed paper (in approximate area of cut-out of red sheet)
  • let red paint dry over night
  • glue waxed paper on top of white sheet of paper
  • glue red heart frame on top of waxed paper
  • let dry
  • punch hole in centre top of heart
  • put length of ribbon through hole, tie and hang on window

Wednesday, February 06, 2008

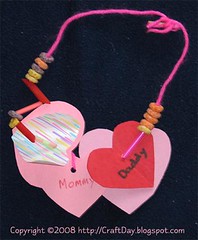
Heart necklace

heart_necklace

(This idea came home from school.)

Materials:
  • red, pink or white yarn, approximately 60 cm (2 feet) in length
  • blunt tip darning needle
  • cut-out hearts (size depending on age of child ... larger heart 8cm x 8cm (3"x3") for pre-schooler, smaller for grade-schooler) from different types and colour of paper
  • additional items for stringing: 2-3cm (1") length of coloured drinking straws, coloured pasta, multi-coloured "O" breakfast cereal etc
  • pen / marker / crayon for writing on hearts
  • hole punch

Instructions:
  • punch hole at approximately the centre of each paper heart
  • have child tell you the names of people they love, write each name on a separate heart (older children can do this part on their own)
  • thread yarn through darning needle
  • help child pass darning needle through decorations to start and then alternating between hearts and decorations until all hearts have been strung
  • finish with more decorations
  • tie loose ends together to complete necklace

WARNING:
The finished product could be a choking hazard if child left unsupervized. Child safety is your responsibility!

Wednesday, January 30, 2008

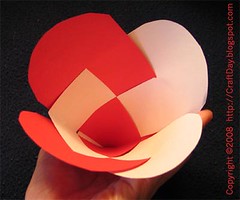
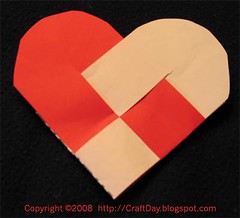
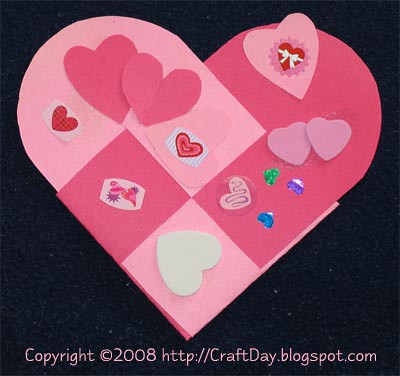
Woven heart pockets

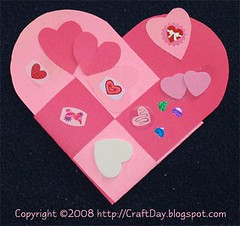
heart_pockets

heart_pockets_decorated

Materials:
  • Pattern (download the PDF pattern*)
  • use this legend to decipher the folding symbols
  • coloured paper (contrasting colours)
  • scissors
  • paper-clips
  • should you wish, materials for decorating your heart (eg. stickers, glitter and glue)


Instructions:
  1. print out the pattern (PDF file*) and transfer the pattern to your desired material or print it out as a practice run (be sure to check the specifications of your printer before printing on unusual media -- using "out of spec" materials can cause permanent damage to your printing hardware)

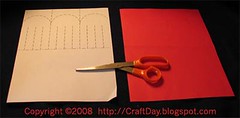
  2. heart_pocket_2_strip_01I've chosen to use one white sheet and one red sheet. Shown is the pattern printed on the white sheet.


  3. heart_pocket_2_strip_02Fold the sheet with the pattern on it in half, length-wise. Orient the paper with the pattern facing up.


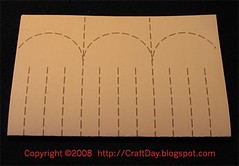
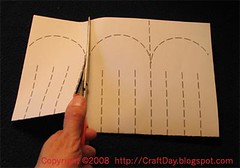
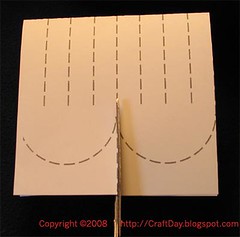
  4. Cut along the longest vertical lines.
    heart_pocket_2_strip_03


  5. heart_pocket_2_strip_04Should you find that the paper spreads when you cut it as described in step 4, either use the paper clips to keep the paper in place or begin cutting from the "open end" of the fold.


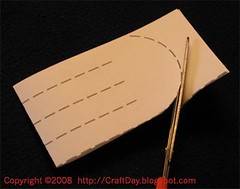
  6. heart_pocket_2_strip_05Trim the rounded edges of the paper. Again, if the paper doesn't stay in place, use paper clips to keep the paper steady.


  7. heart_pocket_2_strip_06Decide how many strips you want to weave. For the purposes of these instructions, we'll be making a simple two strip pocket. (Cut along the middle dotted line and ignore the first and third dotted lines.)

    If you're using a thick material, cut a little longer than the dotted line shown to give you room to work.

    To make a four strip pocket, cut along all three dotted lines.


  8. Repeat the above steps with the a sheet of contrasting colour.

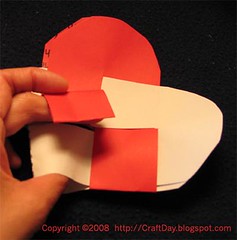
  9. Orient the pieces at approximately 90 degrees, with the rounded edges pointing up and to the right respectively.


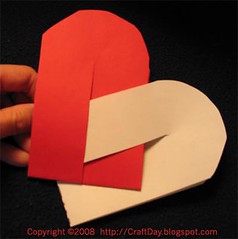
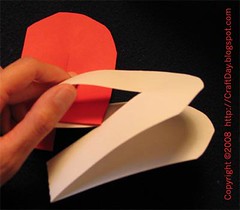
  10. heart_pocket_2_strip_08 heart_pocket_2_strip_07 Take the right most strip of the red piece and push it in between the topmost strip of the white piece.


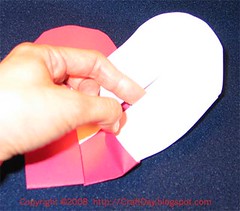
  11. heart_pocket_2_strip_10 heart_pocket_2_strip_09Take the bottommost white strip and insert it in between the rightmost red strip.

    (I'm not sure what happened with the photography here. Apologies for the glare.)


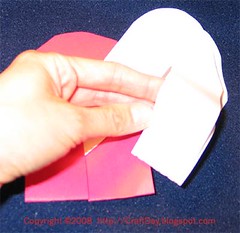
  12. heart_pocket_2_strip_11Pull the bottommost white strip all the way through.


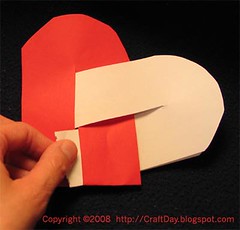
  13. heart_pocket_2_strip_12Insert the left-most red strip through the bottommost white strip that was pulled through in the previous step.


  14. heart_pocket_2_strip_open heart_pocket_2_strip_closedStraighten the pieces and voila!


Heart pockets can be used as "envelopes" when giving out Valentines cards (or candy). They can also be used as bags to hold Valentines received.


heart_pockets

heart_pockets_decorated

--

(*) When printing out PDF documents, be sure to set "Page Scaling" to "none" (you'll want the document to print at 100%). You may need to adjust the template on your paper depending on your printer's "offset" settings.