This was created at our local Ontario Early Years Centre.
Materials:
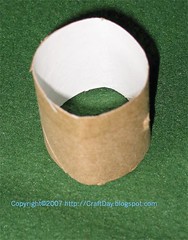
- part of a paper-towel roll (about 4cm length)
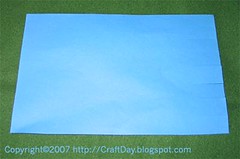
- construction paper (the colour of your desired octopus) approx 15cm x 23cm (width needs to be approximately the circumference of the paper-towel roll)
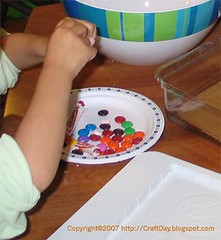
- stickers for decoration (eyes, suction cups)

- transparent tape
- pencil
- ruler
- scissors
- thick pencil, marker or dowel for curling paper
- optional: markers, crayons, glitter for additional decoration
Instructions:
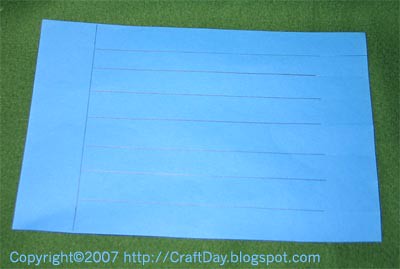
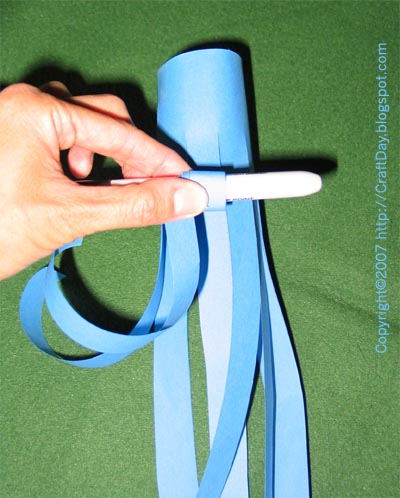
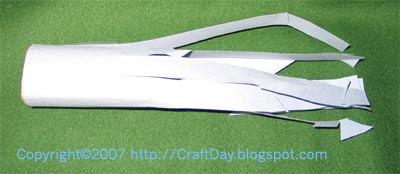
- place the paper-towel roll at one end of the construction paper. Use a pencil to mark the distance from the end and then rule a line to mark the margin along the width of the paper.
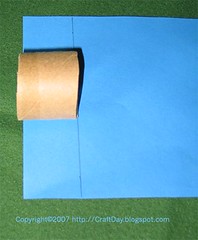
- mark 7 equadistant lines (to make eight strips) along the length of the paper, from the right edge up to the margin previously drawn on the left hand side.
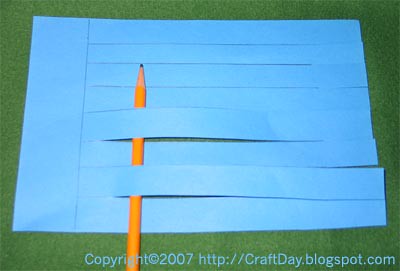
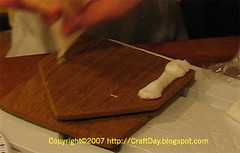
- cut these lines right up until the margin previously drawn of the left hand side (the pencil in the photograph below is only there to show you that the paper has been cut up to, but not including, the left margin)
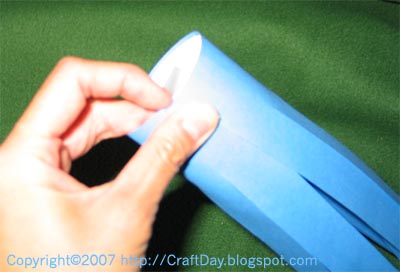
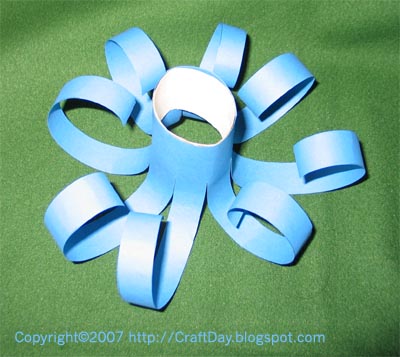
- wrap the paper width-wise at the edge of the paper towel roll. Use tape in one or two places to secure the paper.
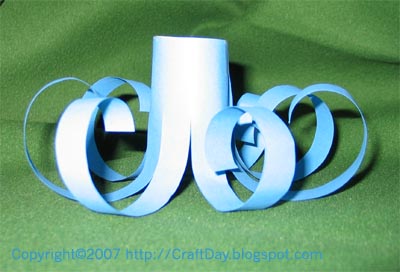
- one by one, wrap each leg around a thick marker (or pencil) to curl the leg. Hold the leg in the tight curl for 3-4 seconds before releasing.
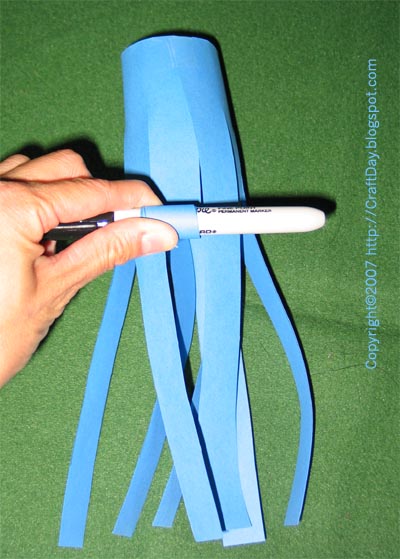
- continue curling the legs until all eight are done
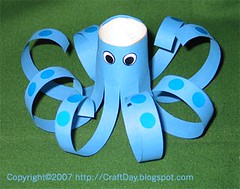
- decorate
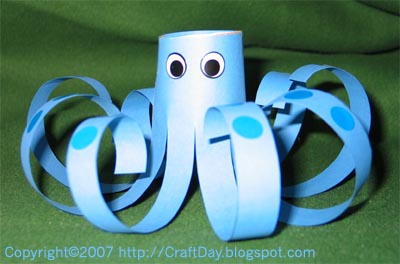

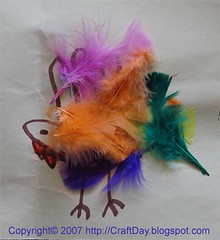
Enjoy your octopus!
And make sure your octopus stays away from boat propellers or it could end up looking like this .....


 Subscribe to my feed
