Showing posts with label OEYC. Show all posts

Sunday, October 26, 2008

Hallowe'en mobile

mobile_halloween_06

This was created at our local Ontario Early Years Centre.

Materials:
  • white, orange or black construction paper
  • orange or black crepe paper
  • orange or black string or yarn (yarn shown)
  • paper towel roll (shown one is cut to about 20cm in length)
  • stickers, crayons, markers for decorating
  • glue
  • scissors
  • masking tape

Instructions:
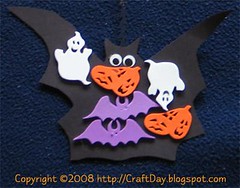
  • Have an adult cut out fun Hallowe'en themed shapes and have child decorate with stickers, paper, markers etc.

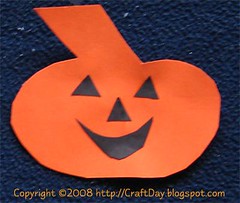
    mobile_halloween_01 mobile_halloween_02 mobile_halloween_03


  • Attach one length of yarn to the back of each shape using masking tape (vary the lengths to make the mobile more interesting)
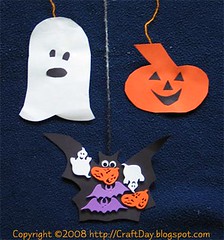
    mobile_halloween_04


  • Attach the other end of the yarn to the paper towel roll, using masking tape. Cover the roll with crepe paper to hide the taped yarn. Place a last piece of yarn through the paper towel roll and knot. This last piece will be used to hang the mobile.

    mobile_halloween_05

  • Hang your mobile and enjoy! [Remember that long lengths of string / yarn present hazards to young children. Safety is your responsibility.]

    mobile_halloween_06

Saturday, June 21, 2008

Hand flower

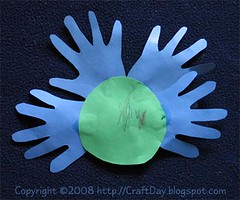
hand_flower

This was created at our local Ontario Early Years Centre.

Materials:
  • construction paper of contrasting colours (petals and centre)
  • glue
  • pencil (with which to trace little hands)
  • scissors

Instructions:
  • have an adult trace four or five hands on construction paper (petals) -- if you are giving this as a gift, it is a nice touch to have one hand per member of the family!
  • have an adult cut out the hands
  • have an adult cut out a circle for the centre of the flower (the one shown is about 10cm in diameter)
  • have child glue the hands to the back of the flower centre
  • if desired, improvise stem with popsicle stick, pipe cleaner or construction paper (alternately glue the whole thing on a large piece of paper and draw the stem in -- along with flowers and birds!)

Friday, April 04, 2008

Coffee Filter Flower

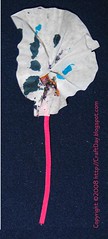
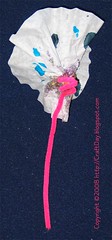
flower_coffee_filter_front flower_coffee_filter_back

This was created at our local Ontario Early Years Centre.

Materials:
  • coffee filter
  • things with which to decorate flower (bingo daubers, stickers, glue and glitter, crayons etc)
  • pipe cleaner

Instructions:
  • spread coffee filter flat (one big circle) have child decorate coffee filter
  • adult to scrunch coffee filter in the centre and wrap pipe cleaner stem around center

Thursday, March 20, 2008

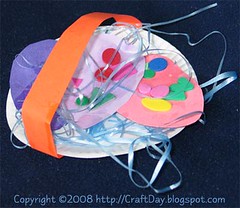
Easter basket

easter_basket

This was created at our local Ontario Early Years Centre.

Materials:
  • small paper plate (shown is 15cm / 6" in diameter)
  • "Easter grass" (decorative straw)
  • white glue
  • easter coloured construction paper cut into egg shapes, approximately 6.5cm x 9cm (2.5" x 3.5")
  • markers, felt shapes, crayons, sparkles etc for decorating the paper eggs
  • strip of coloured construction paper for the handle (approx 2.5cm x 18cm / 1" x 7")
  • stapler

Instructions:
  • glue the "Easter grass" to the top of the plate
  • decorate paper eggs as desired
  • glue decorated paper eggs on top of easter grass
  • staple handle across the plate (fold the edge of the handle under the outer edge of the plate and staple) -- be sure that the staple is completely folded and there are no sharp edges to cut little hands
  • enjoy your Easter basket!

Tuesday, October 09, 2007

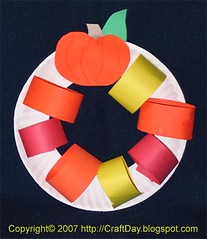
Pumpkin wreath

2007_10_09_pumpkin_wreath


This was created at our local Ontario Early Years Centre.

Materials:

  • paper plate with centre cut out (by adult)
  • construction paper (orange, brown, green, red, yellow)
  • glue
Instructions:
  • cut pumpkin shape out of orange construction paper
  • cut pumpkin stem out of brown construction paper
  • cut leaf out of green construction paper
  • cut strips of construction paper out of the "fall" colours -- yellow, red and orange -- (the ones in the photo above are approx 2" by 11" -- I'd recommend making them a little thinner and shorter)
  • have children glue pumpkin to stem and leaf and then to paper plate
  • have children make rings out of the coloured strips of paper by gluing them
  • glue the rings to the paper plate

Sunday, September 23, 2007

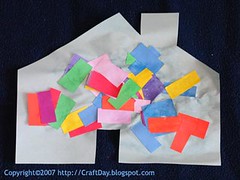
House collage

house_collage


This was created at our local Ontario Early Years Centre.

Materials:
  • a sheet of paper cut like the shape of a house
  • pieces of coloured construction paper cut into squares, rectangles, circles
  • optional: cut out pictures from magazines (doors, windows etc) or stickers
  • glue stick or white glue


Instructions:
  • put house shaped paper down
  • apply glue and cut shapes / pictures to decorate the house

Saturday, August 04, 2007

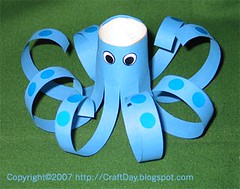
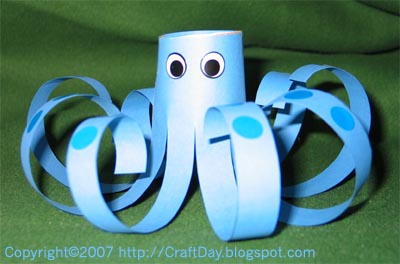
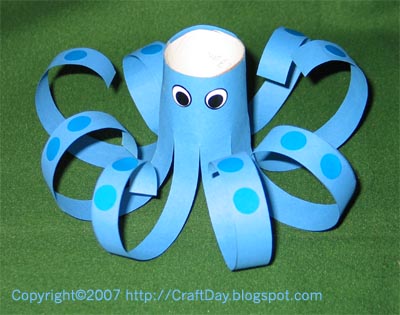
Paper octopus

This was created at our local Ontario Early Years Centre.

paper_octopus_finished_02


Materials:
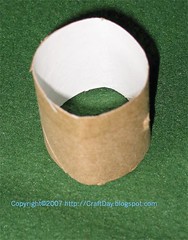
  • part of a paper-towel roll (about 4cm length)
    paper_octopus_supplies_02
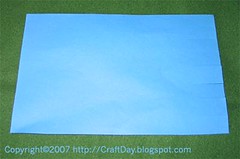
  • construction paper (the colour of your desired octopus) approx 15cm x 23cm (width needs to be approximately the circumference of the paper-towel roll)
    paper_octopus_supplies_01
  • stickers for decoration (eyes, suction cups)
    paper_octopus_supplies_03
  • transparent tape
  • pencil
  • ruler
  • scissors
  • thick pencil, marker or dowel for curling paper
  • optional: markers, crayons, glitter for additional decoration
Instructions:

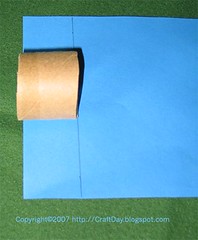
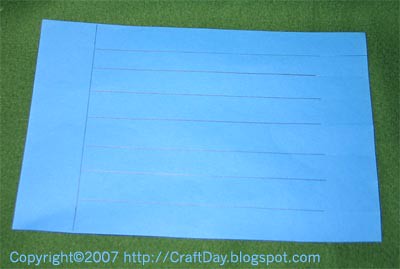
  • place the paper-towel roll at one end of the construction paper. Use a pencil to mark the distance from the end and then rule a line to mark the margin along the width of the paper.
    paper_octopus_01
  • mark 7 equadistant lines (to make eight strips) along the length of the paper, from the right edge up to the margin previously drawn on the left hand side.
    paper_octopus_02
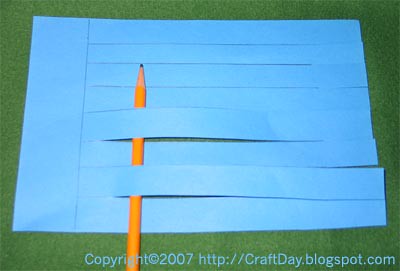
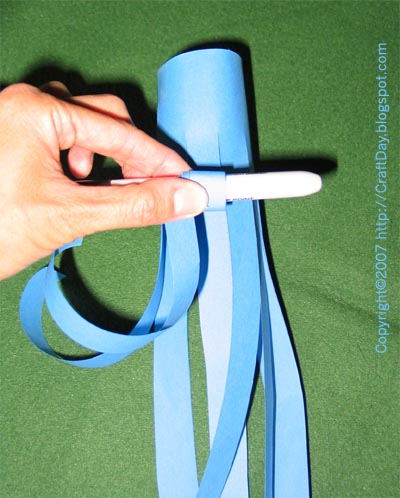
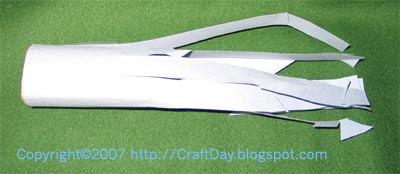
  • cut these lines right up until the margin previously drawn of the left hand side (the pencil in the photograph below is only there to show you that the paper has been cut up to, but not including, the left margin)
    paper_octopus_03
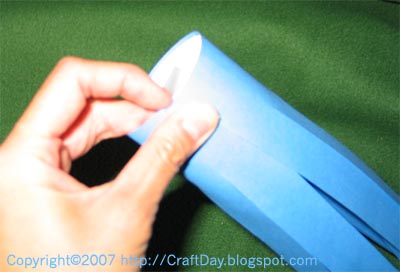
  • wrap the paper width-wise at the edge of the paper towel roll. Use tape in one or two places to secure the paper.
    paper_octopus_04
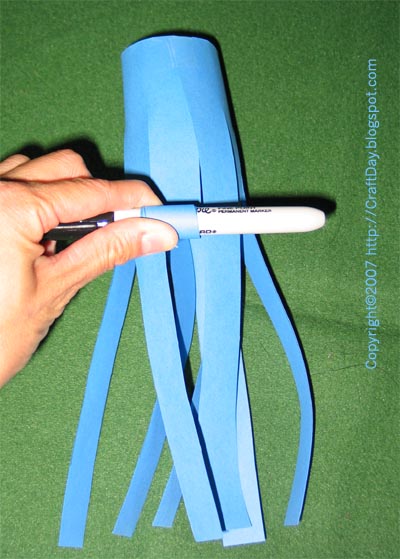
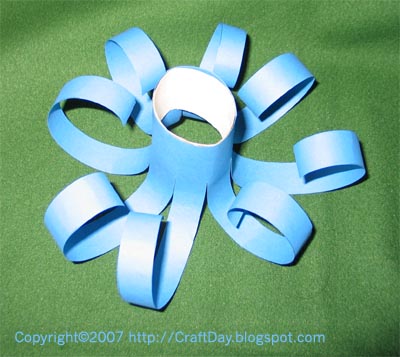
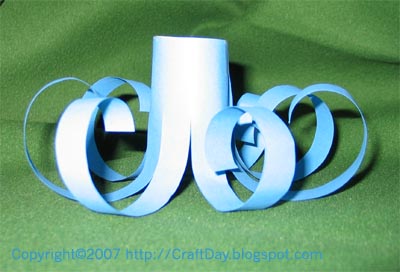
  • one by one, wrap each leg around a thick marker (or pencil) to curl the leg. Hold the leg in the tight curl for 3-4 seconds before releasing.
    paper_octopus_05
  • continue curling the legs until all eight are done
    paper_octopus_06

    paper_octopus_07

    paper_octopus_08
  • decorate
    paper_octopus_finished_01

    paper_octopus_finished_02

Enjoy your octopus!

And make sure your octopus stays away from boat propellers or it could end up looking like this .....

paper_octopus_finished_03

Tuesday, July 17, 2007

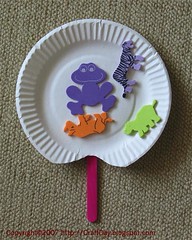
Paper plate fan

This was created at our local Ontario Early Years Centre.

fan_paper_plate


Materials:


  • paper plate with dimple cut out of it
  • popsicle / craft stick
  • tape (or glue)
  • stickers
  • optional: anything else to decorate, such as crayons, markers, paint, glitter


Instructions:


  • tape or glue the popsicle stick to the underside of the plate, centred with the dimple cut out
  • decorate plate
  • enjoy your fan!

Tuesday, July 10, 2007

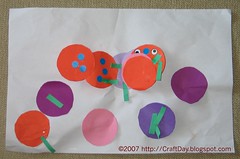
Caterpiller

This was created at our local Ontario Early Years Centre.

caterpiller


Materials:

  • multicoloured construction paper cut into circles
  • green construction paper cut into strips for legs
  • glue (white or glue stick)
  • optional: pipe cleaners for antennae (construction papper works too)
  • optional: stickers, markers, glitter etc to decorate the body
  • optional: stickers for eyes (marker or crayon works too)
  • optional: legal sized paper upon which to mount final product

Instructions:

  • glue the circles together overlapping about 20%
  • the caterpiller can be straight or wavy
  • glue to the legs to the underside of the caterpiller and decorate the body
  • mount the entire caterpiller to a sheet of paper or leave free

Tuesday, April 03, 2007

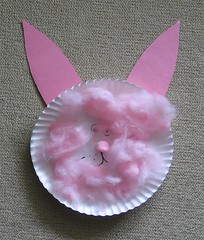
Easter Bunny

easter_bunny


This was created at our local Ontario Early Years Centre.

Materials:

  • paper plate
  • coloured construction paper cut out as ears
  • small pink craft pom-pom
  • cotton batting (coloured in same colour as ears or white)
  • eye stickers (googly eyes are fun) or you can draw the eyes on
  • markers or crayons or pencil crayons to draw the face (and perhaps eyes) on plate
  • tape
  • white glue

Instructions:

  • draw a face on the front of the plate complete with whiskers
  • tape the ears to the back of the plate
  • glue the pom-pom on the nose
  • spread white glue around the face (and ears)
  • tease out the cotton batting and apply to the glued areas

Tuesday, March 13, 2007

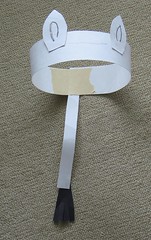
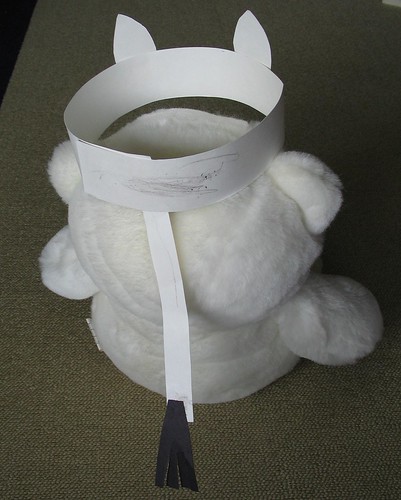
Animal Headband

animal_headband


This was created at our local Ontario Early Years Centre.

Materials:


  • the colour of paper that you choose should match the animal you are trying to make (for example, white paper for a zebra, orange paper for a tiger)
  • strip of construction paper approx 55cm long and 5cm wide (should be long enough to make a band around the child's head)
  • 2 pieces of the same coloured construction paper approx 7cm long and 4cm wide from which to cut ears
  • 1 piece of the same coloured construction paper approx 20cm long and 2cm wide from which to make a tail
  • 1 piece of black coloured construction paper approx 7cm long and 4cm wide from which to cut tail end
  • black crayons or markers to make stripes
  • scissors (have the adults precut the ears and tail pieces for the pre-schoolers)
  • glue
  • tape
Instructions:


  • lay the long strip of paper out flat
  • glue on the ears in about the centre of the strip
  • have the child draw stripes (as required) using the black crayons or markers
  • measure the long strip around the child's head and tape in a circle to make a good fit
  • glue on the black tail end to the tail
  • glue the tail on the back of the headband


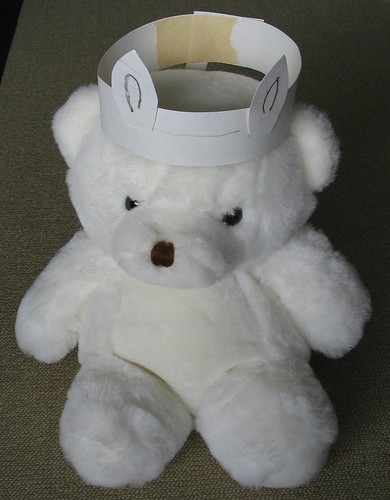
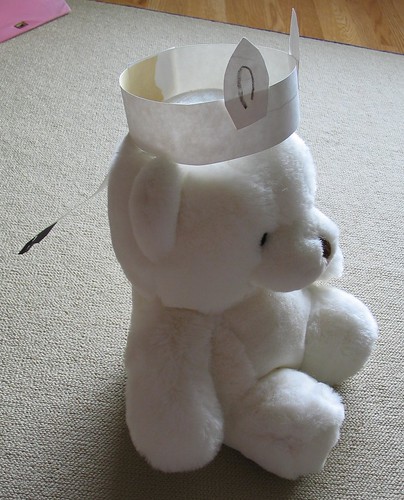
You'll note that this headband is too small for our model:

animal_headband_front


animal_headband_side


animal_headband_back


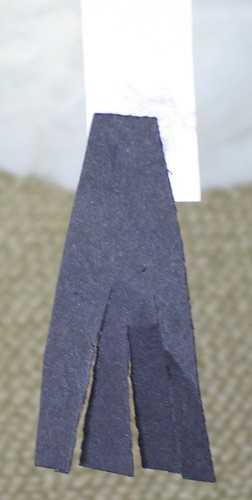
Note the added detail of fringing the black tail end:

animal_headband_tail_detail


Tuesday, February 13, 2007

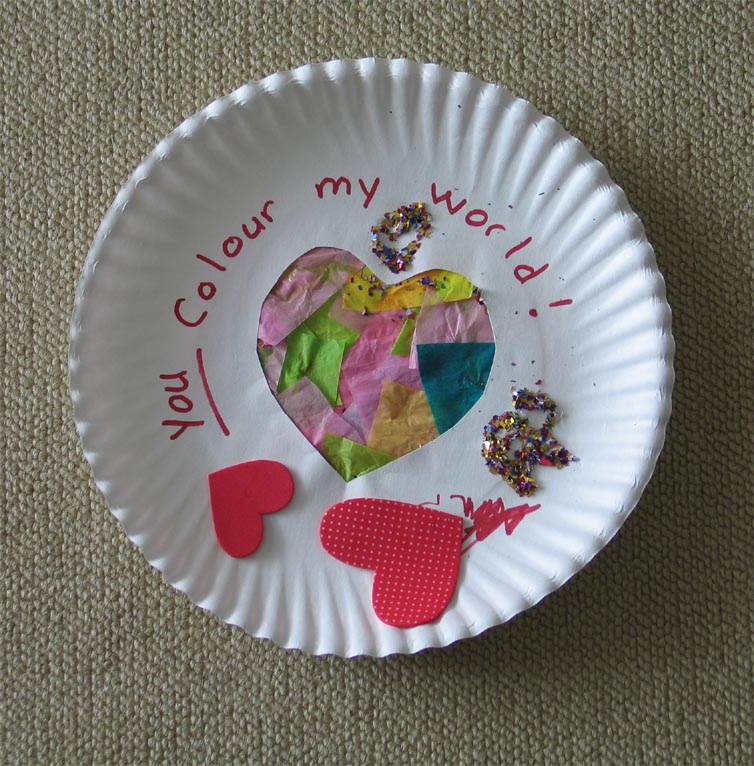
You colour my world

you_colour_my_world


This was created at our local Ontario Early Years Centre.


Materials:

  • paper plate
  • scissors
  • glue
  • tissue paper pieces (multiple colours, pieces approx an inch square)
  • glitter
  • markers
  • heart shaped stickers or cut out hearts

Instructions:

  • have an adult cut a heart shape out of the centre of a paper plate
  • write your message on the front of the plate
  • turn plate over
  • put glue around the heart
  • put tissue paper on the glue, overlapping into the heart shape cut out
  • add more glue on the tissue paper
  • add more tissue paper and glue until the whole has been filled
  • put glue on the front of the plate
  • put sprinkles on the glue (works best over newspaper or a big rectangular bucket to catch the glitter)
  • decorate with heart stickers or use markers

Wednesday, February 07, 2007

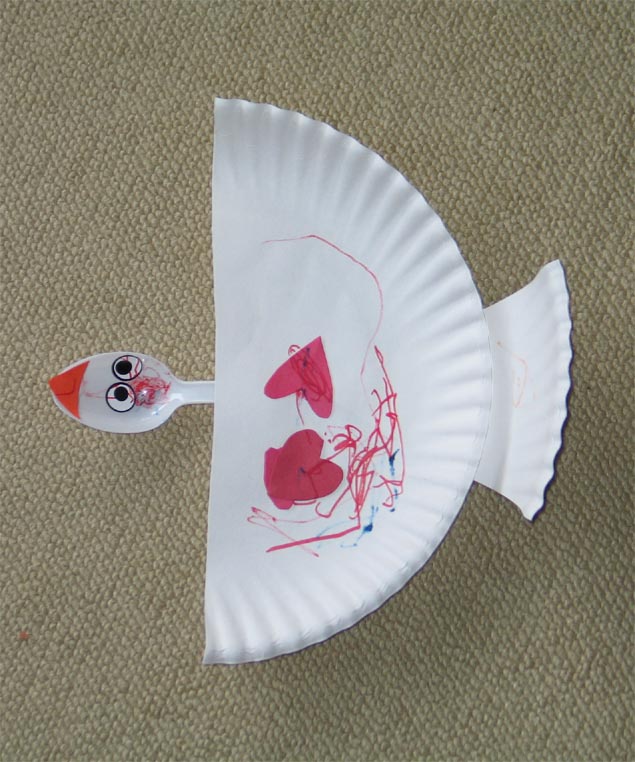
Love Dove

LoveDove


This was created at our local Ontario Early Years Centre.


Materials:


  • paper plate
  • plastic spoon
  • scissors
  • glue
  • tape
  • markers
  • heart shaped stickers or cut out hearts

Instructions:


  • cut a paper plate in half (body and wings)
  • cut one third off the remaining half (tail)
  • glue the tail onto the back of the wings
  • tape the spoon onto the body such that the bowl of the spoon represents the head (the spoon was taped on backwards in the photo above -- artistic licence and all!)
  • decorate with stickers for eyes and glue hearts onto body and wings or use markers

Wednesday, December 20, 2006

Gingerbread man

gingerbreadman This was created at our local Ontario Early Years Centre.

Materials:

  • brown construction paper or craft foam (the one shown was made with craft foam)
  • festive stickers, ribbons etc to be used for decorations (the one shown used festive foam stickers)
  • glue
  • markers, crayons, glitter etc for further decoration
  • ribbon (if you wish to make a hanging decoration)

Instructions:
  • have the gingerbread man shape cut out by an adult
  • decorate with stickers etc
  • affix ribbon (if yo uwish to make a hanging decoration)

Tuesday, December 19, 2006

Santa

santa_plate

This was created at our local Ontario Early Years Centre.

Materials:

  • paper plate
  • cotton balls
  • red construction paper
  • white glue
  • stickers, markers, crayons, glitter etc for decorating

Instructions:

  • cut out hat shapes (red hat and white trim)
  • glue hat to paper plate
  • create eyes, nose, cheeks with stickers or markers
  • glue on cotton balls as beard and hat decoration

Sunday, September 10, 2006

Lunch bag puppets

Materials:

  • brown lunch bag with flat rectangular bottom
  • some of: markers, construction paper, crayons, pencils, glitter, feathers, craft shapes for decorating
  • glue stick (or white glue / rubber cement for older children)
Instructions:
  • place the lunch bag so that the folded bottom is up at the top -- this will be the "face" of the puppet (with the fold of the bag as the mouth)
  • decorate the face and body as desired
  • insert hand and operate!

Saturday, September 09, 2006

Mosaics

Materials:

  • outline drawing (from colouring book, printed from internet or hand-drawn)
  • glue stick (or white glue for older children)
  • an assortment of small pieces of paper (from magazines, construction paper, junk mail etc)
  • scissors (optional)

Instructions:

  • rip up (or cut up) pieces of paper and glue them into the outline drawing

Thursday, September 07, 2006

Bracelets / super-hero bands

Materials:

  • paper towel tube / toilet paper tube pre-cut in ~4cm widths and slit vertically (trim corners so that they're not sharp)
  • any of crayons, markers, paint, stickers, adhesive foam shapes
  • coloured paper shapes (optional)
  • glue stick (or glue) if using coloured paper above

Instructions:
  • decorate cardboard tube "bracelet" / "super-hero band" as desired