Showing posts with label age: grade-school. Show all posts

Friday, February 07, 2014

Heart crayons


I've been wanting to try this artsy Valentine's craft from Parent Hacks for a while now.  (I'm not ambitious enough to melt them down as per the instructions from the post Recycle Old Crayons Into New Shapes.)

Then one day I looked around the house and saw this:


Later in the week at the store I saw this:


So we put the crayons in a bucket with warm water, and peeled the labels off:


And chopped them up.  (Turns out I cut the pieces too small.  Next time I'll make them 1.5 - 2 cm, or about 1/2 inch,  in length.)


The bits go in a silicone baking pan:


Pop it in the oven at 230 F for about 15 min (you can see some aren't quite melted yet).  Tip:  put the kitchen exhaust fan on and / or open a window to get fresh air into the room.


Let the whole thing cool and then pop them out!


Any rough edges can be smoothed down by rubbing across a piece of paper.

Just make sure that kids don't eat them!


Friday, August 09, 2013

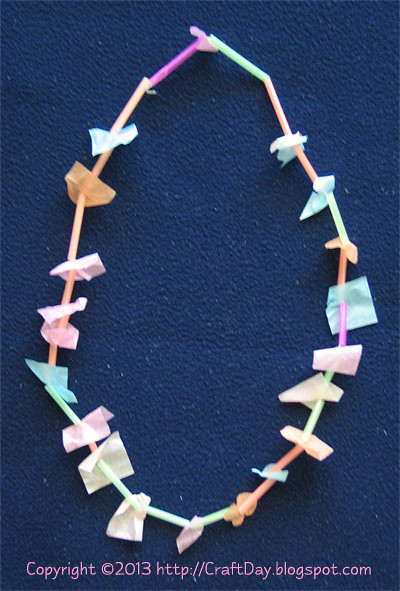
Hawaiian style necklace

2013_08_09_hawaiian_necklace

(This idea came home from school.)


Materials:
  • string or thin yarn
  • colourful straws cut into small pieces
  • colourful pieces of tissue paper (shown), wrapping paper or lightweight fabric

Tuesday, July 24, 2012

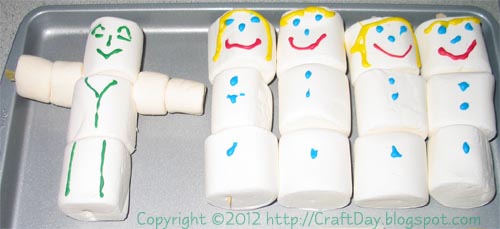
Snowmen in summer

2012_07_24_summer_snowmen


Materials:
  • Marshmallows (varying sizes if you want to get fancy)
  • Toothpicks or skewkers to hold the mashmallow's together
  • Decorative icing

Instructions:
  • Assemble marshmallow's as desired
  • Decorate accordingly

Friday, September 16, 2011

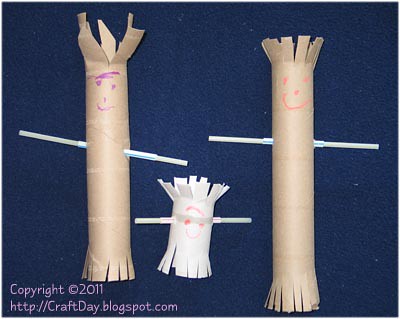
Paper roll people

2011_09_paper_roll_people

Notes:

  • Any size paper roll can be sued (paper towel, toilet paper)
  • The arms are made from two different sized drinking straws, the shorter / larger of which represents sleeves
  • The top fringes represent hair, which could also be crafted with yarn or ribbon glued to the top
  • Bodies and clothes could be drawn or painted on the tubes themselves

Saturday, January 09, 2010

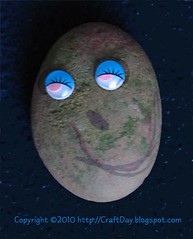
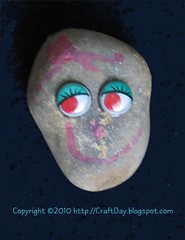
Pet rocks

2010_01_pet_rock_1 2010_01_pet_rock_2

Last year, while the weather was warm we collected some smooth "face shaped" rocks from the great outdoors.

Materials:
  • small, smooth rocks
  • poster paint, markers, googly eyes, fabric bits, glitter, glue, yarn, feathers

Instructions:
  • let your imagination run wild and decorate at will!
Notes:
  • yarn makes great hair
  • feathers can make for fun bird rocks

Saturday, December 19, 2009

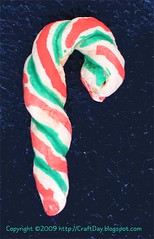
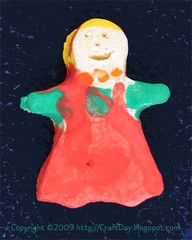
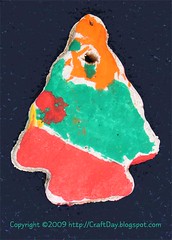
Salt-dough ornaments

2009_12_salt_dough_candycane 2009_12_salt_dough_girl 2009_12_salt_dough_tree

We used this recipe for the salt-dough, with the following modifcations:

Ingredients:
  • 4 cups all-purpose flour
  • 1 cup salt
  • 1 1/2 cups water [water should be hot or warm]
Be sure to read all of the comments in the original recipe. There are terrific ideas about adding spices and observations about baking time. We made WAY MORE than one dozen ornaments.

Materials:
  • salt-dough (recipe above)
  • rolling pin
  • extra flour
  • cookie cutters
  • spatula
  • cookie sheets
  • cooling rack
  • poster paint, markers, googly eyes, fabric bits, glitter, glue, yarn
  • shellac or polyurethane
  • ribbon / thread

Instructions:
  1. Preheat oven to 300 degrees F (150 degrees C).

  2. Combine the flour, salt and water; mix well and knead for 10 minutes. With a lightly floured rolling pin, roll out on a lightly floured surface.

    Note: The oranments above are about 1.2cm (3/8") thick, which took A LOT LONGER to bake / dry then the instructions in the original recipe state. Next time we're going to make them much thinner!

  3. With lightly floured cookie cutters cut into desired shapes and make holes for hanging.

    Note: If you want the final product to have smoothed edges and rounded corners, do this BEFORE you bake. Dough does not reshape as when baking cookies for eating.

  4. For candy cane shown above, roll out a thin dough "string" between your hands. At about the half-way point begin to twist the two "strings" around each other. Shape into a hook / candy cane.

  5. Bake for 30 minutes.

    Note: Keep checking on the progress. Ours were in for well over an hour before they were considered done.

  6. Place on rack to cool.

  7. Decorate with paints or markers.

  8. Allow to dry and spray with clear polyurethane or shellac on both sides to preserve. Allow to dry.

    Note: If the shellac or polyurethane cover is not complete, moisture will get into the dough and the ornament will fall apart. If you wish to keep the ornaments for a long time, you may need to recoat them with polyurethane or shellac every year.

  9. Using glue if required, add stickers, googly eyes, fabric bits or yarn for hair.

  10. Use ribbon or thread to hang.

Thursday, December 17, 2009

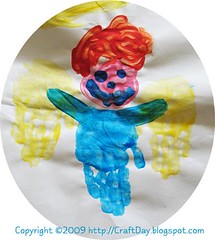
Handprint angel

2009_12_angel_handprint

(This idea came home from school.)

Materials:
  • large sheet of thick paper
  • at least four colours of finger paint
  • smock for covering child's clothing

Instructions:
  • decide on the colour of the angel's body
  • paint child's hand with "body" colour and create handprint in middle of the page
  • clean hand
  • paint both of child's hand with "wing" colour and create wings on either side of the body
  • let paint dry
  • have child pick colours for angel's face and hair, paint same and let dry
  • use "body" colour to create "shoulders" attaching the body to the wings
  • have child paint eyes and mouth on face
  • you now have a handprint angel!

Sunday, December 28, 2008

Stained glass light catcher

2008_stained_glass_design_window


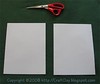
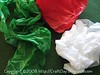
Materials:2008_stained_glass_design_012008_stained_glass_design_00
  • scrap tissue paper
  • 2 sheets of construction paper (letter size printer paper shown)
  • scissors
  • tape
  • white glue

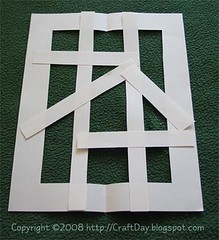
Instructions:
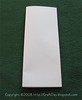
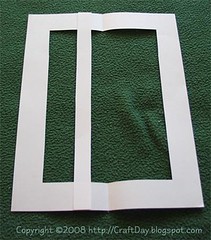
  • take one sheet of construction paper and fold it in half lengthwise

    2008_stained_glass_design_02

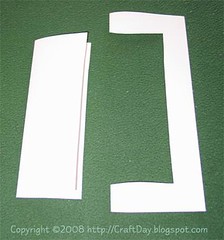
  • cut out the centre piece (which includes most of the folded edge), leaving a 3cm (1.25") frame

    2008_stained_glass_design_03

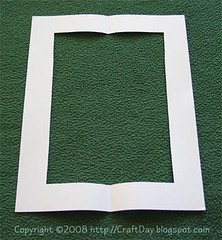
  • open out the frame

    2008_stained_glass_design_04


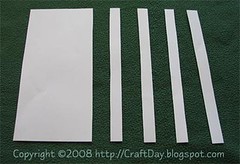
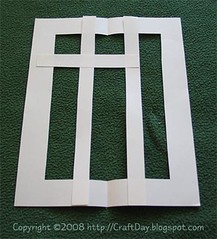
  • take the second sheet of construction paper and cut several 2cm (0.75") strips lengthwise

    2008_stained_glass_design_05

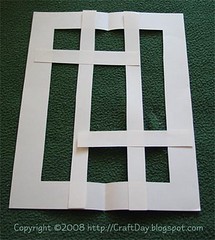
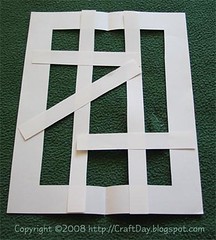
  • begin arranging the 2cm strips over the frame, cutting as required to fit your design

    2008_stained_glass_design_062008_stained_glass_design_072008_stained_glass_design_082008_stained_glass_design_092008_stained_glass_design_102008_stained_glass_design_11


  • tape the strips down to secure them to the frame and to each other (this is the back side of the frame)

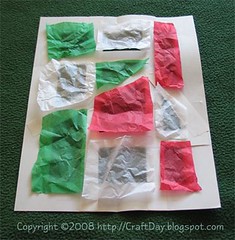
  • cut tissue paper big enough to fit over each of the holes in your frame, dry fit them (overlay them on the back side of the frame to make sure they're the right size, but don't glue them until you're sure they are!)

    2008_stained_glass_design_12

  • glue the tissue paper to the back side of the frame

    2008_stained_glass_design_13

  • let dry overnight
  • hang on a window and enjoy!
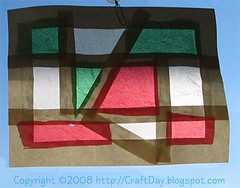
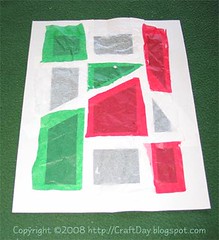
As you can see from the photo below, if you use lightweight paper such as printer paper, the frame will be translucent. For best results, use thick opaque construction paper for the frame elements.

An advanced method (for adults) of doing this, would be to use a single sheet of paper for the frame and an X-Acto knife to cut out the "window" parts of the decoration.

2008_stained_glass_design_window

Tuesday, December 16, 2008

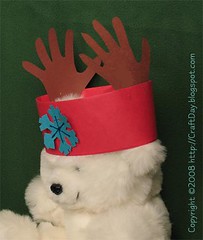
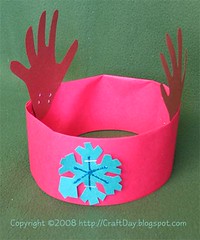
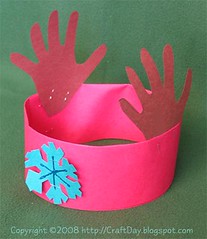
Reindeer antler headband

2008_12_reindeer_antlers_bear

(This idea came home from school.)

Materials:
  • 2 sheets of coloured construction paper, about 16cm x 30cm (3" x 12 ") to make the headband - red shown
  • brown construction paper, big enough to cut out two child size hands (antlers)
  • pencil for tracing hands
  • scissors
  • clear tape
  • stickers, markers, glue etc for decorating headband

Instructions:
  • fold the coloured construction paper in half lengthwise (so you have two sheets 8cm x 30cm)
  • slip one of the folded sheets inside the other (keeping the folded edges in the same orientation) overlaping about 5cm (2") and tape to hold in place
  • optional: have child decorate construction paper (dry fit around child's head so you know where the decorations should stop)
  • have an adult wrap the length of construction paper around the circumference of the child's head and tape to fit
  • have an adult trace the child's open hands on the brown construction paper
  • have an adult cut out the hand outlines, being sure to include 3cm (1") for the wrists
  • tape the cut out hands by the wrists to the inside of the headband, opposite each other
  • outfit your little reindeer with their new antlers!


2008_12_reindeer_antlers_centre 2008_12_reindeer_antlers_left

Sunday, October 26, 2008

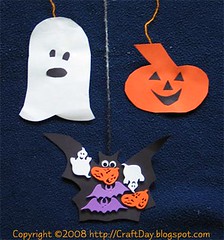
Hallowe'en mobile

mobile_halloween_06

This was created at our local Ontario Early Years Centre.

Materials:
  • white, orange or black construction paper
  • orange or black crepe paper
  • orange or black string or yarn (yarn shown)
  • paper towel roll (shown one is cut to about 20cm in length)
  • stickers, crayons, markers for decorating
  • glue
  • scissors
  • masking tape

Instructions:
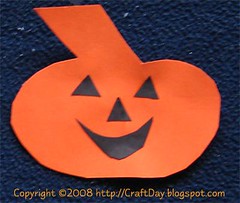
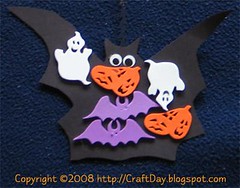
  • Have an adult cut out fun Hallowe'en themed shapes and have child decorate with stickers, paper, markers etc.

    mobile_halloween_01 mobile_halloween_02 mobile_halloween_03


  • Attach one length of yarn to the back of each shape using masking tape (vary the lengths to make the mobile more interesting)

    mobile_halloween_04


  • Attach the other end of the yarn to the paper towel roll, using masking tape. Cover the roll with crepe paper to hide the taped yarn. Place a last piece of yarn through the paper towel roll and knot. This last piece will be used to hang the mobile.

    mobile_halloween_05

  • Hang your mobile and enjoy! [Remember that long lengths of string / yarn present hazards to young children. Safety is your responsibility.]

    mobile_halloween_06

Friday, October 17, 2008

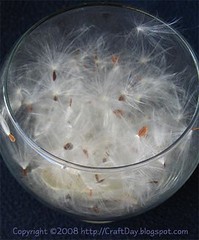
Dynamic Fall centrepiece

milkweed_05

Materials:

Instructions:
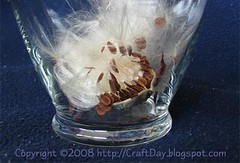
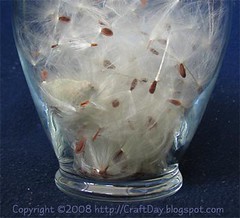
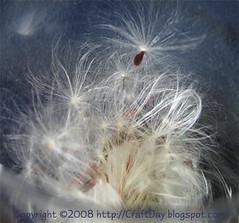
  • Take the unopened milkweed pod and place in the bottom of the vase.
  • As the pod dries out, it will crack open.
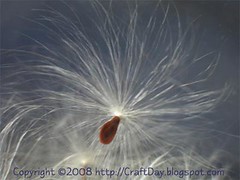
  • As the long silky hair, attached to the seeds, dries out, they expand, forcing the pod to open more and accelerating the drying of the pod contents.

    milkweed_01

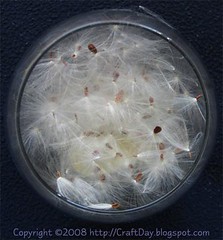
  • With time, the pod will completely open and the seeds will be suspended throughout the vase on the fluffy silky hairs. (Little hands may also be happy to assist with the process!)

    milkweed_02

    milkweed_03

    milkweed_04

    milkweed_05


CAUTION: Place out of reach of curious little hands and / or paws, unless you wish for a milkweed filled house!

milkweed_06


Friday, October 10, 2008

Autumn collage

autumn_collage_1 autumn_collage_2

Materials:
  • construction paper
  • white glue
  • things found on the ground at Autumn (leaves, acorns, flowers etc)

Instructions:
  • Send your youngster out to collect things specific to Autumn (leaves, acorns, flowers etc)
  • For pre-schoolers, have the child tell the adult where on the construction paper they'd like to glue items down. Have the adult apply the glue to the paper and the child place the item on the glue.
  • For older children, have them glue items to the paper as they see fit.

Friday, July 25, 2008

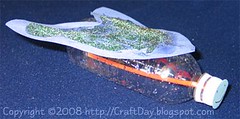
Firefly / glow bug

glow_bug_angle

(This idea came home from school.)

Materials:
  • empty and dry clear plastic water bottle
  • construction paper (approx 20cm x 20cm / 8" x 8") cut into the shape of wings
  • things with which to decorate the wings of the bug (shown are glue and glitter, could also use stickers, markers, paint etc)
  • small piece of paper the size of the top of the cap of the bottle (shown is a circle approx 3cm in diameter / just over an inch in diameter)
  • things with which to decorate the face of the bug (shown is marker, could also use stickers, markers, paint etc)
  • glue
  • glow stick / light stick approximately the length of the bottle (shown is approx 20cm / 8") -- the more glow sticks you have the brighter the bug glows!

Instructions:
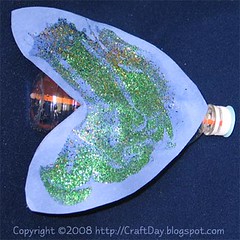
  • apply decorations to the construction paper cut out for the wings (see view below)
    glow_bug_top

  • glue the wings to the bottle and wait until glue dries (I prefer to let the glue set overnight) -- you can continue with the face part, as there's more gluing there and more overnight waiting too
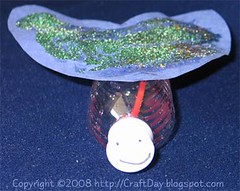
  • decorate the face of the bug
  • while the bottle cap is screwed snuggly onto the bottle, glue or tap the face of the bug with the face oriented appropriately relative to the wings and let the glue dry (I prefer to let the glue set overnight)
    glow_bug_front

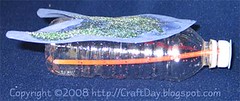
  • when it's dark, or when you have access to a dark room, activate one or more of your glow sticks and put them in the bottle
  • close bottle cap
Enjoy your firefly!

glow_bug_side

Friday, July 11, 2008

Coffee filter butterfly

butterfly_filter_02

(This idea came home from school.)

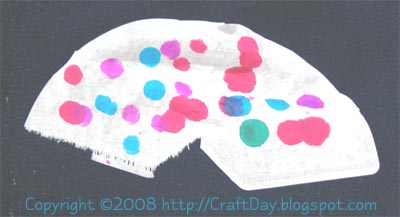
Materials:
  • cone shaped coffee filter
  • pipe cleaner
  • things with which to decorate butterfly such as bingo dauber (shown), crayons, paint, stickers, glitter

Instructions:
  • have adult open up coffee filter to be flat
  • have child decorate coffee filter as desired
    butterfly_filter_01

  • have adult wrap pipe cleaner up around the middle of the coffee filter to make a body and antennae, and voila!

butterfly_filter_02