
- An existing pattern (choose from the following PDF files*: Pattern One, Pattern Two, Pattern Three or the blank template should you wish to make your own design)
- use this legend to decipher the folding symbols
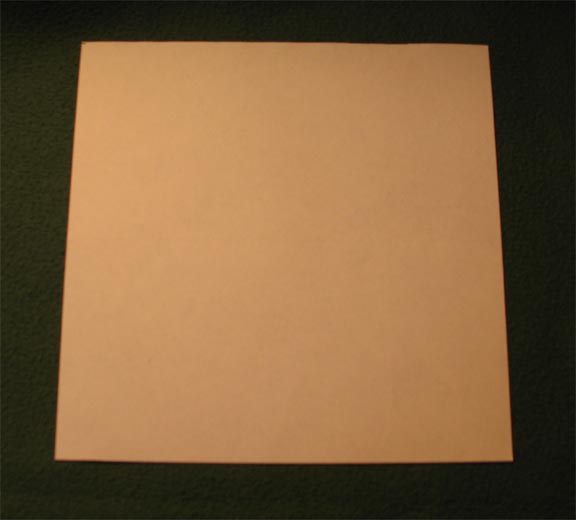
- material for making the snowflake (practise with regular printer paper, delicate snowflakes can be made out of tissue or tracing paper, more permanent snowflakes can be made from vilene (as recommended in this Kiddley.com post)
- should you wish, materials for decorating your snowflakes (eg. glitter and glue)
Instructions:
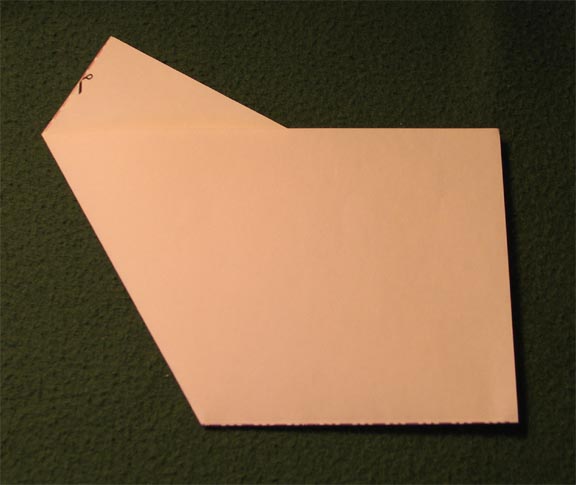
- print out the desired pattern (PDF file*) and transfer the pattern to your desired material or print it out as a practise run (be sure to check the specifications of your printer before printing on unusual media -- using "out of spec" materials can cause permanent damage to your printing hardware) (These instructions use Pattern Two (PDF file*))
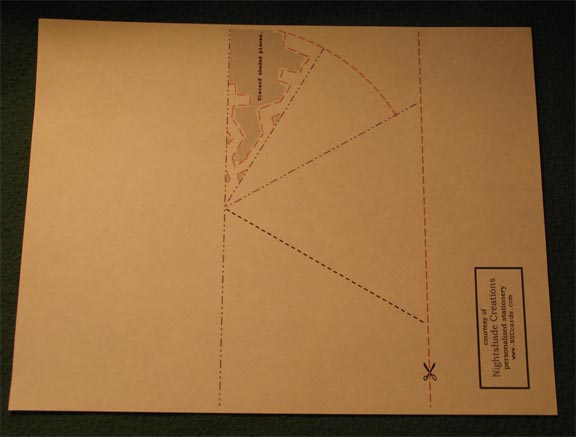
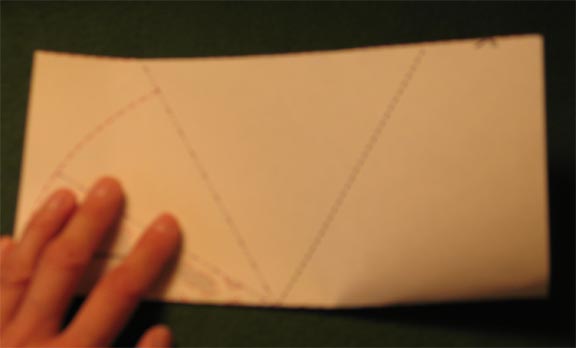
- Cut along the vertical red dashed line as shown below:
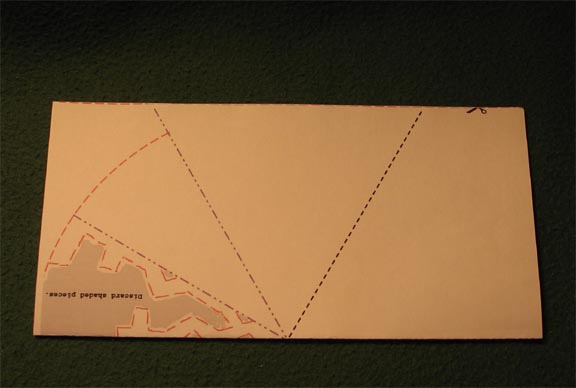
- Discard the small piece.
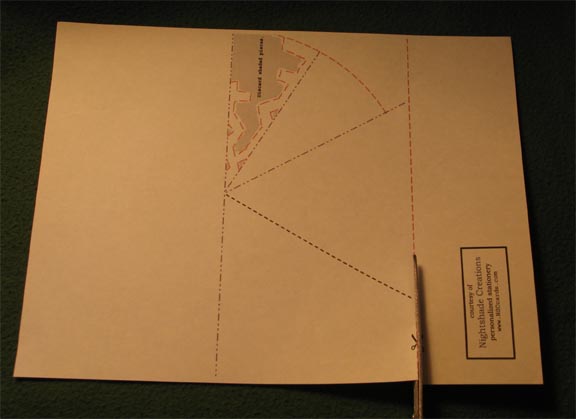
- Turn the square face down as shown below:
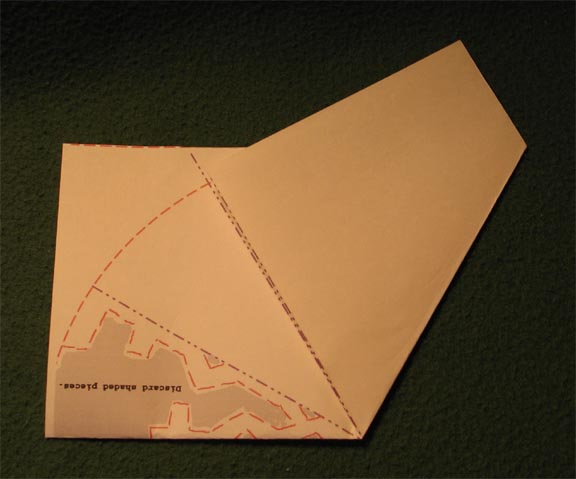
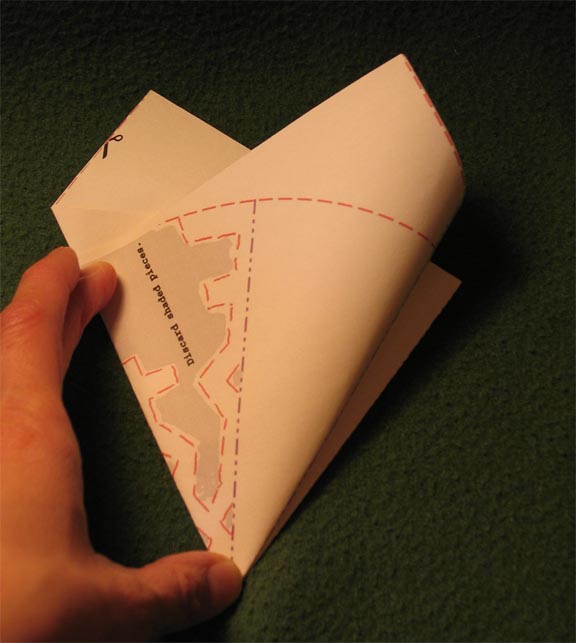
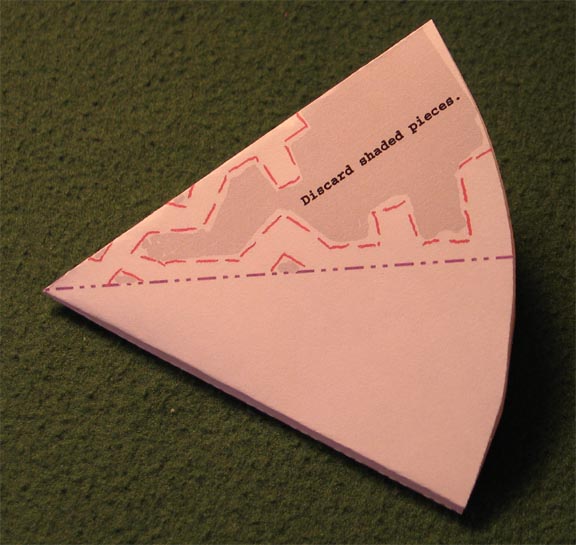
- Fold the paper in half, so that the cut edge meets the uncut edge (and the pattern is completely visible).
- The paper should look like this after the fold:
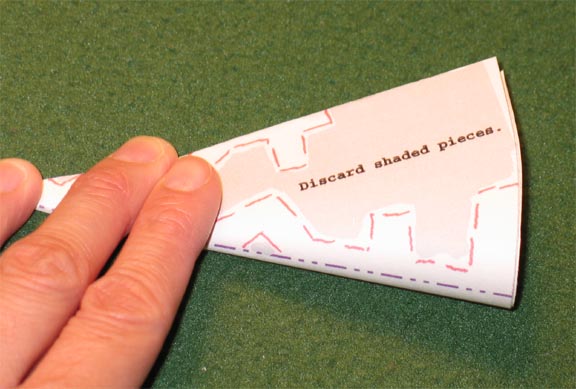
- Raising the lower right hand corner, make the "valley fold" by folding the paper at a 30 degree angle as indicated in the pattern. (The paper edge should line up with the "mountain fold" line.)

- Once folded your paper should look like this:
- Turn the paper face down to look like this:
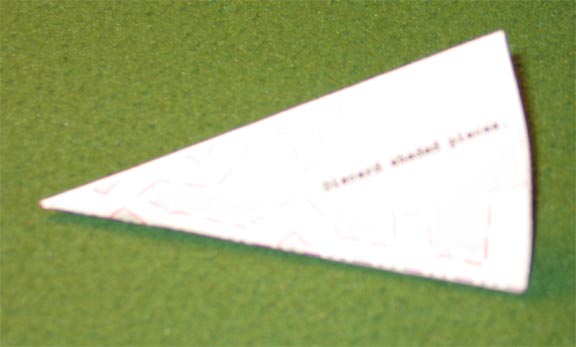
- Raising the lower right hand corner, again fold the paper at a 30 degree angle as indicated in the pattern. (The paper edge should line up with previous fold line.)
- Once folded your paper should look like this:
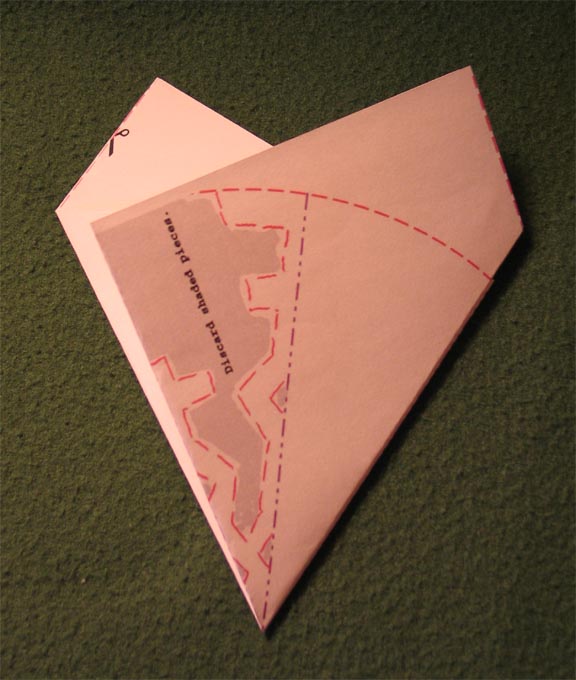
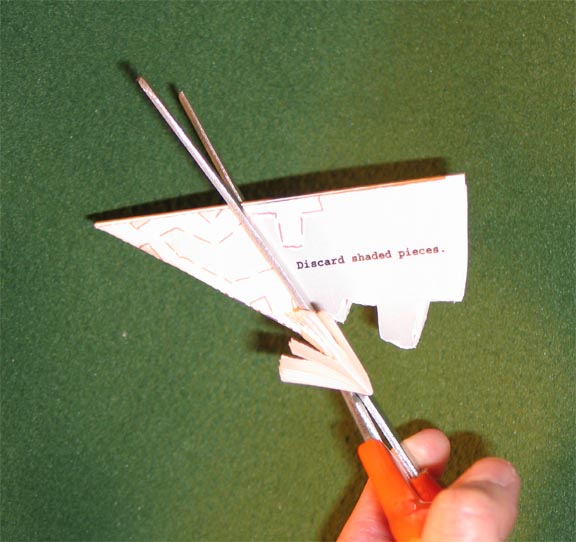
- Cut along the curved red dashed line.
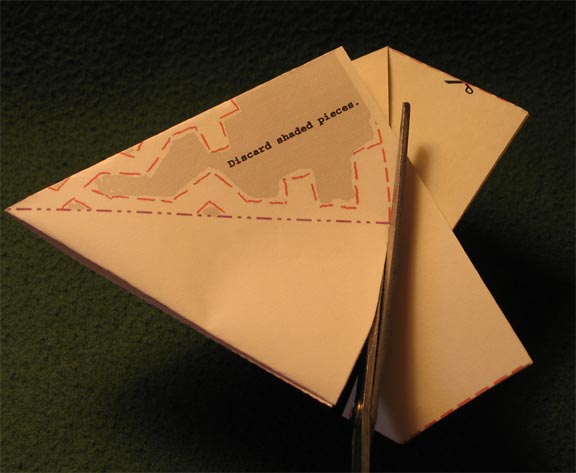
- The right hand side of your paper should now be rounded.
- Fold the paper in half (blank side under the patterned side).
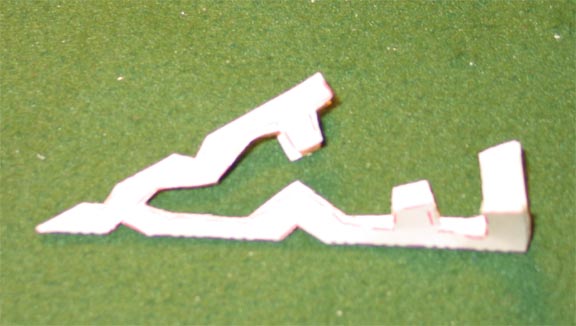
- Cut out the pattern along the red dashed line.
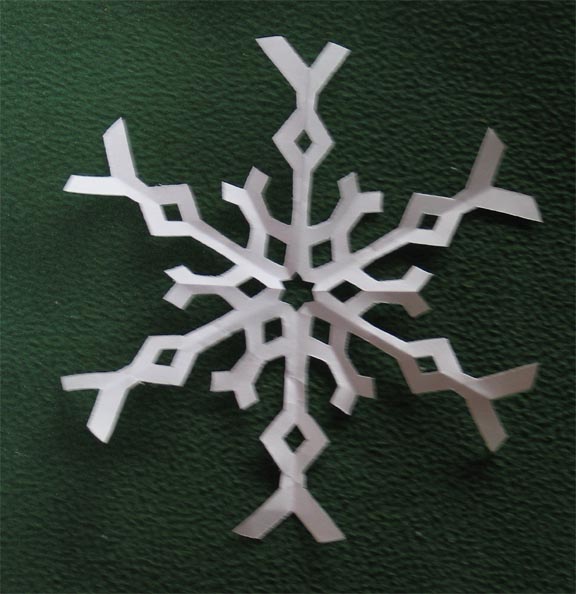
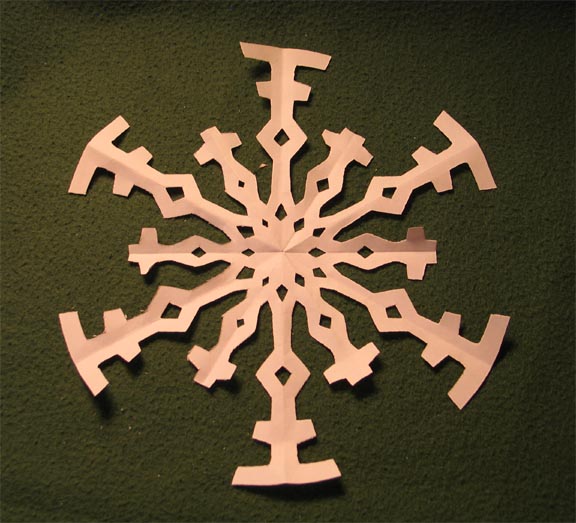
- The finished piece should look something like this:
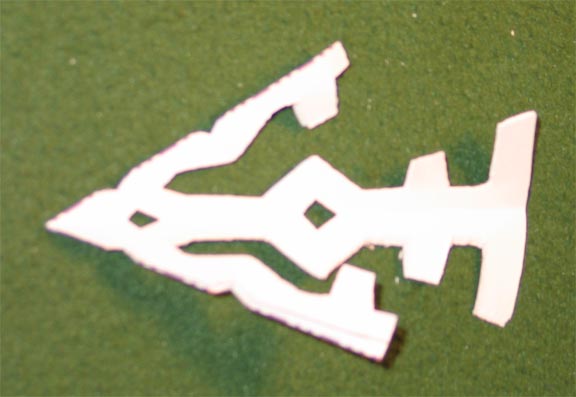
Note that one edge is longer than the other. This is what makes it a 6 pointed snowflake. If you are making your own design, remember to leave some of the folded edges in place -- if you cut these all away the paper will fall apart! - Begin to unfold the snowflake.
- And again.
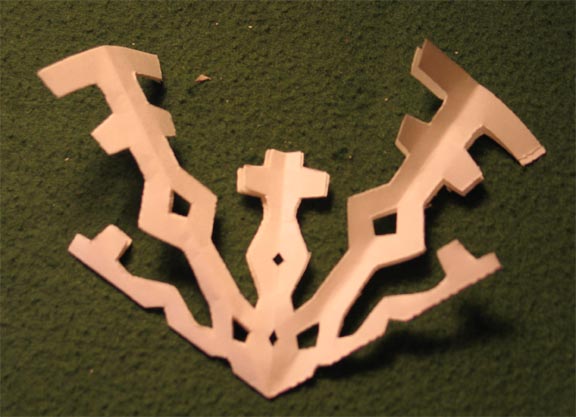
- And again.
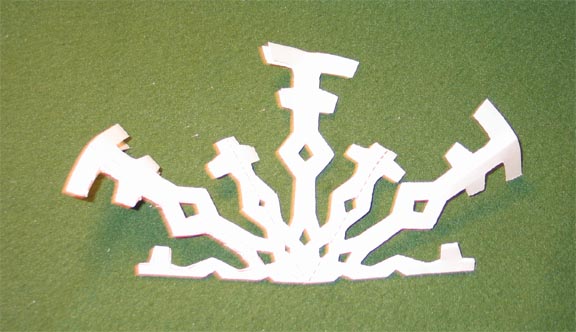
- Voila! Your six pointed snowflake.
- Decorate with glitter etc.
As you get proficient with the folding, you no longer need a pattern or a template, just an approximate square. The smaller the square, the thinner the paper you should use or it gets too difficult to fold accurately.
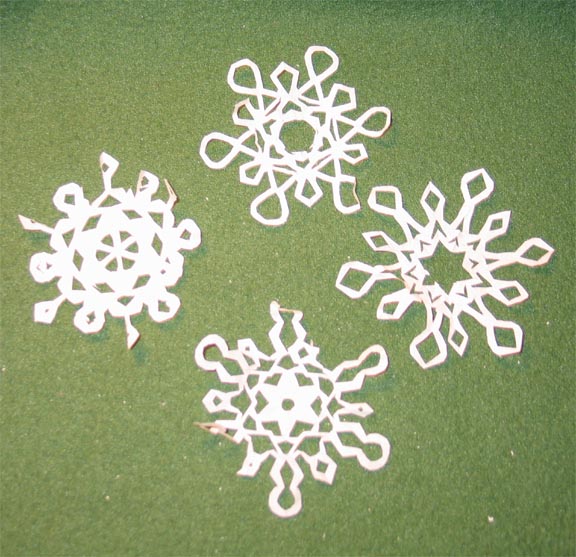
I've posted three patterns here.
These can be taped to windows, used as tree decorations, present decorations, etc, etc!
--
(*) When printing out PDF documents, be sure to set "Page Scaling" to "none" (you'll want the document to print at 100%). You may need to adjust the template on your paper depending on your printer's "offset" settings.
 Subscribe to my feed

No comments:
Post a Comment