Thursday, April 01, 2010





Saturday, February 13, 2010
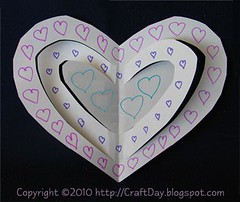
3-D heart
Materials:
- paper
- scissors
- X-Acto type knife and cutting mat
- optional: materials for decorating your heart (eg. markers, crayonsstickers, glitter and glue)
- optional: ribbon or yarn for hanging your heart
Instructions:
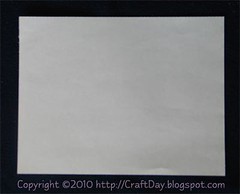 Place your paper flat.
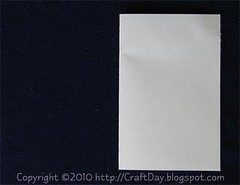 Fold your paper in half (the fold is on the left hand side in the photo.)
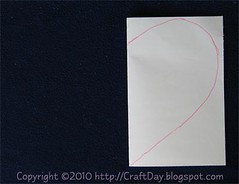 Draw half a heart on the paper. (Middle of the heart is the same place as the folded edge of the paper.)
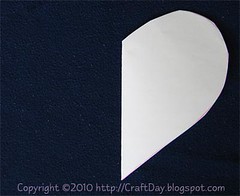 Cut out the heart and discard (recycle) the extra paper.
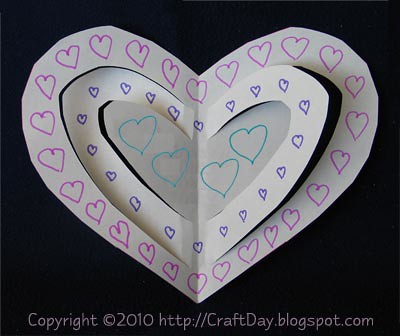
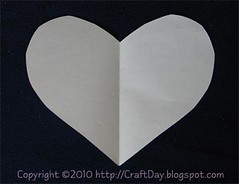 If you were to open up the paper at this point, it would look something like this:
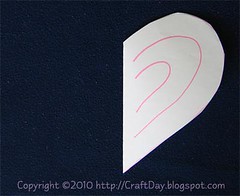 Draw some concentric half-heart lines (two lines shown) making sure to LEAVE A GAP BEFORE THE FOLDED EDGE.
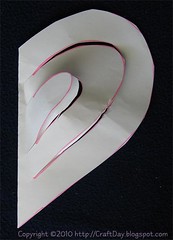 Using an X-Acto knife and cutting mat, cut along the lines. Be sure leave a gap between the cut at the folded edge.
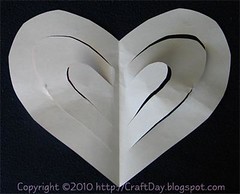 Open the heart out.
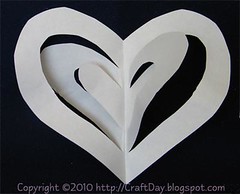 Gently fold the "middle" heart so the left side is behind the outer heart and the right side is above the outer heart. Gently fold the "inner" heart so the left side is above the middle heart and the right side is behind the middle heart.
- Decorate!
- Optional: punch hole in top, middle and hang with yarn or ribbon.
Friday, February 12, 2010
Valentine, you amaze me! (redux)
It was brought to my attention that last year's Valentine's maze was a little challenging for the younger set. With that in mind, I this year I made one a little more, little kid friendly.
[Download the PDF for Heart Maze Valentine's Day cards.]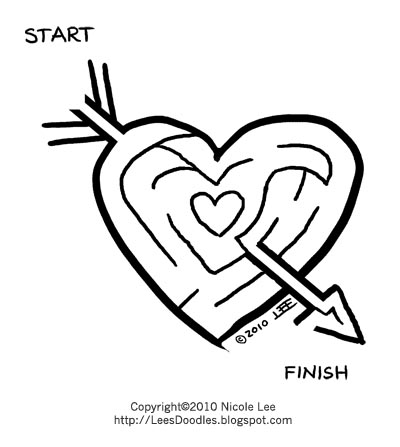
The code for this doodle and other doodles you can use on your blog can be found at Doodles.
Tuesday, February 09, 2010
Feb 9 to 23: 10% off Mabel's Labels purchases
 - Teeny Tags™
- LOL Labels
- Skinny-minis™
- clothing labels for camp and school
- child ID wristbands and more!
E-mail MabelsAgent at NSCcards dot com
with a subject of "coupon"
to receive your coupon code for
10% off your next Mabel's Labels purchase!#
# By sending your e-mail address you agree to receive periodic newsletters from your Mabel's Labels web affiliate. You may unsubscribe from these newsletters at any time. Coupon code valid between Feb 09 and Feb 23 2010.
Sunday, February 07, 2010
Heart-y round-up
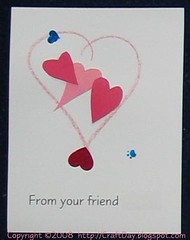
Quick and easy Homemade Valentine's Day cards
Print your own maze Valentines:
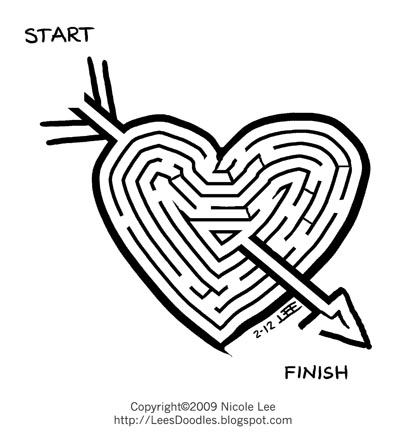
The code for this doodle and other doodles you can use on your blog can be found at Doodles.
[Download the PDF for the Heart Maze.]
[Download the PDF for Heart Maze Valentine's Day cards.]
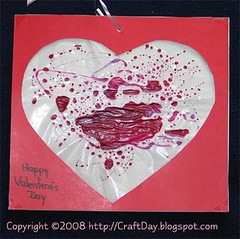
Heart sun catcher
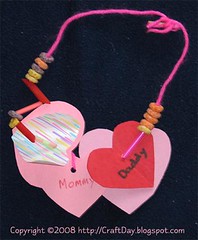
Heart necklace
Saturday, January 09, 2010
Pet rocks
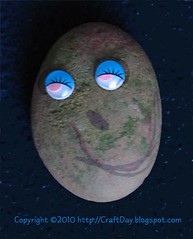
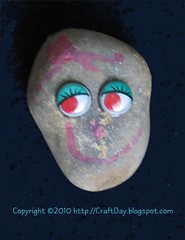
Last year, while the weather was warm we collected some smooth "face shaped" rocks from the great outdoors.
Materials:
- small, smooth rocks
- poster paint, markers, googly eyes, fabric bits, glitter, glue, yarn, feathers
Instructions:
- let your imagination run wild and decorate at will!
- yarn makes great hair
- feathers can make for fun bird rocks
Saturday, December 19, 2009
Salt-dough ornaments
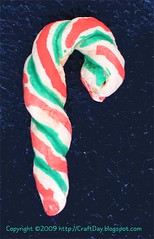
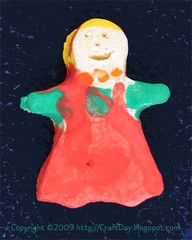
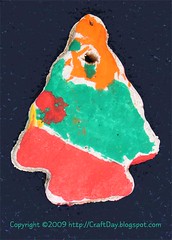
We used this recipe for the salt-dough, with the following modifcations:
Ingredients:
- 4 cups all-purpose flour
- 1 cup salt
- 1 1/2 cups water [water should be hot or warm]
Materials:
- salt-dough (recipe above)
- rolling pin
- extra flour
- cookie cutters
- spatula
- cookie sheets
- cooling rack
- poster paint, markers, googly eyes, fabric bits, glitter, glue, yarn
- shellac or polyurethane
- ribbon / thread
Instructions:
- Preheat oven to 300 degrees F (150 degrees C).
- Combine the flour, salt and water; mix well and knead for 10 minutes. With a lightly floured rolling pin, roll out on a lightly floured surface.
Note: The oranments above are about 1.2cm (3/8") thick, which took A LOT LONGER to bake / dry then the instructions in the original recipe state. Next time we're going to make them much thinner! - With lightly floured cookie cutters cut into desired shapes and make holes for hanging.
Note: If you want the final product to have smoothed edges and rounded corners, do this BEFORE you bake. Dough does not reshape as when baking cookies for eating. - For candy cane shown above, roll out a thin dough "string" between your hands. At about the half-way point begin to twist the two "strings" around each other. Shape into a hook / candy cane.
- Bake for 30 minutes.
Note: Keep checking on the progress. Ours were in for well over an hour before they were considered done. - Place on rack to cool.
- Decorate with paints or markers.
- Allow to dry and spray with clear polyurethane or shellac on both sides to preserve. Allow to dry.
Note: If the shellac or polyurethane cover is not complete, moisture will get into the dough and the ornament will fall apart. If you wish to keep the ornaments for a long time, you may need to recoat them with polyurethane or shellac every year. - Using glue if required, add stickers, googly eyes, fabric bits or yarn for hair.
- Use ribbon or thread to hang.
Subscribe to:
Posts (Atom)
 Subscribe to my feed
 Posts
Posts


